

-
Latest Postings
-
3
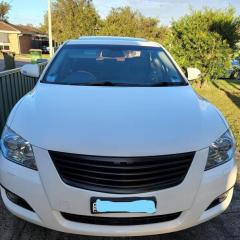
Auto door locking on new 2024 C-HR?
Yes mine is October 2023. It arrived late February Early March to the docks in Brisbane. I have a friend who has been told that hers will be in the next shipment but is only on the production line now. So future stock should be 2024 ! ? -
1
-
1
Hilux G52- R151R gearbox conversion
if it runs a cable find a friend that can push on it with a pole and see if that works first,sounds like a fork problem but atleast doin what I said u will find out -
3
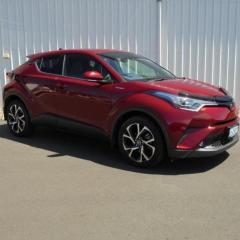
Auto door locking on new 2024 C-HR?
Thanks Martin. I thought that may have been the case. However, it seems an anomaly with so much tech on board. My wife always looks for this feature after an ugly incident while stopped at a traffic light some years ago. As you said ...perhaps an OTA update? One other thing if you don't mind me asking. What is the build date on your vehicle? The C-HR's that appeared at my local dealer in the last fortnight all have an October or November 23 build date. Thanks, Peter -
23
Transmission U660e
Not every Estima is fitted with the 2GR-FE and U660e drivetrain. This is where you have to take care that information on the internet is applicable to your specific vehicle. -
3
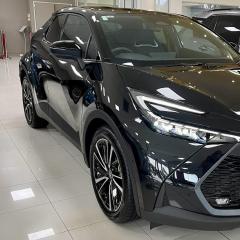
Auto door locking on new 2024 C-HR?
Hi I was very lucky to receive one of the first new models last month. My Koba is amazing- as have all of my previous Toyotas. However in answer to your question it does not automatically lock the doors when you engage Drive or when you reach a preset speed. I am very disappointed that with all of the electronic devices and safety features and the approximately 20% increase in price over the last model that Toyota Australia has left a very important safety feature out of the vehicle. We see cars being carjacked almost nightly on the news. My knowledge of technology in this sector is limited but surely it is only an update of the operating systems to fix this. The new model is a beautiful car- your wife should still buy one. -
4
is it possible to import US model Sienna to Australia?
I rent a 2023 model in US just few days ago it’s beauty and real good on fuel much nicer to drive compare to Honda Odyssey which I own one 2022 model make me wonder why Toyota AUS won’t bring the Sienna hybrid to Australia instead we get bulky ugly looking Granvia with diesel engine 🤔🤔!! -
7
How to delete bluetooth device?
I have a Yaris and had a similar issue. I just submitted a similar query to GPT. The response was to go into settings, view paired devices, select the device to remove, and confirm the removal. It helped me; I couldn't find the answer on the internet, but I found it there. -
1
New Guy....
Welcome to the forum Kiril, this is the place to linger and learn for sure. There are many great minds and people here who will always help with advise or expertise. Enjoy KAA -
0
Gauge Pillar JZX100
Anyone know of someone that can make or sell a JZX100 Chaser Triple gauge pillar pod? I need one for 60mm, willing to pay top dollar similar to the one attached
-


Recommended Posts
Join the conversation
You can post now and register later. If you have an account, sign in now to post with your account.