

Full-Throttle
-
Posts
743 -
Joined
-
Last visited
-
Days Won
65
Content Type
Profiles
Forums
Events
Gallery
Tutorials
News & Articles
Videos
Posts posted by Full-Throttle
-
-
-
I've had both - An Erisin WinCE 8" headunit and an Eonon Android 8" headunit. On the outside they look very much the same, but performance-wise they're completely different. The WinCE unit was buggy and very restrictive in terms of customization. With the Android unit it's essentially like having a tablet in your dashboard, with built-in WiFi etc. You can download a huge variety of apps from the Google Play Store and customize every inch of it. The WinCE was good for basic functionality, but it would freeze occasionally, lag up and generally was just pretty boring all round. I'd definitely recommend splashing out a bit more and getting the Android operating system.
-
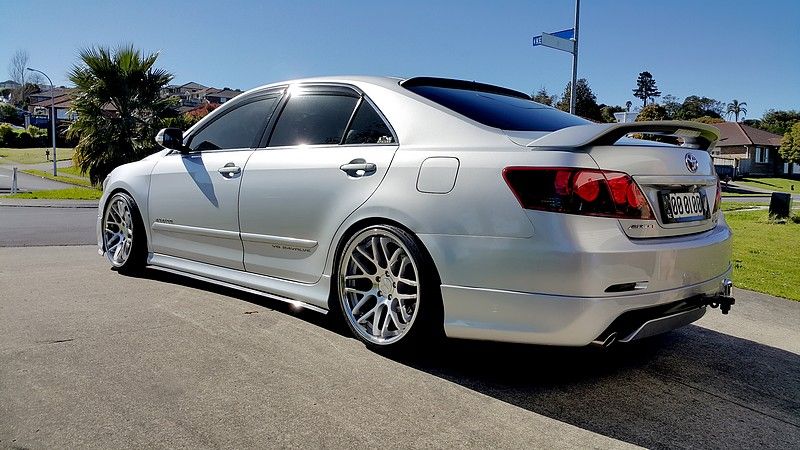
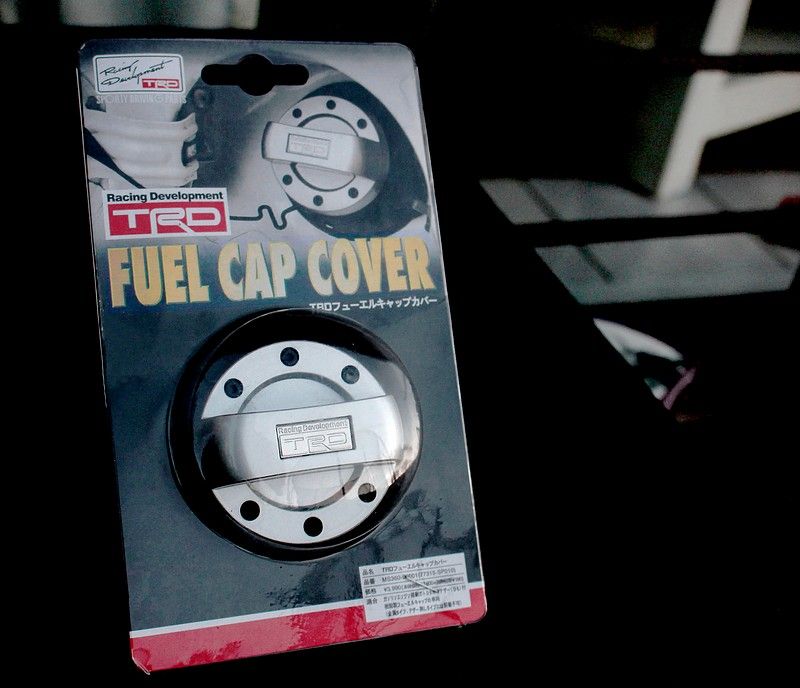
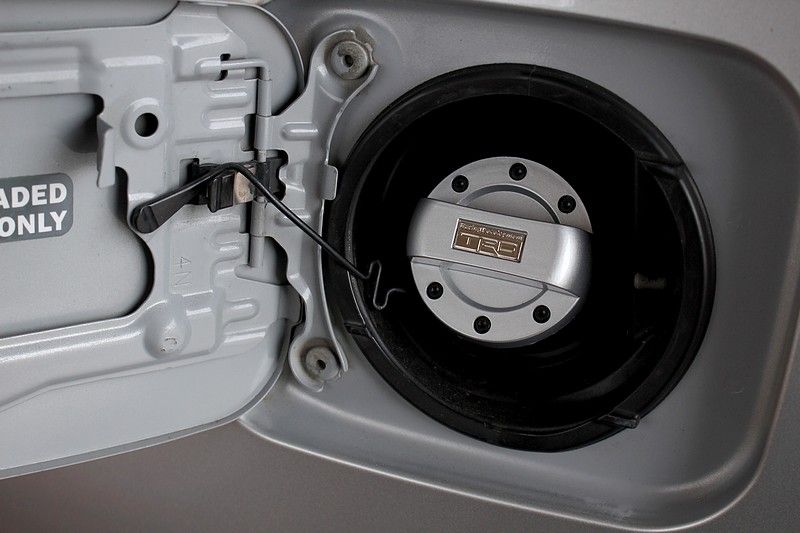
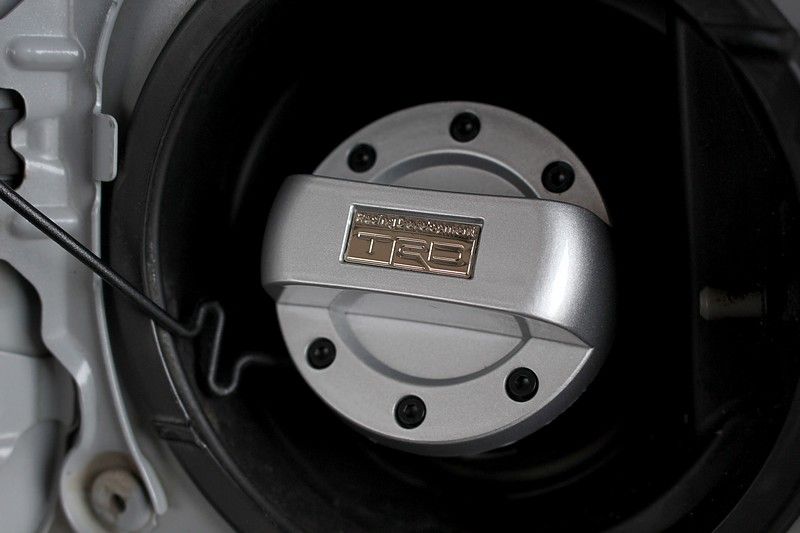
TRD fuel cap cover = +12kW

-
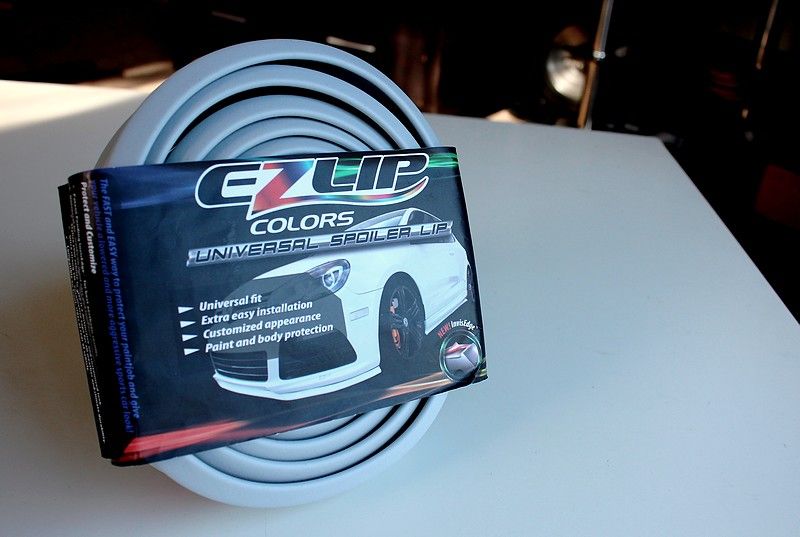
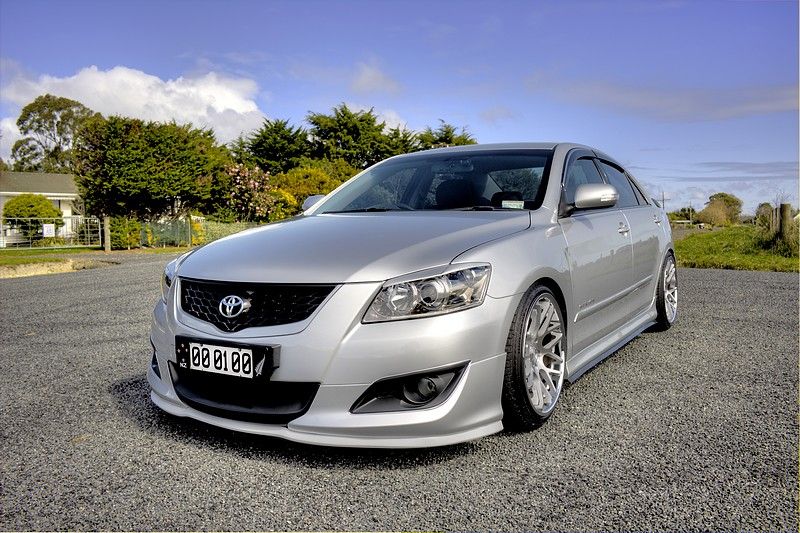
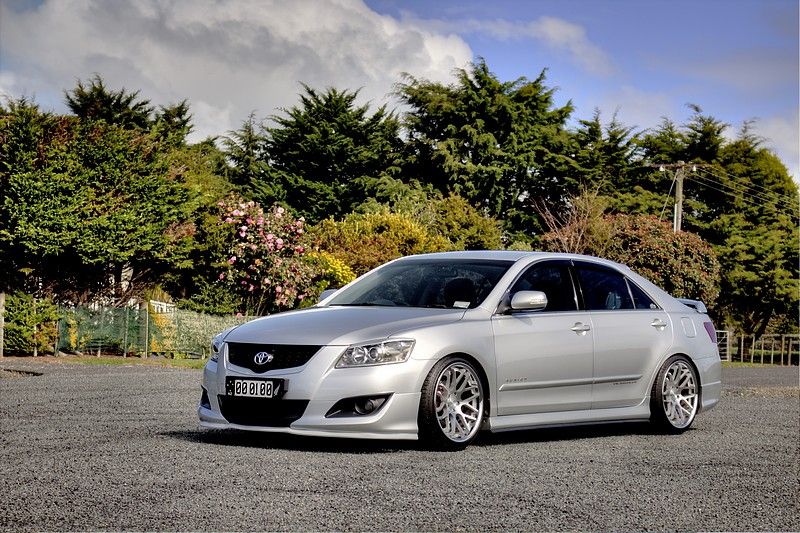
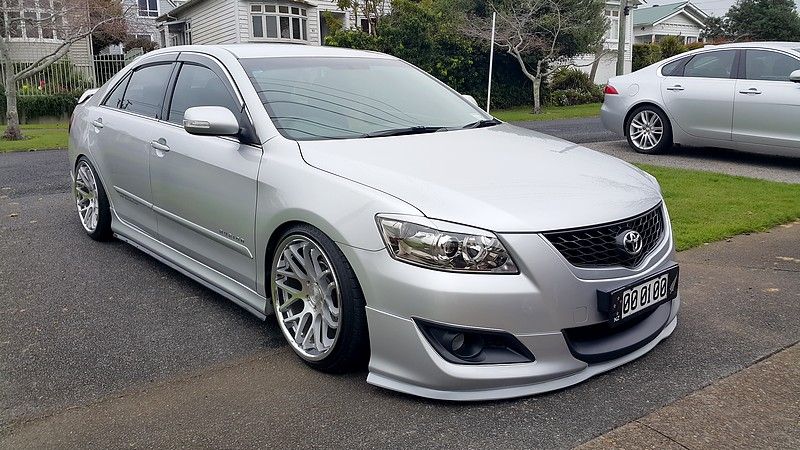
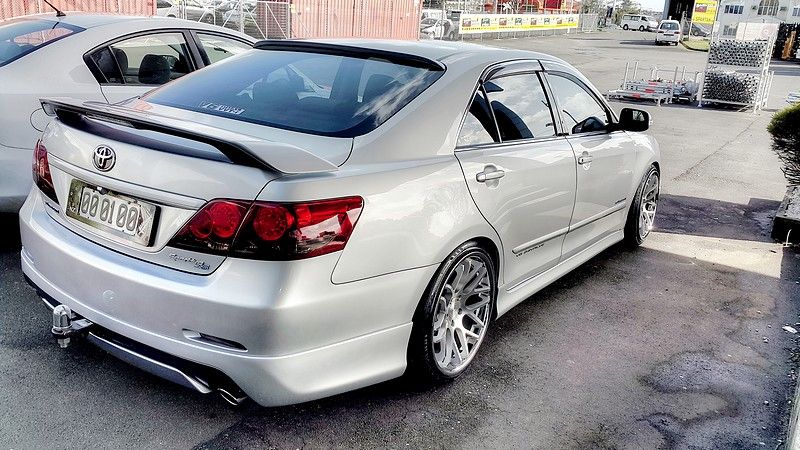
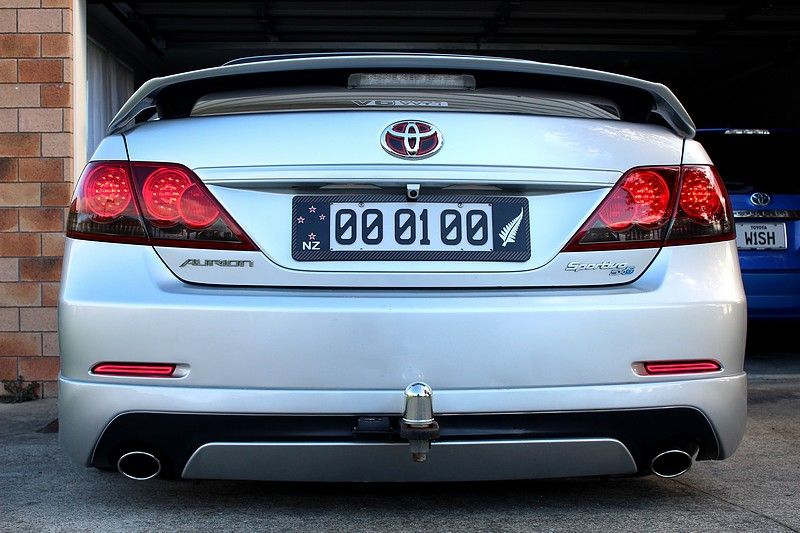
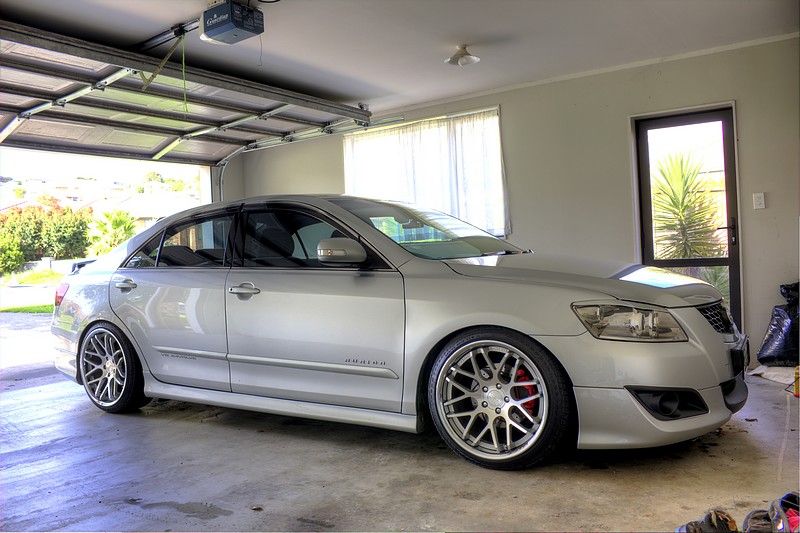
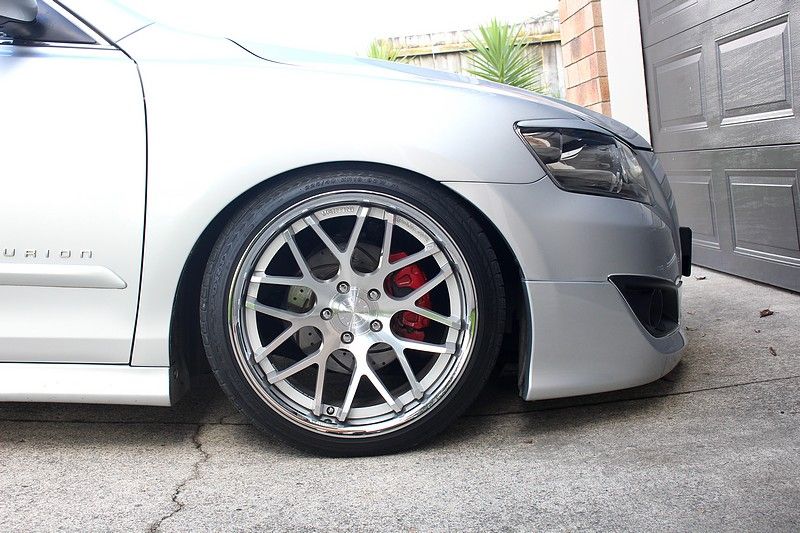
New mods! I discovered that EZ Lip have recently introduced a silver version into their 'Colors' range, so I decided to buy one off TradeMe and give it a shot. My front bumper has seen a few lips over the last 18-months that I've had the car, all of which have been torn off or been damaged beyond repair due to the entrance of my garage and the height of the front-end, so I'm not planning on the EZ Lip sticking around for the long run, but for now it looks good. Upon the first drive into the garage it tore where the lip meets the 3M VHB double-sided tape (no fault of the lip itself) but it's not overly noticeable and seems to spring back for the most part every time it happens.
The 'silver' is actually more of a very light grey, which in directly sunlight is quite a lot lighter than the actual colour of the car, but if it lasts the distance I may look at trying to stain it slightly or maybe even plasti-dipping it to be slightly darker. Who knows, once it gets dirty from road grime etc it may naturally become darker, lol.
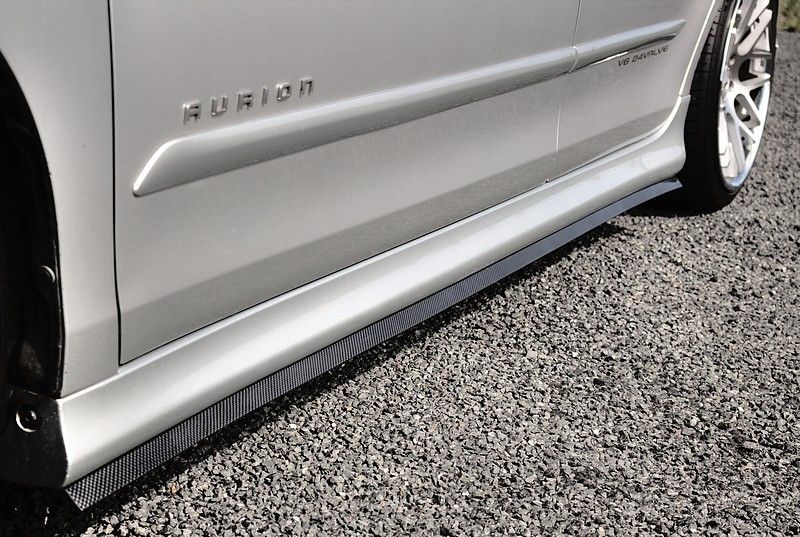
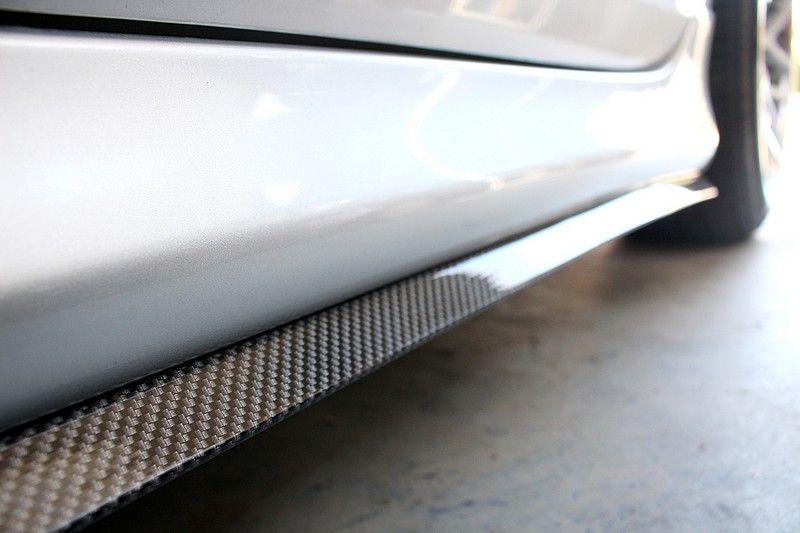
The other new addition was the carbon fiber looking sideskirt extensions. Some of you may remember that I had one of these on the front bumper before I lowered it even further, which got torn off by the driveway straight away. I had two brand new spare ones sitting in the wardrobe however so thought I'd put them to good use. The photos don't really do them justice, but you get the idea.
That's it for the weekend. Back to driving the car and clenching my butt cheeks every time I enter a driveway
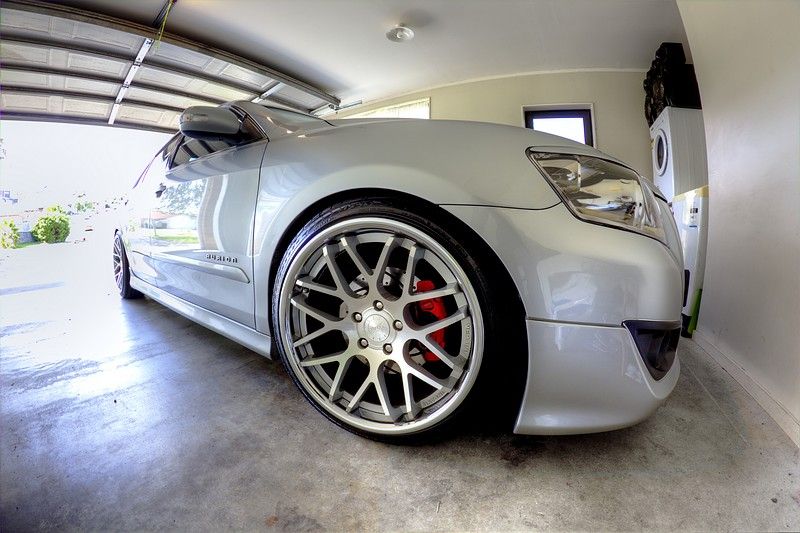
And some random photos taken before the new additions:
-
-
Your mirrors don't have motors inside them to allow them to fold electrically, so without changing to mirrors designed for a different market (Japan, Thailand etc) which are the power folding type you won't be able to get them to fold it, automatically or otherwise.
-
13 hours ago, Rigger said:
http://I have just fitted a reverse camera to my 2007 Aurion Touring. I have a Mirror type monitor, my problem is how to hide the wiring from the monitor down through the glovebox area to the power source which is the cigar lighter.Any advise would be appreciated Thanks Rigger Perth.
You can run the wiring down the LH A-pillar trim and behind the glovebox to the cigarette socket. Simply tug on the front of the headliner carefully, just enough to slip the wires underneath then pop your A-pillar trim off a little bit (don't try and pull it all the way off as they have special claw-type clips which are difficult to remove, so all you want to do is make it pop out enough to feed the wires through) and run them down the side. Make sure that you tuck the wires into the factory wire clips as you go as you don't want it the wiring to float around near the side airbag unit. Then run the wiring either underneath or behind the glovebox (will need to remove the glovebox if you want to go behind it) and then to your cigarette socket in the centre console.
It's a pretty easy process to do, just a bit time consuming. I've got the wiring for my radar detector, auto-dimming rearview mirror, external microphone and dash cam routed the exact same way as described above and it makes for a very clean install. I opted to remove the glovebox (only 5-screws in total) to run the wiring behind so they don't ever droop down to the footwell area, but you could just as easily go underneath the glovebox and have the plastic tray underneath cover the wires. Either way, don't be scared to get stuck in as it's really not as hard as it sounds.
-
 2
2
-
-
Great to hear!!!! My clunk hasn't returned since my last post so I'm just as happy. Booked in for a wheel alignment this Friday to finally put the suspension work to rest. Cheers for the update. Great result! :D
-
The first thing I would look at would be the front swaybar D bushes. If they're the original rubber ones then they'll likely either be cracked or have worn away on the inside, causing the swaybar to slide against the rubber and result in a creaking/squeaking noise. Second suspect would be the lower control arms. Worn bushes in one of those can 100% make the same noise. The lower ball joints are another possible cause. Your swaybar links could be worn, but that would normally make a clunking noise instead of a squeak. Did your new shocks come with bump stops? Or did you reuse your old bump stops? I had a really annoying creaking noise recently after installing new shocks and it turned out that the brand new bump stops that came with it were far too hard and would cause noise when turning as the shock's piston rod rubbed against the inside of the bump stop. My fix was to reuse the original bump stops (still in good condition) and apply some grease to the insides of them for good measure.
So there's many possible things, but if you start looking at them in the order above then it shouldn't take long to isolate the problem.
-
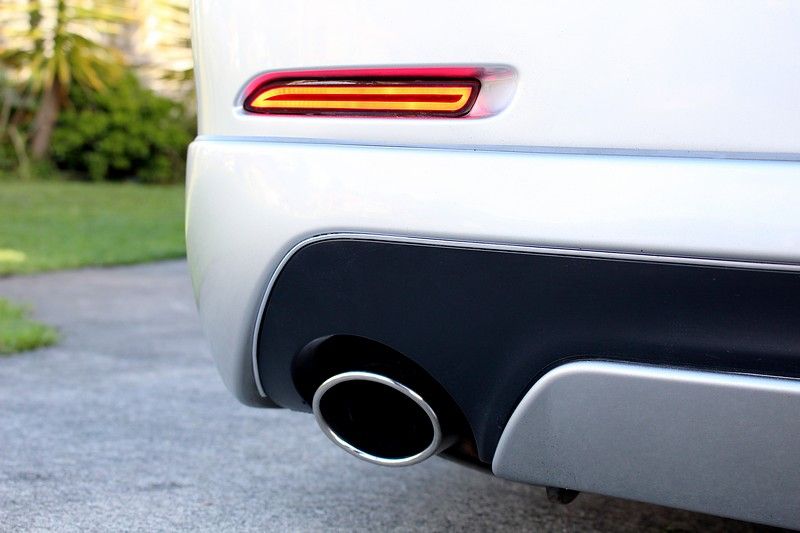
Decided to do a couple of small things to the Aurion this weekend. Had some stick-on chrome trim left so put some around the rear lip. Hard to notice unless you know it's not meant to be there, but makes it look a little better back there.
Tinted the LED bumper reflectors with a 50% opacity black film, so it's now the same colour as the tail lights and has no more glare but isn't fully black when switched off (much better than the 20% tint or red film I tried previously).
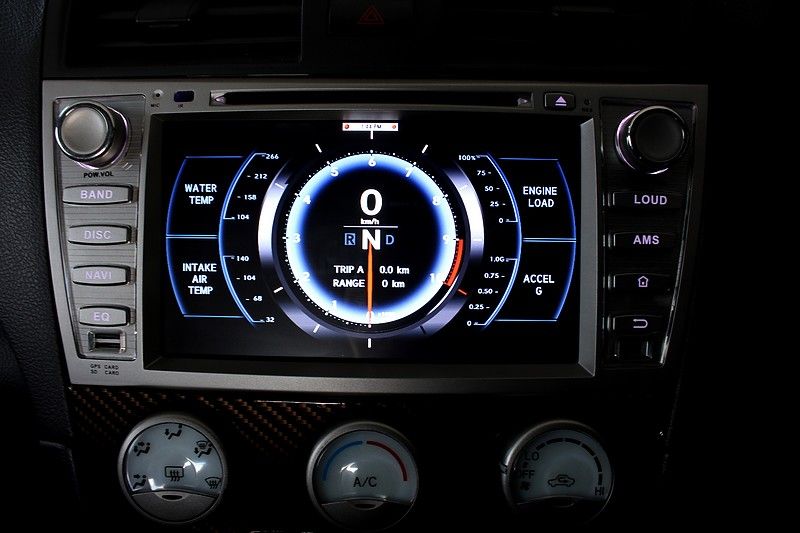
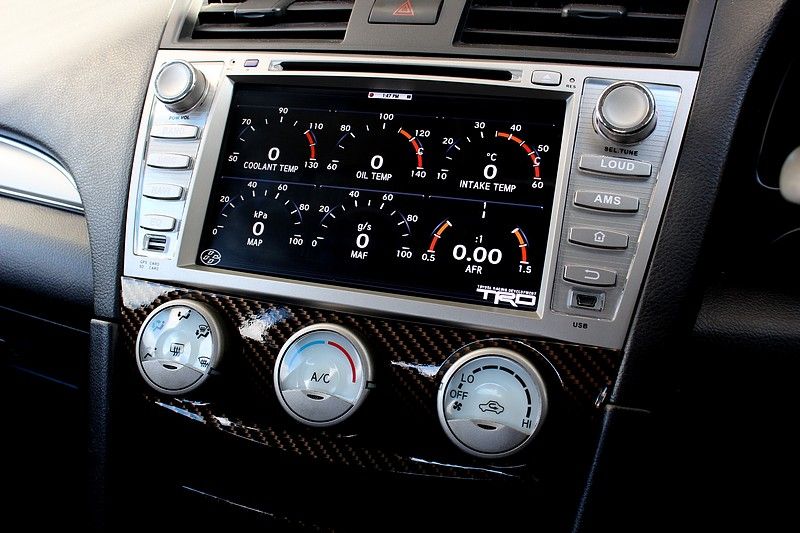
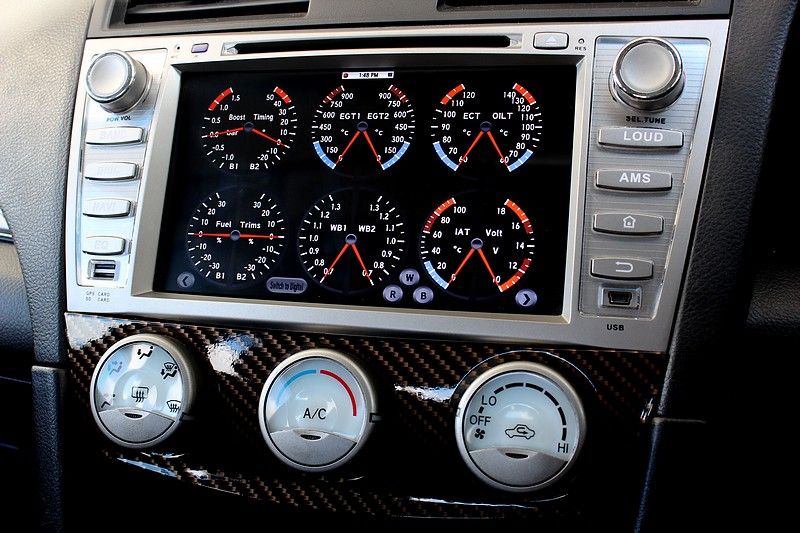
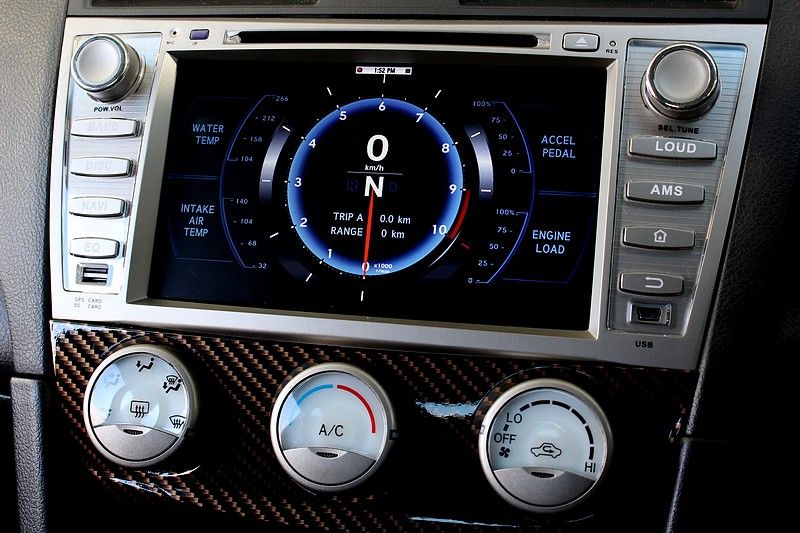
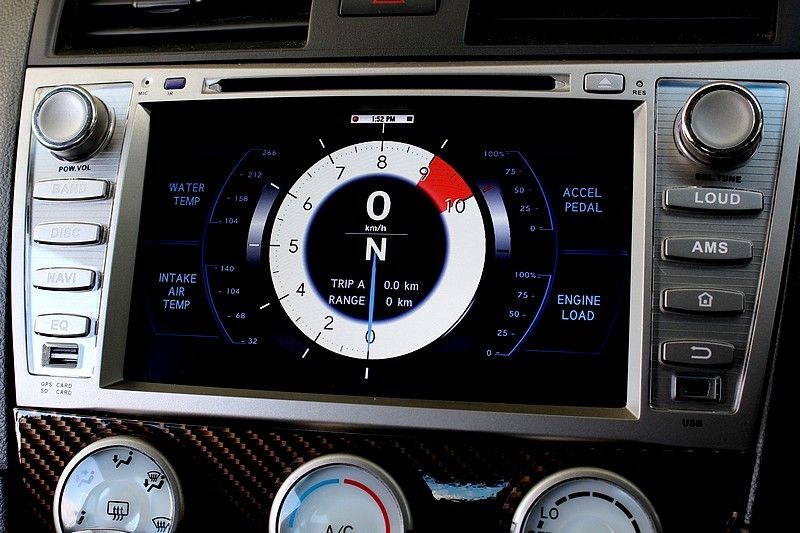
And, last but not least, loaded some custom dash faces onto my head-unit which work with the DashCommand OBD-II software I have installed.
-
1
-
-
I have the same Eonon unit and the reversing camera video input is an RCA connector. I'm pretty sure you can't use your original reversing camera plug with this unit. The harness that are provided connect to your original Toyota harnesses, but only for power and speakers. The reversing camera wires are on a separate plug entirely, and the socket is unique to the original Toyota head-unit you removed. You can still use your original camera but you'd likely have to cut off the connector and put an RCA connector on the end.
-
No problem. Will be keen to hear how you get on. It's been two days and I can definitively say that the clunking is gone. So much nicer driving a car that doesn't clunk over dips in the road every 20-seconds or so. One strange difference was that my front bumper no longer scrapes on my driveway when coming into the garage. Previously it would always scrape under the lip every time I entered the garage, even at the slowest speed possible, but since replacing the ball joints and swaybar D bushes it doesn't scrape, which is a very weird bonus. The car doesn't appear to be any higher than it was previously, so it's a mystery.
-
What differences did you notice while trying to fit the discs? The only thing I can think of that'd be different would be the size of the metal dust shields, but the hub itself should be exactly the same.
-
Quick update on this - I replaced the ball joints today + the front swaybar D bushes and the car is now CLUNK FREE!! :D
I had to buy the swaybar bushes from Toyota since nobody makes aftermarket 25mm bushes for the Sportivo/TRD models, unlike the 24mm ones found in other Aurion and Camry models, but they were only $29 each @ trade price.
I'm not sure if it was the ball joints or the swaybar bushes that were the problem since both were replaced at the same time and both seem to look fine just by the look and feel of them, but something must have been worn just enough to cause the annoying knock that I've put up with for over a year.
-
On 5/15/2016 at 11:08 PM, KAA said:
Love the way it fits the guards..well done
Thanks! I'm loving the new height (or lack of) at the front.
On 5/21/2016 at 4:17 AM, sportivo2007 said:One of the best aurion builds looks amazing ! keep up the great work
Cheers mate. Much appreciated :)
-
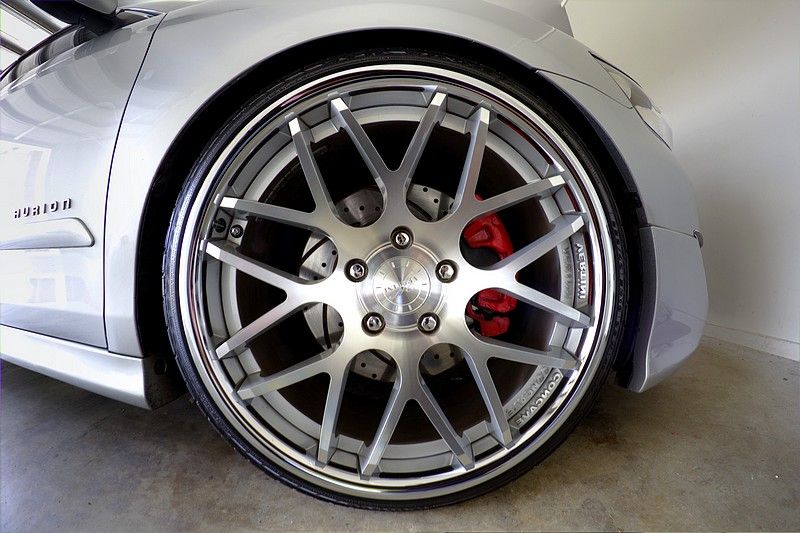
Looks good, especially with the blue on blue!
-
Been through this over the past few weeks with my Aurion. Just make sure the side with the red seal goes at the top and you'll be fine.
-
Try entering the last 4 digits of your VIN number. If that doesn't work you'll have to visit a Toyota dealership to have it unlocked.
-
My SX6 does the same. Never noticed it until I installed lowering springs and it only appears to be coming from the front LH side when turning from a stop or going over certain bumps. The problem has become more noticeable recently after I installed even lower springs in the front. It's worth pointing out that the steering wheel vibrates a bit when doing 110kph on the motorway (not always though, but most times, depending on the surface of the road). Have ruled out alignment, wheel balancing, shocks, swaybar links, strut top bearings, brake rotors and brake pads. The last thing for me to check is the lower control arm bushes. Fortunately I haven't replaced all of those parts in an effort to fix the problem, as they were done in the process of other mods/upgrades, but as a bonus I've been able to rule them out as potential causes of the annoying knock.
-
Been through the complete guts of what's needed side-by-side with two Aurions with a stripped interior (Presara/Grande vs Sportivo) and there are many more changes needed than that unfortunately. For starters there's another servo motor on the airbox behind the dash, which can't be added in to the existing one - That's only for the dual zone function though, but still plays a big part in the functionality of the rest of the unit. The temp sensor down by your left knee is easy enough as there is already a port to plug it into, however you have to run new wiring to the A/C amplifier under the dash. Without swapping literally everything over from the top spec model, including the body harness, there's no easy way to get full functionality. I'd be very happy if someone proved me wrong however, or at least managed to get heat with it, but I believe I've gone down every possible avenue to get it working 'properly' without tearing my whole dash apart.
-
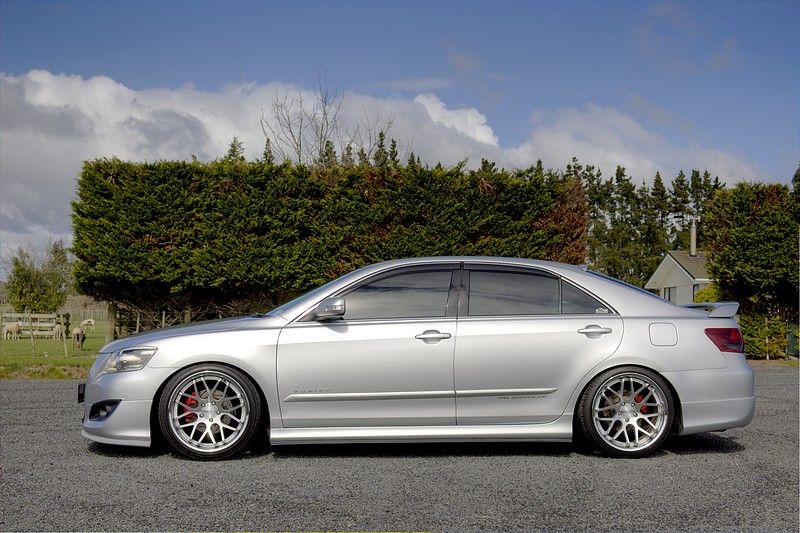
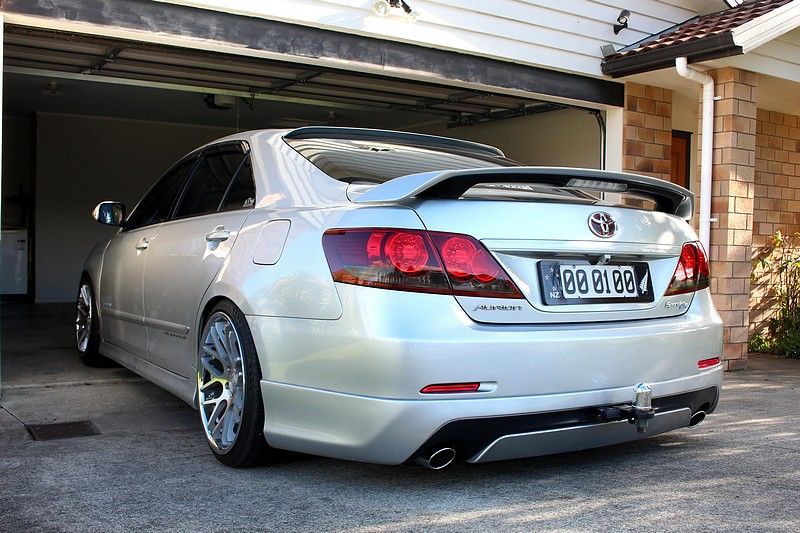
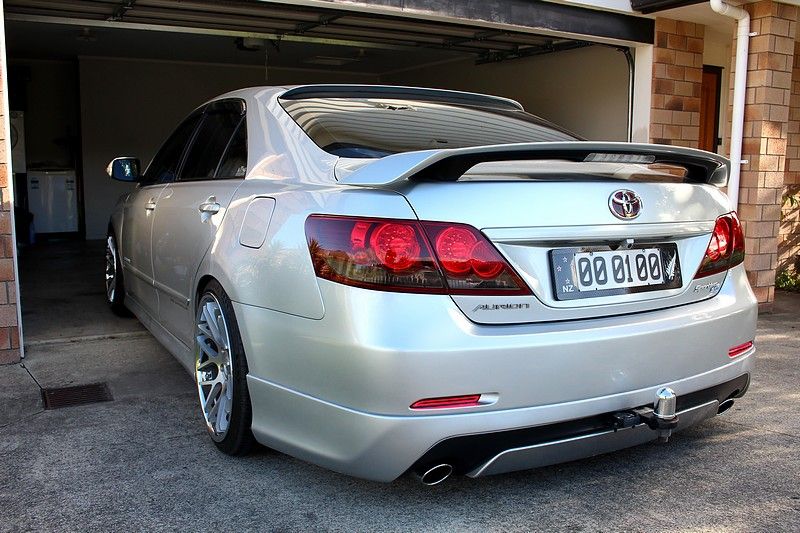
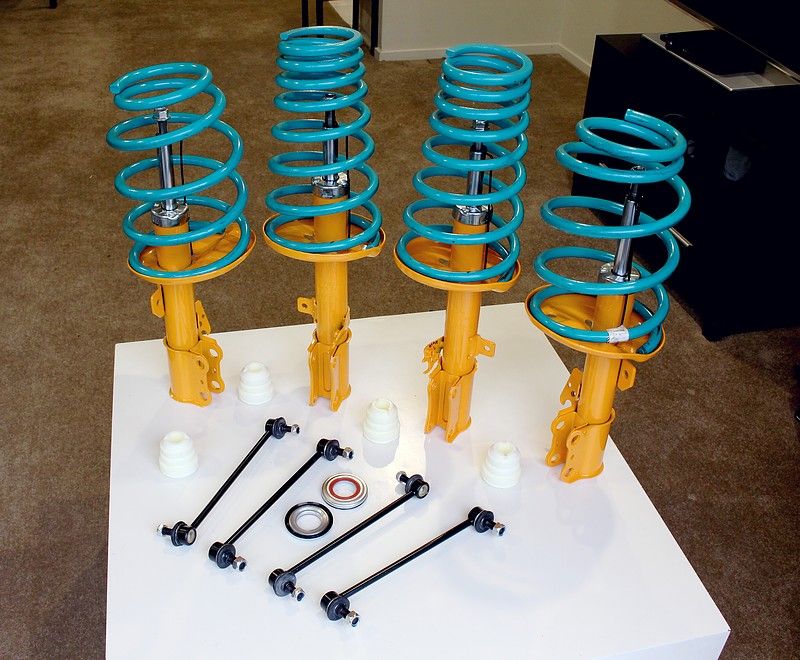
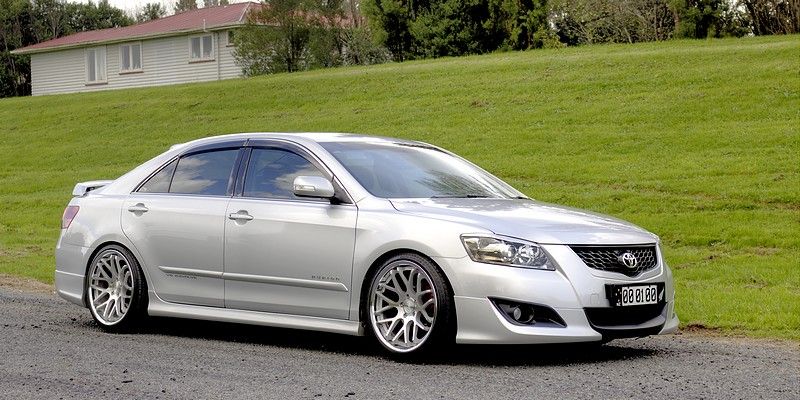
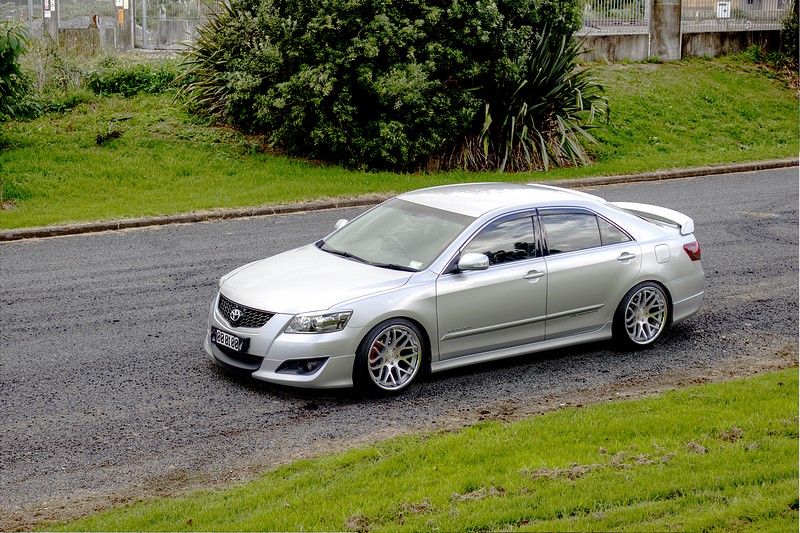
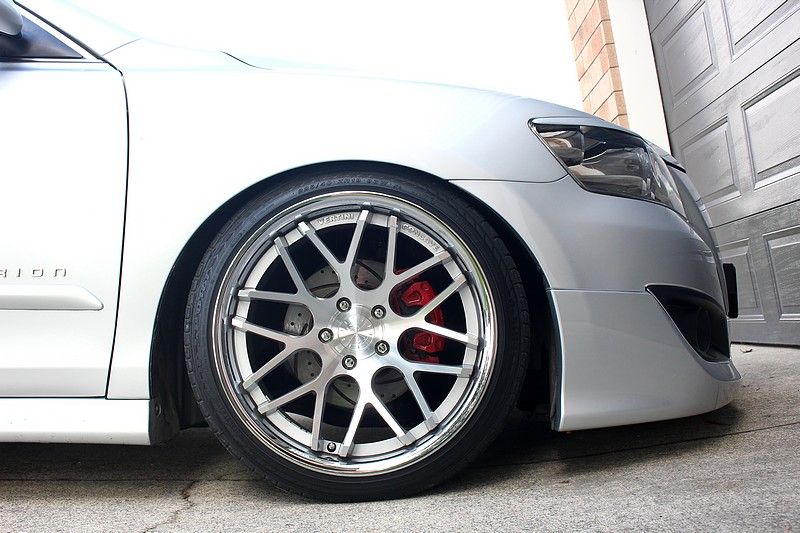
After almost a year of the having the King Springs installed and never really being satisfied with the horrendous fender gap at the front compared to the slammed look at the back, I decided to do something about it and get new springs and shocks. I toyed with the idea of coilovers, but due to needing a cert it just wasn't justifiable enough for me, but luckily these new Dobi springs have dropped it to a coilover-like height without all of the extra expense. To achieve the perfect drop all round I ended up reusing the King Springs in the rear and only used the Dobi springs in the front.
You may notice that the carbon front lip isn't in the photos.....Reason being is that it ripped off from the front bumper trying to get into my garage....twice. So after two unsuccessful attempts to overcome the small concrete lip at the entrance of the garage I decided that a front lip is just never going to work at this sort of height. Even now the bottom of the bumper scrapes against the concrete coming in, and that's minor compared to most places I go, so it's probably for the best :D
-
1
-
-
On 5/8/2016 at 5:38 PM, KAA said:
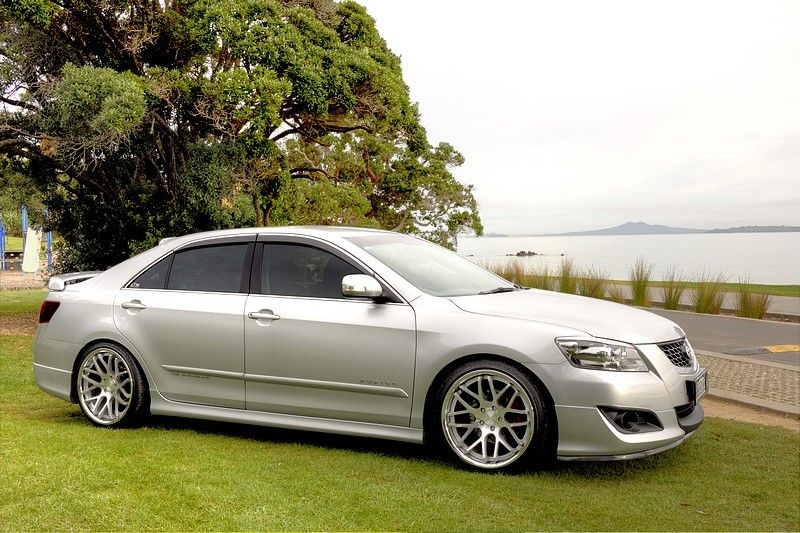
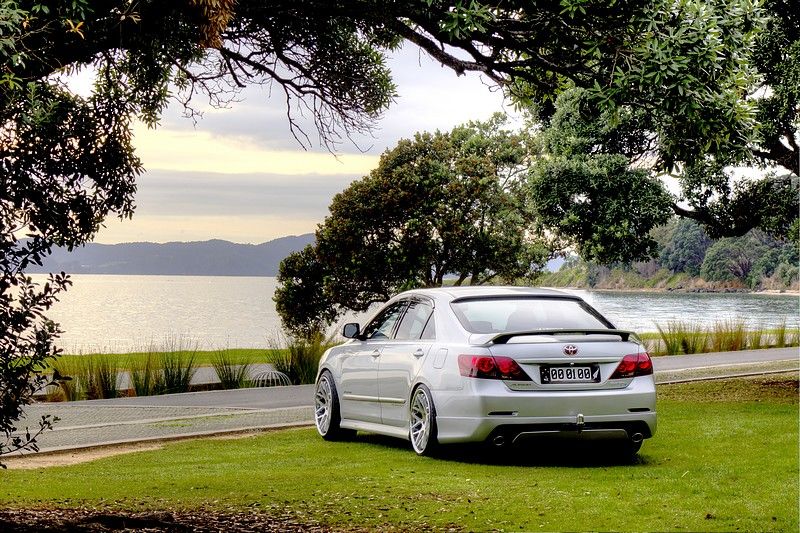
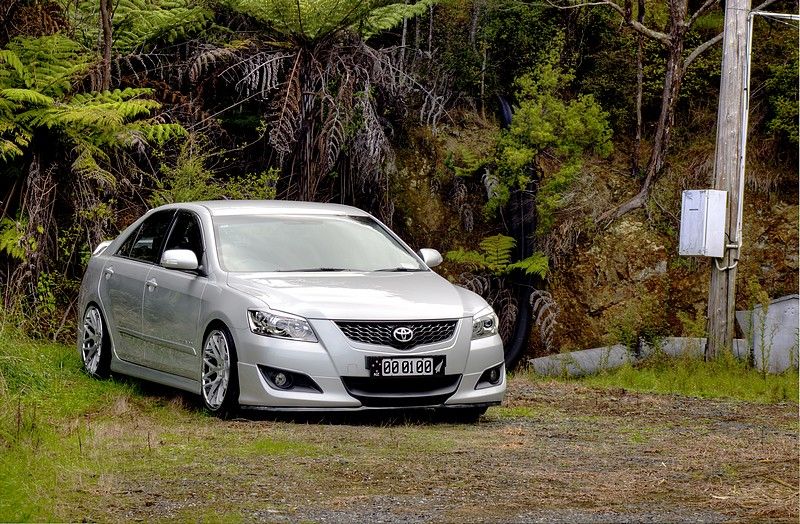
Great Photo's FT..where about's in the land of the long white cloud is that?
Looks beautiful thanks as usual for the Pic's
KAA
Thanks mate :). The first 3 photos were taken at Omana Regional Park, and the last photo was taken near Kawakawa Bay, both here in Auckland and only about a half hour drive from my house.
-
I have an UltraGauge in my Aurion which also measures the air intake temp from the MAF sensor and it's usually only about 3-8 degrees Celcius higher than the outside temp displayed on the cluster. I have a cold air intake fitted with the pod filter located behind the LH fog light however, but even with the factory intake box it was only up to 10-degrees higher when cruising most days. Goes up a lot when the car has been parked due to heatsoak, but there's not much difference when driving. 20-degrees is a big difference. You might want to calibrate the ScanGauge if that's possible.
-
New photos:


help! locked ou
in Aurion / TRD Aurion Club
Posted
Wouldn't have worked since it's an AT-X (no smart key).