


xcyrix
-
Posts
3 -
Joined
-
Last visited
-
Days Won
2
Content Type
Profiles
Forums
Events
Gallery
Tutorials
News & Articles
Videos
Posts posted by xcyrix
-
-
Hi Guys thanks for reply.
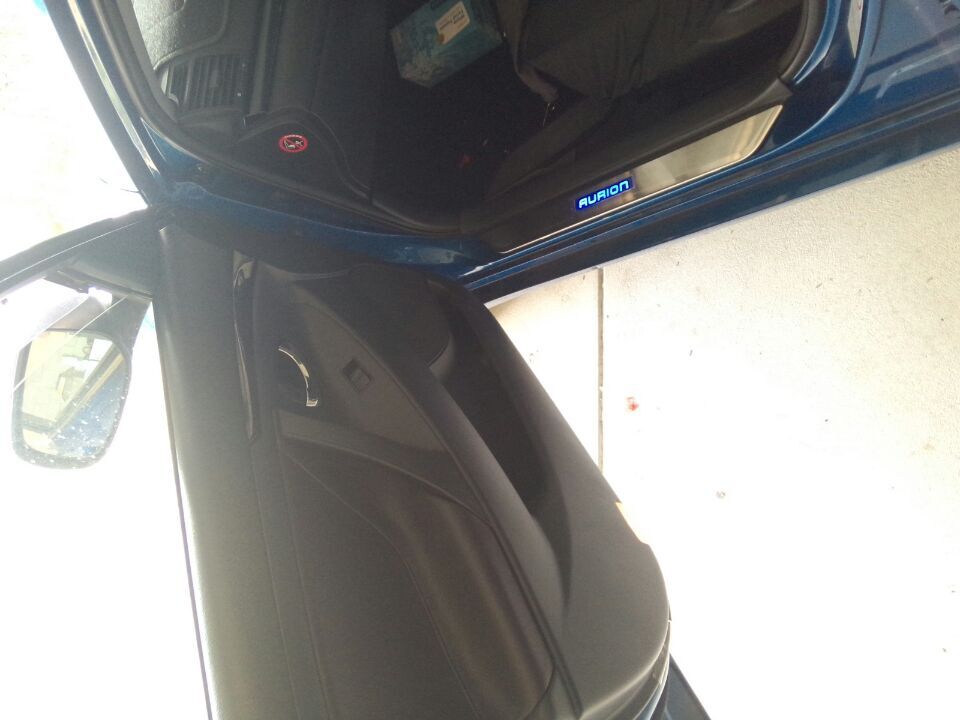
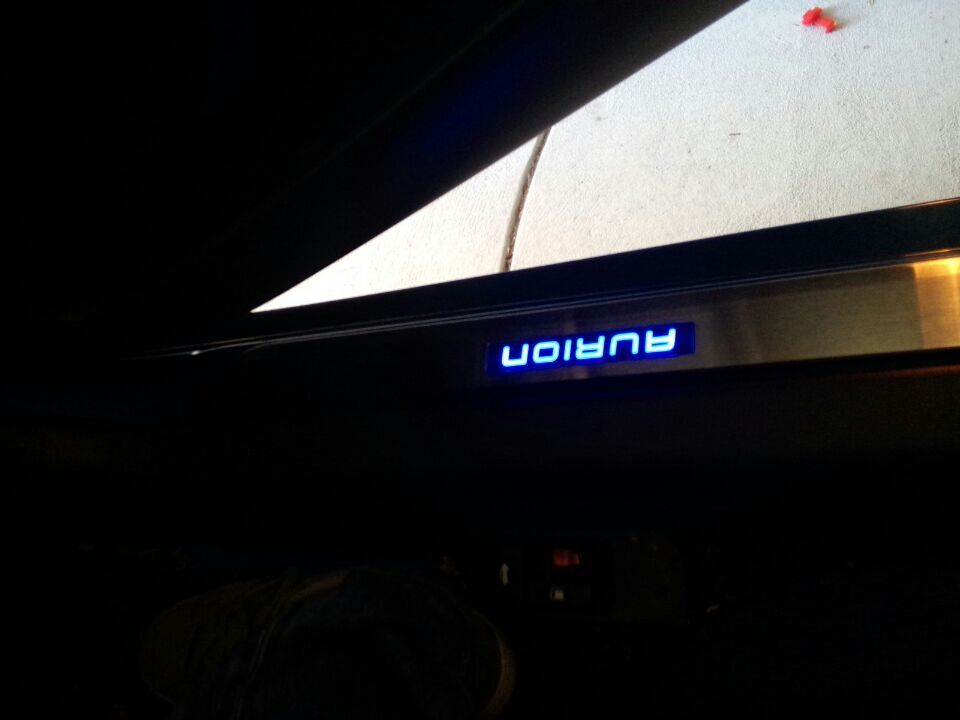
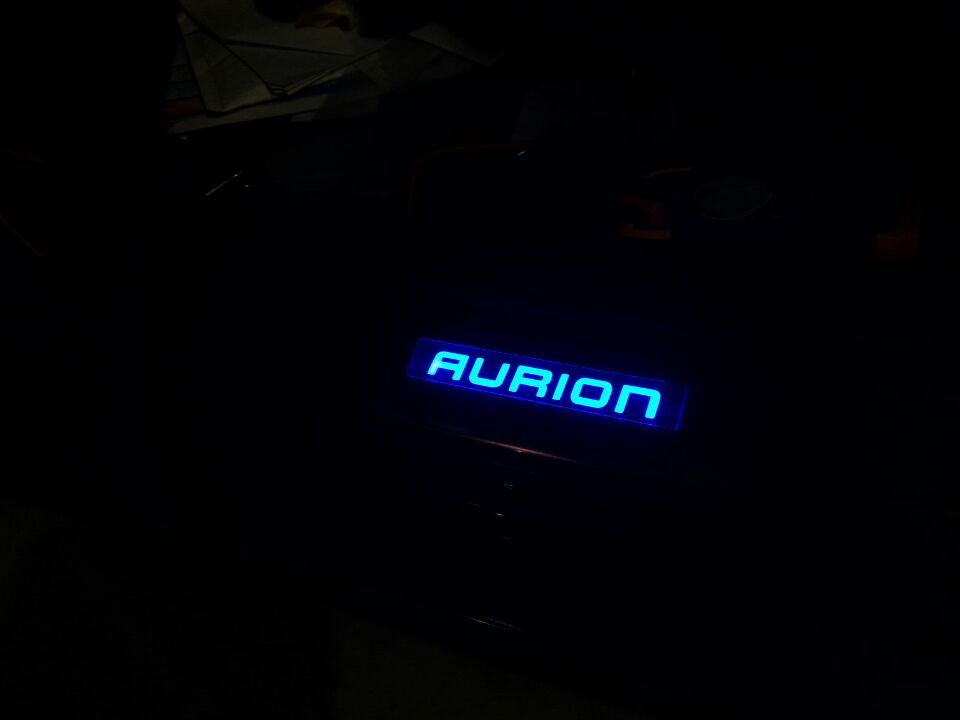
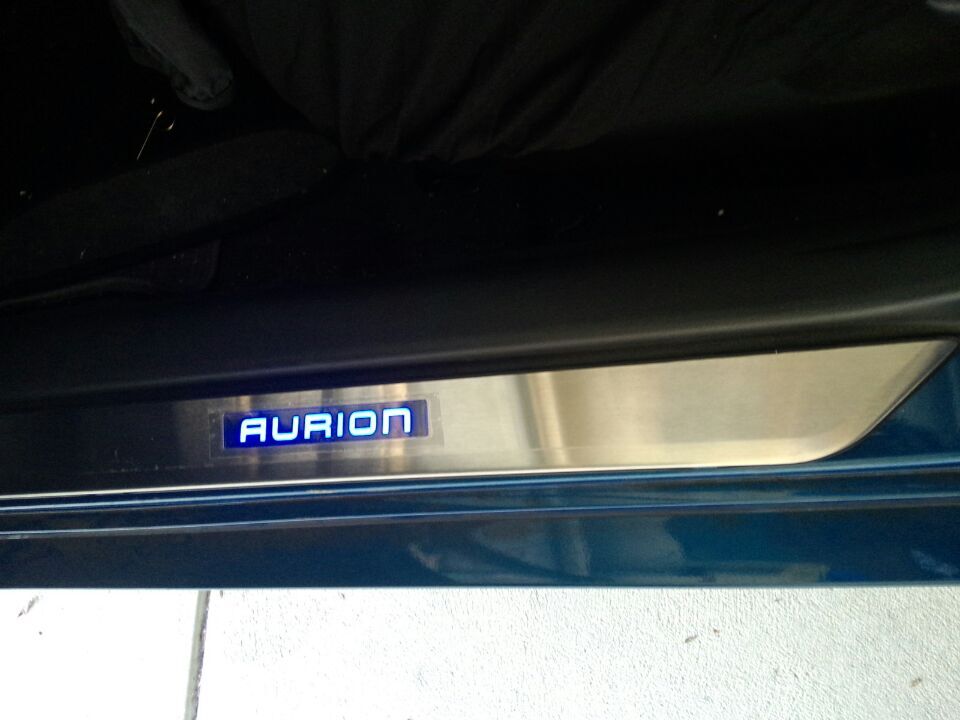
Below is the correct wiring for the front passenger side and the left rear door LED illuminated door scuff plate.
I did not take any pictures for the right side doors however I will explain.
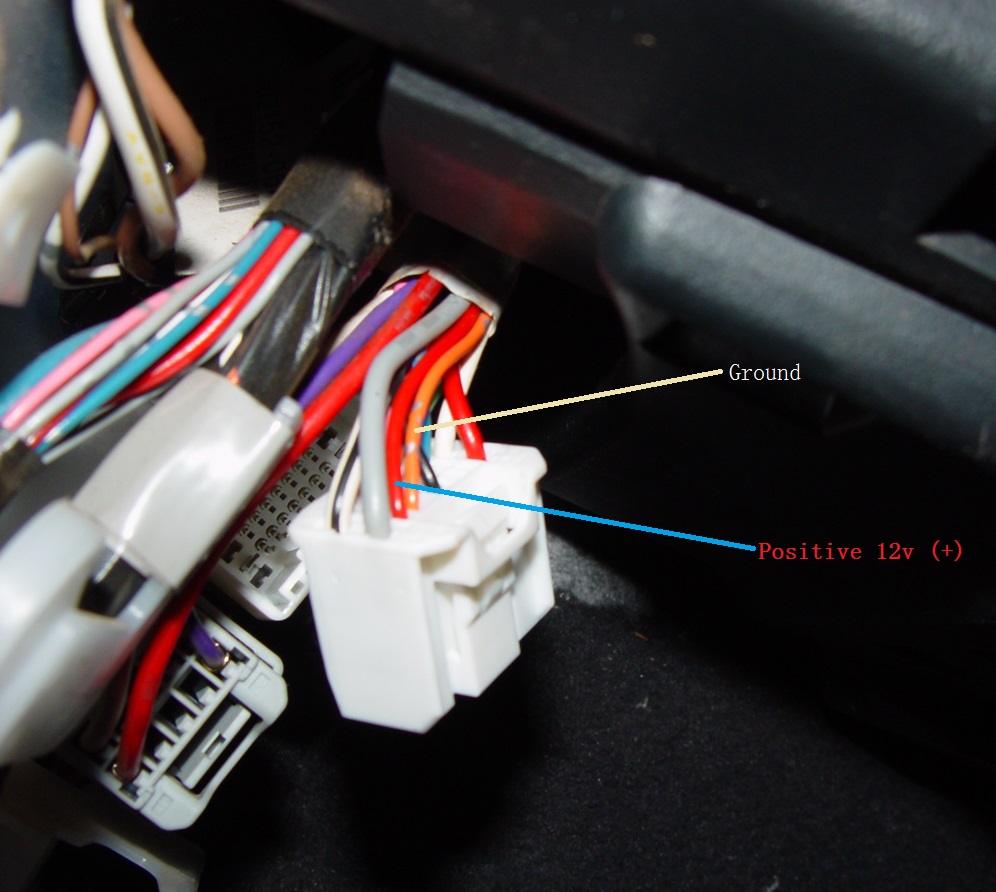
Front passenger side: As pictured, it is located the left corner below the glove box
Red: 12V (+)
Orange with silver dots Ground(-)
Driver side: Same connector as the front passenger side, there are a lot wiring on this side so please do not make a mistake(KEEP YOUR EYES OPEN)
Red: 12V (+)
Orange with silver dots Ground(-)
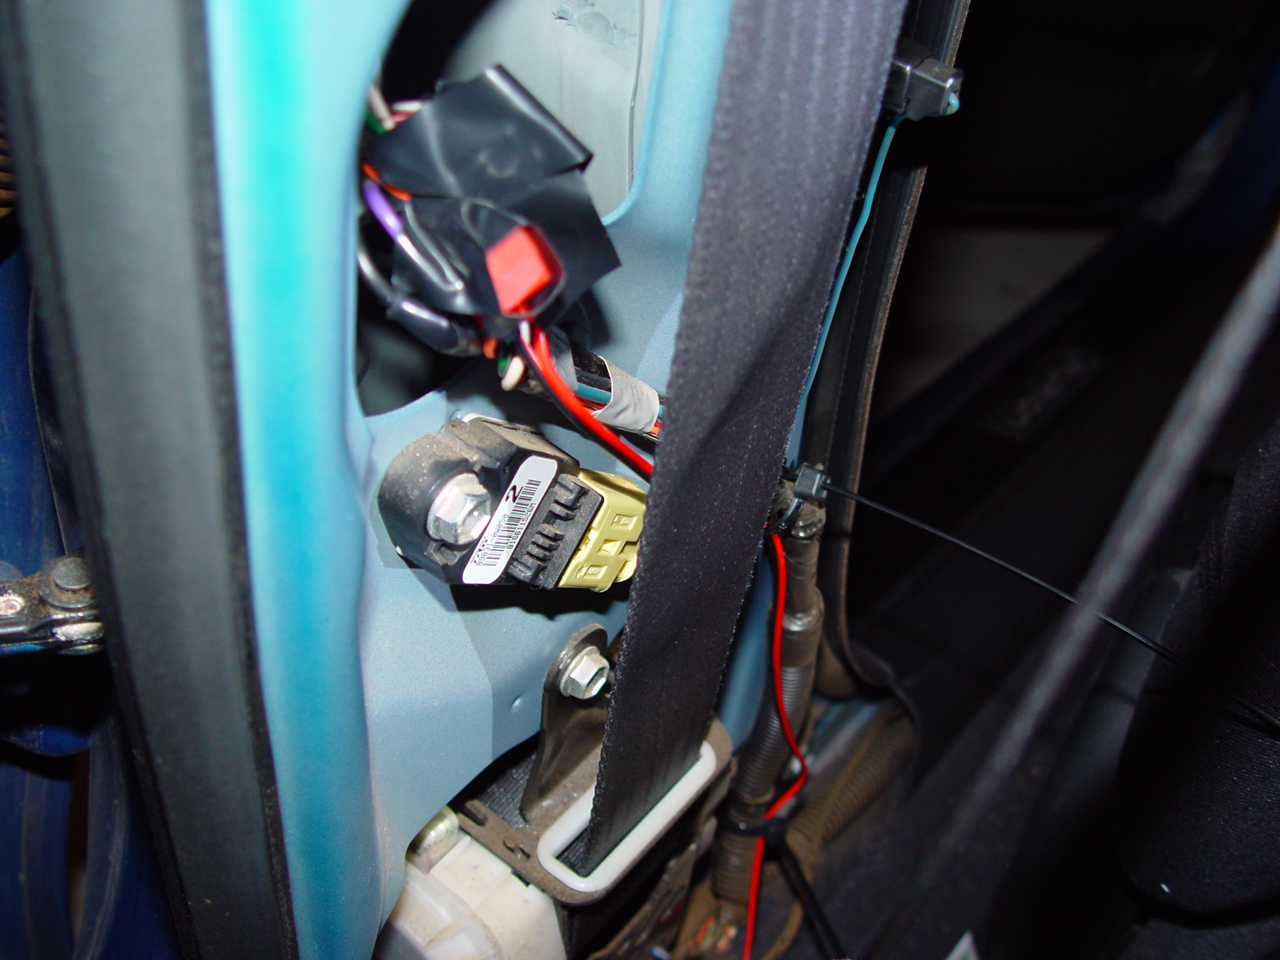
Rear left Door: Located behind the front seat belt mechanism as pictured, remove the cover you will then access it.
Red: 12V (+)
Orange with silver dots Ground(-)
Rear Right Door: Located behind the front seat belt mechanism, BE VERY CAREFUL the colour code is different here
Black: 12V (+)
Orange with silver dots Ground(-)
To member GruAncH, There is no need to modify the original plastic scuff, just attach them to the plastic scuff directly. You will need to apply a bit of pressure to flat them so that the door can close correctly.
To member JIMNZ, you can buy the LED scuff plate from EBAY, just put in the key words to search.
Hope this will help.
Cheers Guys

-
 1
1
-
-
Just installed, spend a bit of time to figure the right wirings of the four doors to get them worked.
when the door open the light will come on same as the Courtesy/Side Door Lights.
If anyone wants any info about the wirings, simply let me know.
Great fun as a weekend minor project.
Cheers
-
1
-


Changeover manual A/C for Dualzone climate control
in Aurion / TRD Aurion Club
Posted
I also upgraded the dual climate air con control. As Full-Throttle said the Air con control board must be replaced to part # is: 89660-xxxx otherwise I would not work. To my surprise that both boards(manual and digital) are exactly the same, possibly the firmware are different so that the manual board does not work with the digital controller.
The dual climate control looks a lot nicer than the old school manual one however the manual knob is a lot easier to use in my opinion.
Also as Full-throttle has already mentioned, the dual climate control on my ATX only produces cold air, not blowing heat air at all, which is the compromise that you need to take if you decide to change over.
I paid $30 for the controlling board and $30 for the digital dual climate controller from a wrecked presara, great value for the upgrade.
Also, DO NOT try to get the Camry dual climate control to use in an Aurion, although they look the same. It would not work and verified by me.
I also took the chance to upgrade the wood grain middle dash, the TRD gear knob, the TRD Seats, automated rear mirror and trims. My ATX looks a lot nicer now.