


rayt32
-
Posts
30 -
Joined
-
Last visited
-
Days Won
2
Content Type
Profiles
Forums
Events
Gallery
Tutorials
News & Articles
Videos
Posts posted by rayt32
-
-
Compression specs is 190psi or more, my 7afe is 215psi. No blue smoke or smoking on the tail pipe. Had oil moisture in the input and out put oil cooler hoses and had replaced them with genuine toyota hoses ($150 for the hoses ooouucchh) .
Last nite had soak the cylinder (50ml) with seafoam overnite and refill them up again this morning(another 50ml). Cylinder 1&2 seafoam got empty but 3&4 did not go empty. By monday morning will change oil and let us see what will happen.
-
-
-
My Ae112 corolla with 270k kms is burning 250ml of oil in every 500 kms. Done compression test all cylinders are ok with even results. Pls find below compression results and specs from an original toyota repair manual.
-
I was doing preventive maintenance on my Avalon two weeks ago by replacing the three ignition coils i purchased in the States thru ebay (Standard Motor products part # UF155) heavily discounted.
While in the process of changing the coils the middle ignition coil connector locking tab got broken and just have to reconnect it back.
I called up Toyota Motorama and inquire about the connectors and they said it is not avaliable.
Look up at ebay US and found a few vendors selling it but was hesitant at first because there is no mentioned of 1MZFE engine http://www.ebay.com....984.m1497.l2649 . Contact the vendor and told me it will fit.
The connectors arrived yesterday and had fit it today after work, and was surprised that the broken coil connector is almost about to fall off.
The replacement is a little bit tricky (you can search thru youtube to give you an idea) but eventually i was able to replaced them.
I also did replaced the torque strut mount using a Super Pro polyurethane bush( i had two replacement ever since using rubber). The first road test i could hear a creaking sound when accelerating (I used the supplied silicon grease). I removed the mount and use a Red Nulon Multipurpose Grease and apply it on the inside/outside of the steel bushing and the mounting faces of the bush. The creaking sound is gone and the time delay/ time lag during acceleration when you press the accelerator is gone.
I end the day very satisfied .
-
hey mate , i am posting the manual transmission and clutch pdf for your perusal.
-
 1
1
-
-
question: is your car a Corolla ascent or conquest ? ABS brakes?
Ae112 levins have ABS brakes, and the rotor hubs will have a rotor ring, in that case if your car is non ABS its still ok.
You must have the brake cables and the brake rubber hoses, the cables are not available in the aftermarket shelf and they are very expensive at Toyota.
About the brake pressure equaliser (found at the firewall), check whats in your car if there is any difference in shape w/ the donor car, if the same it could be ok not to get it.
-
No problem , gather all the parts needed and come down here in Brisbane.
And here fo a teaser, I was checking parts at a wreckers and saw a Levin AE112 that was front ended. All brake disc assembly and rear knuckles are intact.
Question is what you gonna do?
-
You could still get the RDA rotors cheap but not slotted (RDA709) around $100 a pair. I have done the brake drum conversion to disc using a AE102 conquest sedan. It is a bolt off bolt on affair, pls note you have to get the equalizer hand brake cable on each caliper , the brake line hoses, the brake pressure equalizer,and the rear hubs assembly to complete the installation from the donor car. You can also use the parts from a AE112 Levin. If you want to undergo this project , post a question in this forum and i am willing to help you.
-
 It has a 13ohms heater resistance, high wattage, 4wires, Flange type (54mm pitch) sensor. I just installed this today, arrived from US, Part number SG470 Standard Motor Products, same sensors use on 1998-2001 Toyota Corolla/ Chevy Prizm 1ZZFE engine.
-
Got the RDA slotted rotors (part#RDA709s) at ebay discounted $120 delivered (end of financial year discount) , got the genuine Toyota brake pads for Camry (SDV10 ) aftermarket Part # DB1467 at $25 at ebay.
By looking at your profile picture,your car has part #DB308 (see bendix.com.au) front disc pad.
-
The O2 sensor of the Ae112 is located downstream , near the catalytic converter. While the AE102 is below the exhaust manifold, you have to drill and weld an o2 sensor bung on the ae112exhaust manifold/ extractor same position where the ae102 ,in that way you can install the o2 sensor.
But if you got no time to do the modification, just swap it.
-
Yes you can, provided you use the AE102 wiring harness loom. Get rid of the exhaust manifold of the AE112 and use the AE102. Pls also check that the sensor connectors of the wiring loom will fit the sensors connector on the AE112 engine. The distributor connectors countercheck also if the y will fit.
-
Lovell front heavy duty spring Lovell rear heavy duty spring
Will be installing soon this heavy duty spring on four corners of my Avalon. The spring has the same part number as of the Camry MCV20. Even though they share the same part number w/ the Camry, Lovell's technical people told me that it is 30% stiffer w/ the original springs on the Avalon. The rears eyebrow height will be 5mm higher than original, which will be good to carry heavy stuff on the back w/ out any excessive spring compression when heavily laden.
The front KYB struts has already 40,000 ks since new and its feeling floaty, maybe if funds are available i will replace it with SENSEN struts (write ups on web is good) or Sachs super touring struts which i will source this thru Rockauto.
Will post the installation process steps when done.
-
pls check this website
speedhunters.com and check the angry bird.
-
Auto transmission PDF service and repair manual.
-
2
-
-
2nd batch download of corolla 1zzfe repair manual. There is still more but i have overshoot my download limit. Maybe the admin could direct me how to download the whole PDF repair manual so that we could share this to all Toyota owners club member. By the way i will only download the most impt section of the manual.
-
2
-
-
hey guys,
this service manual is sitting in my computer for a long time,, maybe you can make use of it.
-
3
-
-
check the "Thirsty Avalon" thread under Avalon forum that i posted maybe it could help you find the answer.
-
I have done/repaired many of my friends car problems using the advice of RACQ. For me power steering leak could not make a car stall instead it will make your steer hard especially when the fluid dries up. I would suggest replacing also the fuel filter when you are in the process of replacing the fuel pump.
-
The pic of a stock AE112 brake rotor The picture after brake rotor replacement . I use a RDA slotted rotor , replace the brake pads using a Toyota original disc pad for camry i bought from ebay , grease and lubricate the caliper sliding pins. I would say brake bite had improve very significantly over stock.
-
1998 AE112 stock front speaker removing the rivets by using a drill or a ball chamfering tool in my case to remove the rivet head x3. cut out the embossed speaker frame and cut out 25mm thick wood using a jig saw just to snugly fit on the speaker frame and tack it using a tack nails. placing the 6.5 inch alpine speaker on the modified speaker frame to properly orient the screw where to mount it. mounting the modified speaker frame on the door and screwing it on place mounting the speaker on the speaker frame but don't forget to make the necessary wire connnections. Alpine mrxf30 amps that arrived that i bought from Sonic Electronix from the States, i was lucky when i was surfing the net they are on sale around 30% discount RRP. Channel 1 & 2I drive the two fronts speaker and bridge channel 3 and 4 to drive the subs. making necessary wire connection to put a line output converter/ filter. making preparation on the wirings before putting in the car. Each wire is tag where to be connected to avoid confusion during installation. Alpine S type 6.5inch speaker that i use on the front. Subwoofer box and 12 inch kenwood subwoofer speaker i got at a very discounted price before the demise of WOW sight and sounds
-
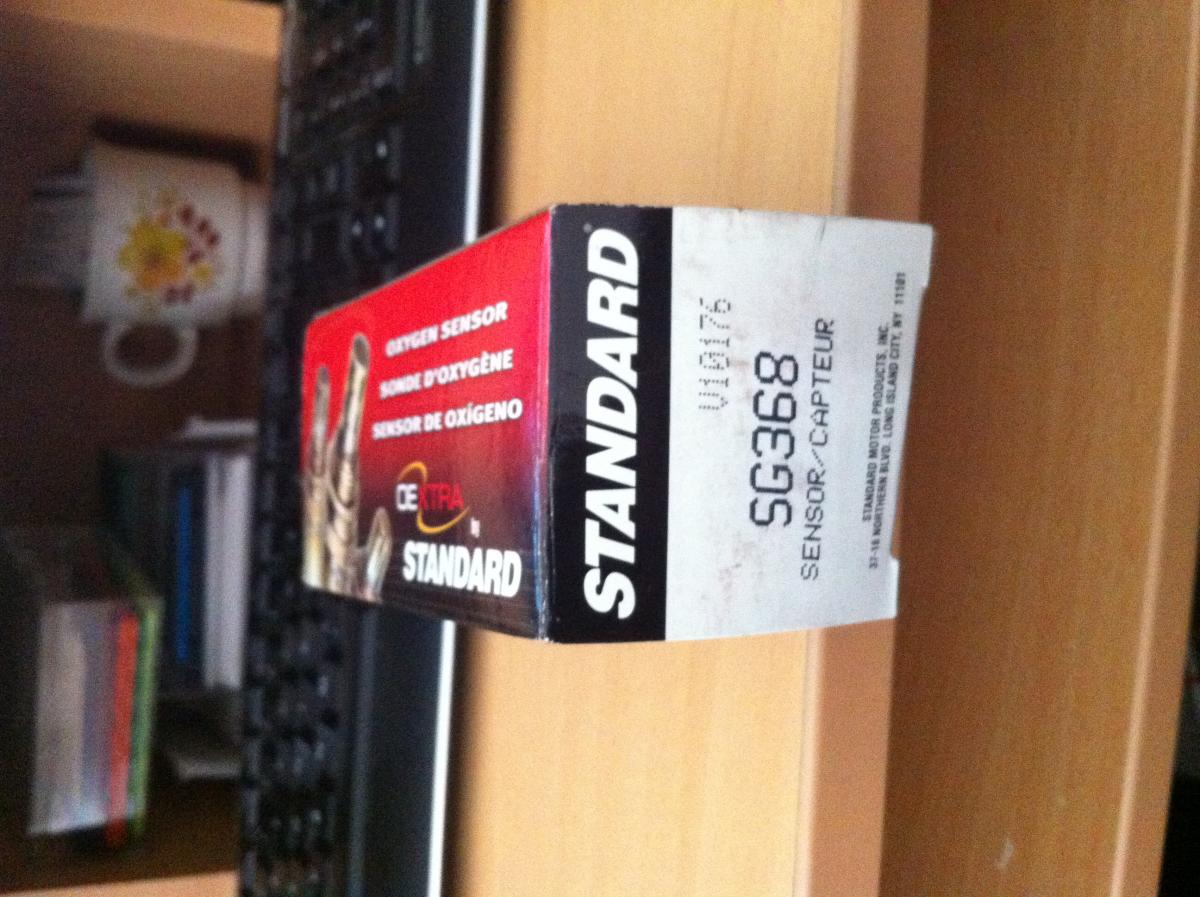
hello guys i have posted the old lazy oxygen sensor picture and the box containing the new sensor .
-
Hello guys, i just made a 2,890kms return trip from Brisbane to Canberra. All the DIY repairs and upgrade that i made really make my trip pleasant and worry free. Even though at the back of my mind i am doubting the correctness and longetivity of the repairs/upgrade that i have done.
The following repair/upgrade are:
1) replace all the timing belt and components. (cam/crank seal, tensioner/idler roller, water pump, thermostat etc)
2) upgrade the rear stabilizer bar from 17mm (standard) to 20mm Whiteline heavy duty. (this really improves handling especially understeer)
3) replace all four struts (front and rear) using KYB gas struts.
4) replace the fronts control arm bush ( front and rear) using nolathane urethane bush.
5)replace the rear trailing arm bush to nolathane urethane bush.
6) replace the front and rear stabilizer link (front and rear nolathane) and also upgrade the stabillizer D bush w/ Nolathane.
7) replace the front and rear disc pad using Bendix GCT also drain and flush the brake master cylinder and brake lines.
8)replace the left and right bank oxygen sensor. (it really improves the gas mileage also see "thirsty avalon thread")
9)replace the original slipping transmission w/ a second hand from wreckers. While on the process of replacing it , the rear crank seal, torque converter seal, left and right drive shaft seal are also been replace using Toyota genuine seals. (this is a very big and complicated job for me so i put it in BP station garage located at Boundary road Wacol).
10) replace all spark plug wires (original), use Bosch Iridium fusion plugs, left and right bank valve cover gasket .
11)use only synthetic 5w/30 synthetic oil (castrol edge at first, very expensive was able to procure Lubrimaxx synthetic from my workplace at wholesale price at 20litres container)
12) replace all tyres with Pirelli P7 (205/65/15)
There are more bits and pieces that i have done but those listed above are the major.


7afe oil burning
in Corolla / Corolla Sportivo Club
Posted
After soaking the cylinder with Seafoam (Boy, i really covered the neighbourhood with smoke when the engine starts) i pour the remaining Seafoam on the crankcase. Run the car for two weeks (1000 kms) and did the oil change(oil is really black like tar).
The car engine is purring like new and it really did fix the oil burning. Oil level remains constant for around 1000 kms now and my plans for acquiring a new Corolla SX is on hold.