jefevrit
-
Posts
4 -
Joined
-
Last visited
-
Days Won
1
Content Type
Profiles
Forums
Events
Gallery
Tutorials
News & Articles
Videos
Everything posted by jefevrit
-
A must for TRD Aurion owners! Front view cam
jefevrit replied to TRD468's topic in Aurion / TRD Aurion Club
Many thanks TRD468, for giving us details of your quite ingenious relay method of preventing conflict between video signal from front or rear camera. This is certainly appropriate where the camera system is using video signal cabling between cameras and the display screen. I have recently installed the Kogan KARVSRCAMRA reversing camera system to my 2007 Aurion Prodigy, and have used the non-wired (i.e. wire-less) method to get the video signal between camera and screen. So far, this has worked very well, the only difficulty being making reliable electrical connection between the lead-wires of the Kogan bits and the car's wiring cables (due to the very-small gauge of these cables not working very well with the "ScotchLock" wire-tapping terminals). I am now going to try wire-less installation of a front-view camera. I am assuming that the 2.4GHz transmitter I have purchased will talk to the 2.4GHz receiver already installed in the head-lining of my car as part of the rear-view camera system. I am intending to tap the headlight low beam cables for 12V supply to the front camera and transmitter, so that they are only energized when the low beam lights are lit Of course, if the car is in reverse and the headlamps are lit, there will be two conflicting video signals trying to access the screen's receiver, so to avoid this the car's lights will need to be switched to parking lights only. Not as elegant a solution as that of TRD468 but, if one is happy to use the wire-less type signal system, the installation job will be a lot simpler and quicker. -
Adding Kogan Reversing Camera to Aurion Prodigy
jefevrit replied to jefevrit's topic in Aurion / TRD Aurion Club
Thanks for your response, texasflysuperstar. No, the clear LEDs of my Kogan rear-view camera have, so far, not lit-up at any time. What you say re the LEDs mabe being for infra-red vision makes sense to me, as other makers of car external video cameras do claim I-R performance. I am very pleased with the clarity, colour, and coverage-angle of my Kogan system under daytime or night conditions. -
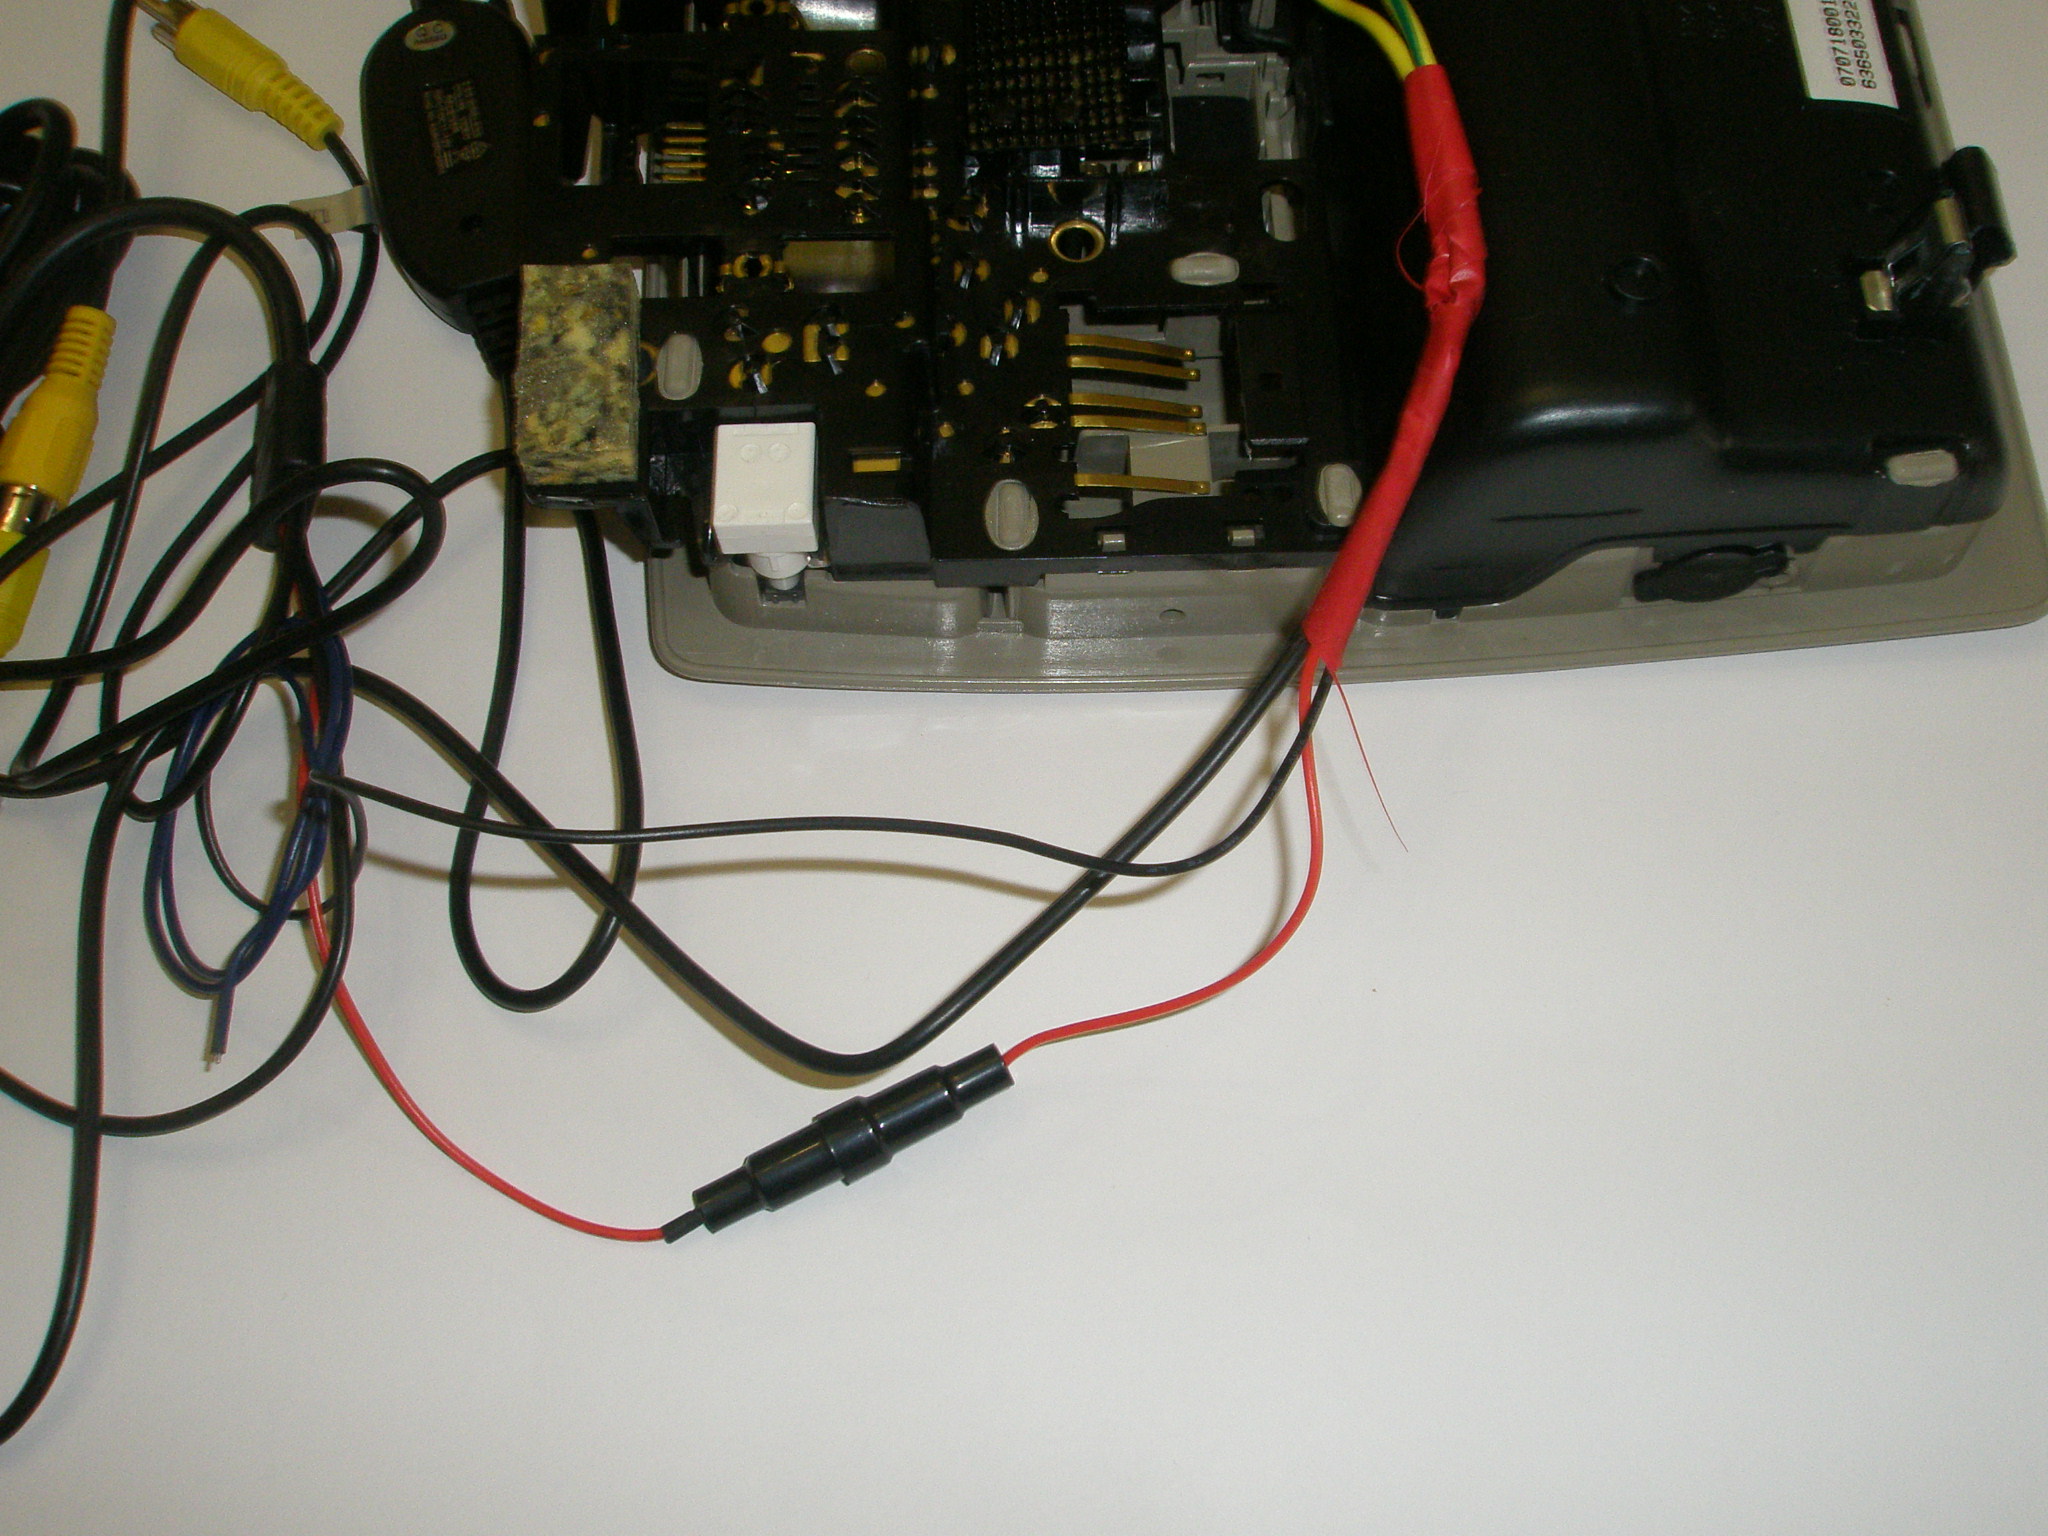
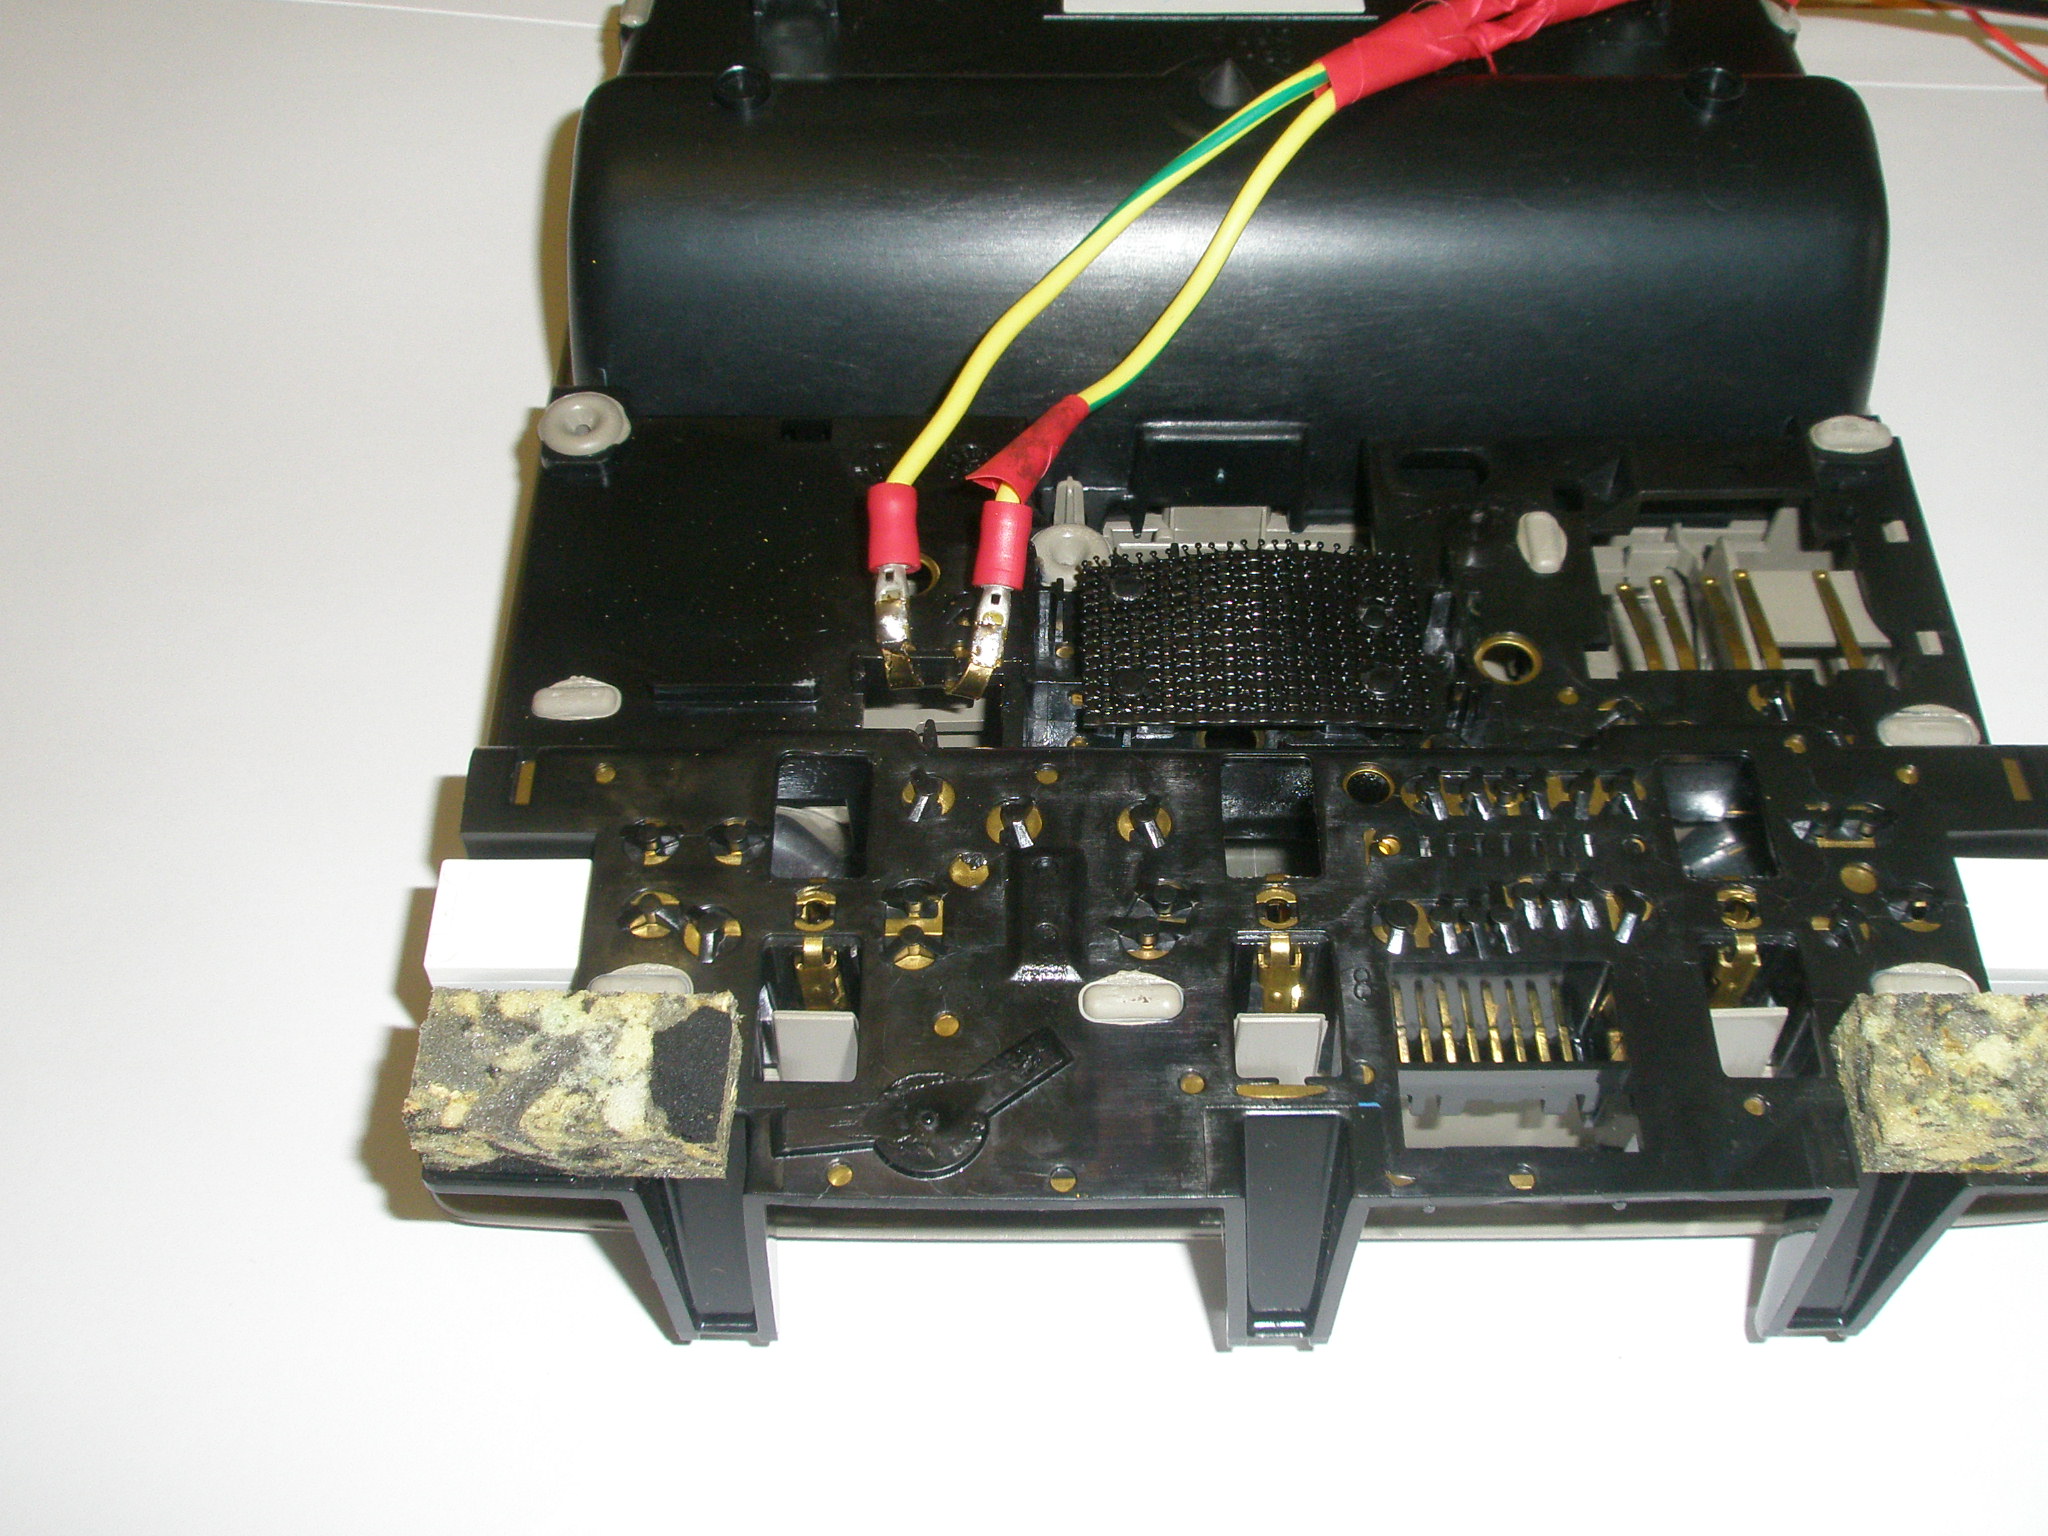
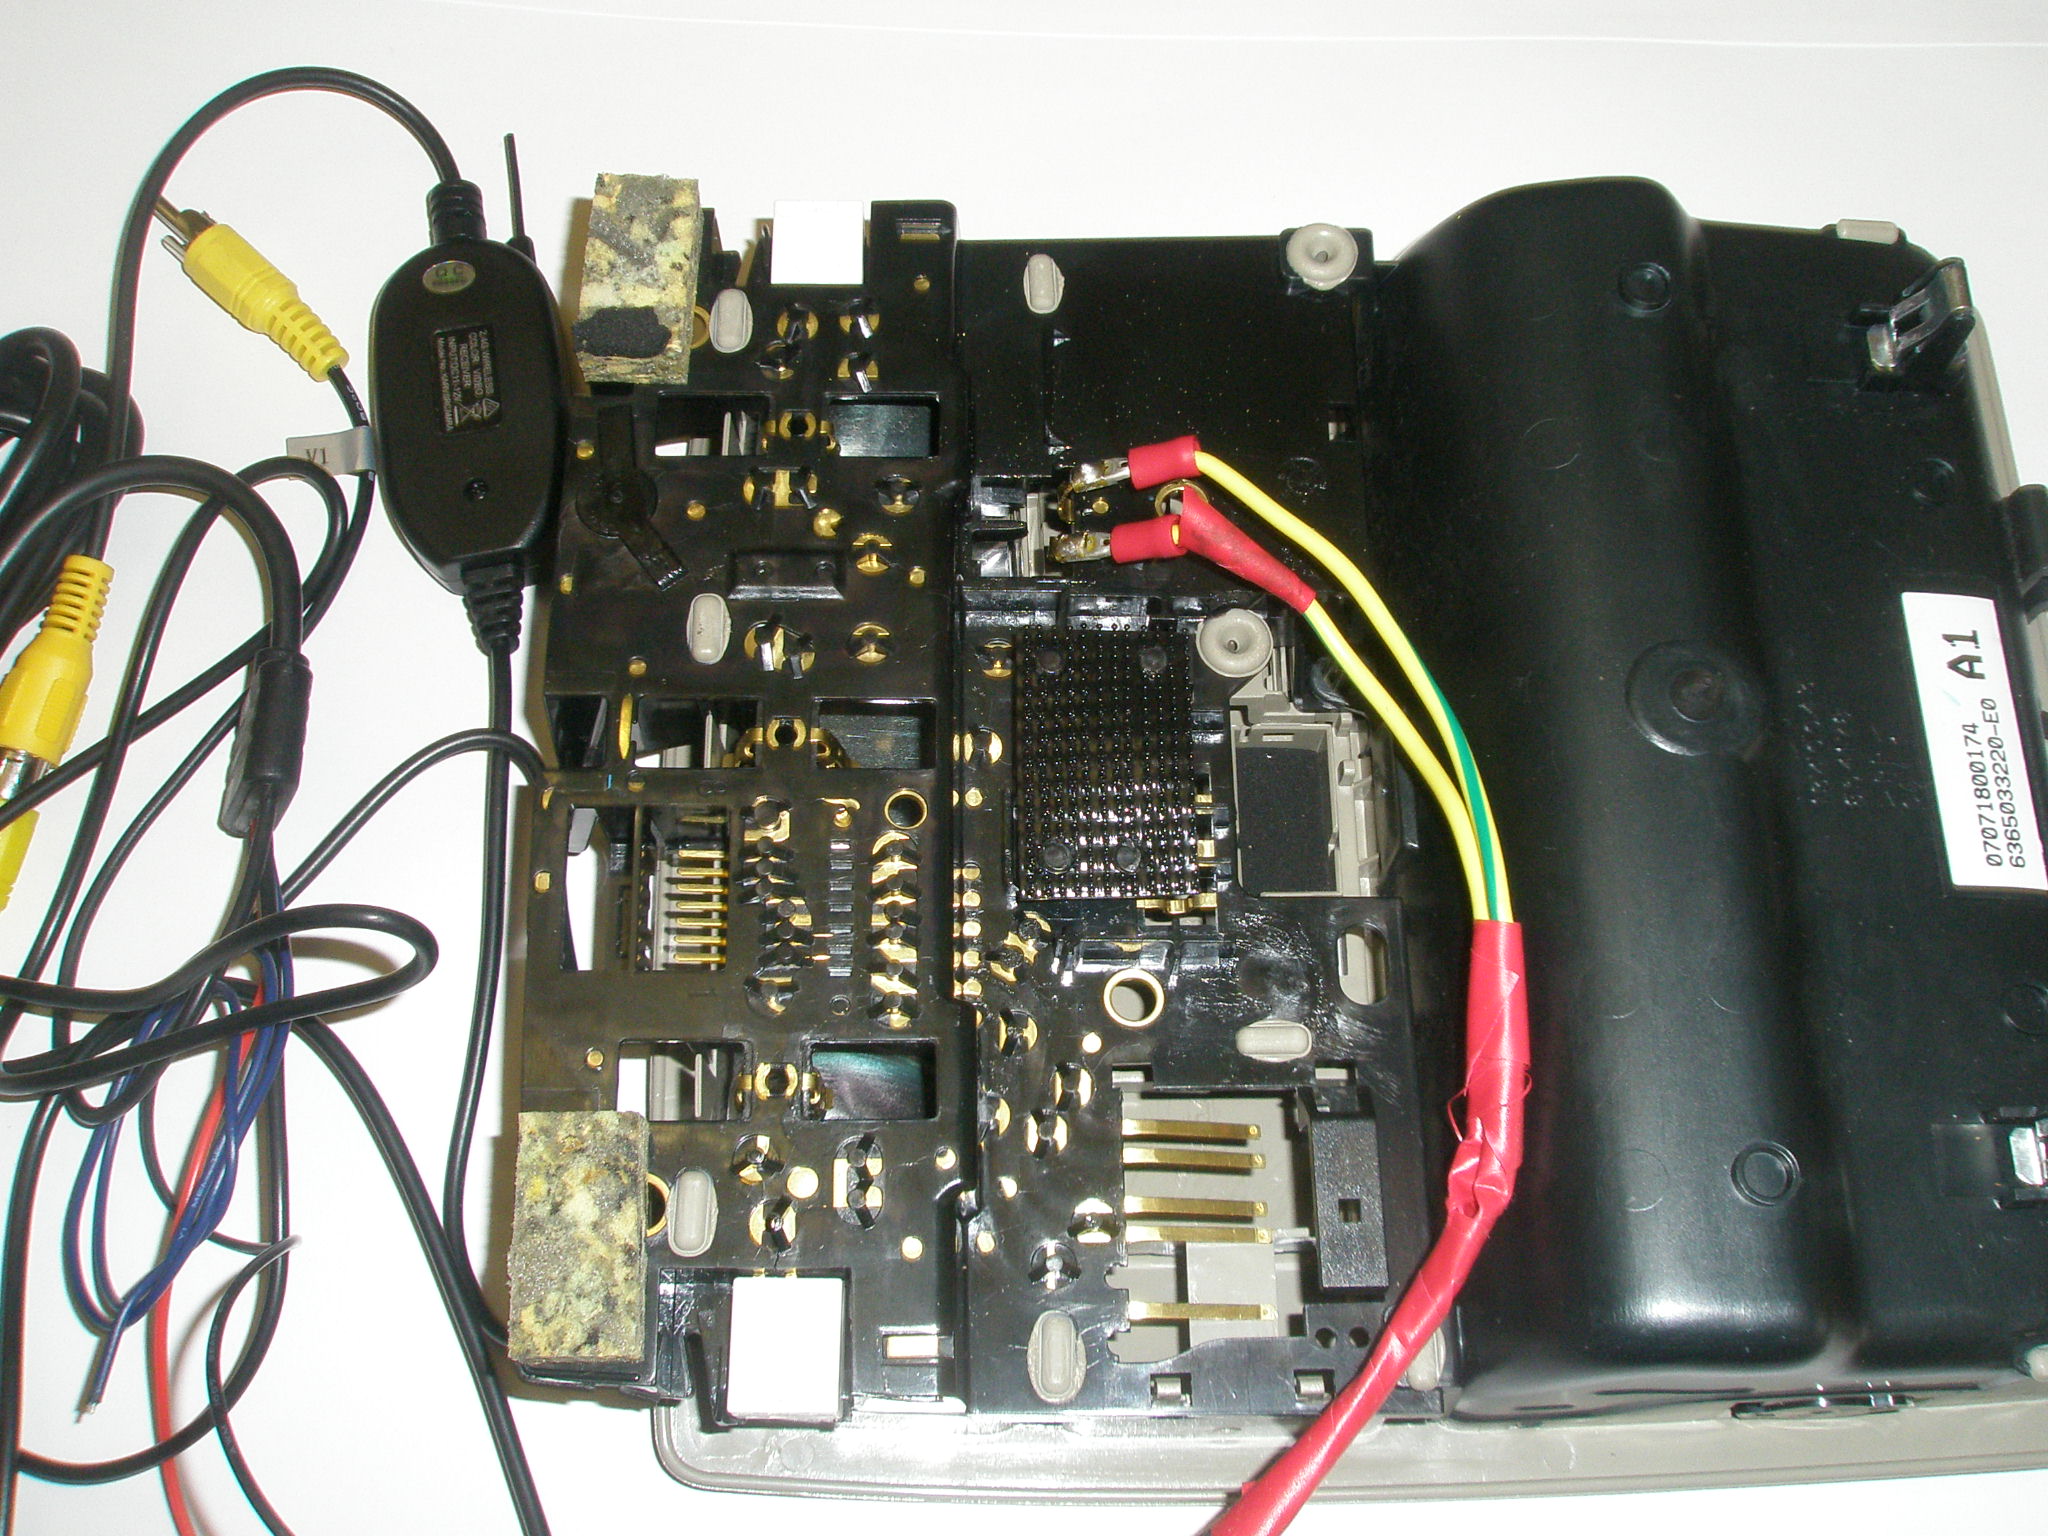
I think that a few members may be interested in adding a quite-good low-cost reversing camera system to their Aurion. Mine is a 2007 Prodigy, and I have owned it since September 2015. The camera kit I have added is the Kogan KARVSRCAMRA, which I purchased via E-bay, at a delivered cost of $126-99. As at today, 12 June 2016, I now have the camera system installed and working very nicely. However, it was not really easy to install, but some may insist that it is an easy job. I will try to explain, as briefly as possible, the problems I encountered in doing the job. Perhaps part of the problem was that I am 77, and suffering from a long-running bout of bronchial asthma, so I was not really up to doing this job at the moment. 1. Inadequacy of Kogan installation instructions. Pictures are too small to be readily understood, and a few tags on the various wires explaining their purpose would be useful. Also,there is some confusing (and even incorrect) information, e.g. "Connections" (B) says that the signal TRANSMITTER can be connected to the Mirror/Viewscreen (of course, they should say that the signal RECEIVER should be connected). Under the heading "Controls", the V1/V2 toggle should show that V1 is selected if the "wired" installation is installed, and V2 is to select the "wireless" mode (i.e. using the transmitter & receiver). I have installed my camera system to use the transmitter and receiver. Another thing not explained is that the 12V positive and negative wires of the Viewscreen and Wireless receiver can be connected to one pair of 12V pos and neg wires, and these are typically the Map Light wires, which are usually alive even when the car is not occupied and the ignition key not turned on. Another thing not explained at all is how the "Remote control" is used. So far, I have found that its RED button can be used to turn ON/OFF the Viewscreen. I still don't know what the 4 "navigating" black buttons are for. One last thing: the camera seems to have a cluster of clear LED lights each side of the camera lens. I expected these to light-up when the camera is switched on, but so far this hasn't happened. Maybe they will function when there is no daylight, otherwise the camera system will be almost useless at night. 2. Difficulty in making a cabling-hole above the rear number plate of the Aurion. I decided that a 13mm (1/2 inch) hole was needed in order to thread-through the moulded plastic cover of the cable joint where the single cable of the camera is split into 2 cables, i.e. the 12V supply wire and the video signal wire. Making this large-diameter hole through the plastic outer-panel (which backs-up the number plate) and then the steel of the boot-lid was a heart-stopping task, but I ended-up with not too much of a mess. I used a succession of drill-sizes, the final one being a 1/2 inch engineers twist-drill driven at very-low speed. The cable-joint moulding would not quite pass through these holes, so I trimmed the moulding's corners down (with a Stanley knife) until it measured just under 1/2 inch. The rubber grommet I was hoping to use could not be fitted because the plastic body-panel was too thick for it. I ended-up using some 1/2 inch OD clear vinyl tubing about 40mm long which I slitted to spring over the camera cable. 3. Uncertainty about how to access the boot-lid liner. The Aurion boot-lid liner is fastened with 13 mushroom-headed black nylon "fir tree" push-rivets which are for a hole diameter of 7mm. They have a "grip-length" of at least 10mm, and a "pulling-loop" in the head, for applying a small-bladed screwdriver as a lever. I found-out that these rivets can be re-used several times and, being made of nylon, they are not brittle, so you are unlikely to shatter them. However, they tend to "fly" off the screwdriver blade as they pop out, and who knows where they end-up? Also, I found that it is not necessary to pull more that 4 or 5 rivets to do this camera installation job - the liner is quite flexible and easy to get your hands behind to manipulate the camera wires. Re-installing the rivets only requires an easy push with one's thumb, but they require a fair bit of force to pull them. 4. Difficulty in making reliable connections to the 12V wiring of the Map Light and Reversing Light. I knew in advance that there was likely to be problems with getting effective contact with the car's cables at the chosen tapping-points, mainly because of the nowadays small "gauge" of the stranded-copper core of these cables. For the camera 12V supply, I used "Scotch-Lok" wire-tappers with a 6mm spade-type branch-connection, and I solder-spliced a short length of 1.5sqmm automotive cable onto the two 12V wires of the Kogan Wireless Transmitter assembly. I crimped a 6mm spade terminal to each of these extension-wires. For the Map-Light 12V tapping, I tried the same tapping arrangement as for the Reversing Light wires but, when I re-installed the Map-Light housing into the head-lining above the rear-view mirror, the power to the Viewscreen and Receiver became intermittent, and I had to pull the Map-Light assembly and find another way to get a steady 12V supply for the Viewscreen etc. I then found a pair of good solid spare 12V pos & neg connections on the back of the Map-Light housing and solder-connected my 1.5sqmm cable tails to them. I attach 3 photos showing these connections. You will also notice that I "commoned" the 12V wires of the Viewscreen and Receiver into only two main-connection tails. Showing Commoning of 12V Wiring Showing Tapping Points on Back of Map Light Housing

-
Hi there fellow members, I live in Greater Dandenong area, and I drive a 2007 Aurion Prodigy which I acquired last September. I am in my late 70s and am a very experienced motor-vehicle DIYer. I look forward to exchanging info and experiences with other TOCAU members. Cheers, Jeff