

Full-Throttle
-
Posts
743 -
Joined
-
Last visited
-
Days Won
65
Content Type
Profiles
Forums
Events
Gallery
Tutorials
News & Articles
Videos
Posts posted by Full-Throttle
-
-
4 minutes ago, Speedz said:
Very damn f-ing nice IS 350!
If I were to nickpick is probably the headlights, the rear looks excellent!
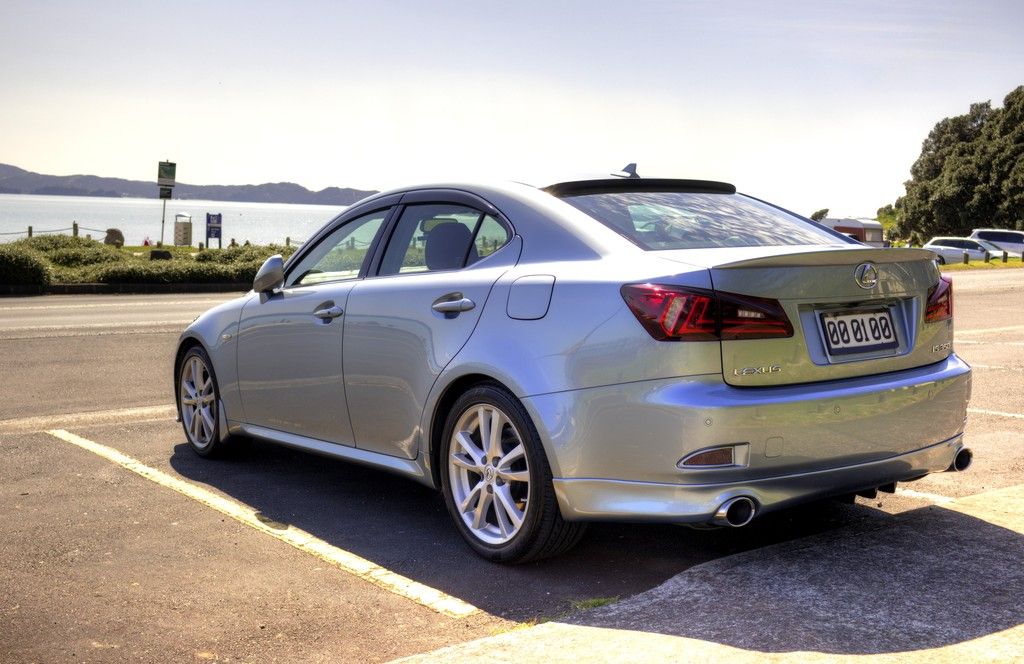
Thanks! Yeah the headlights are the factory HID ones with AFS. I would like to go for the facelift headlights that have the daytime running lamp built into the bottom, but they're $$$$. Vland have just released a new full LED headlight for this model which is very different, but I'm on the fence at the moment.
Couple more pics that for some reason wouldn't work on the previous post:

-
 2
2
-
-
16 hours ago, KAA said:
Scott she still looks great..Congrats on getting her back
KAA
Thanks mate. I'll have to get a photo of the two cars together sometime.
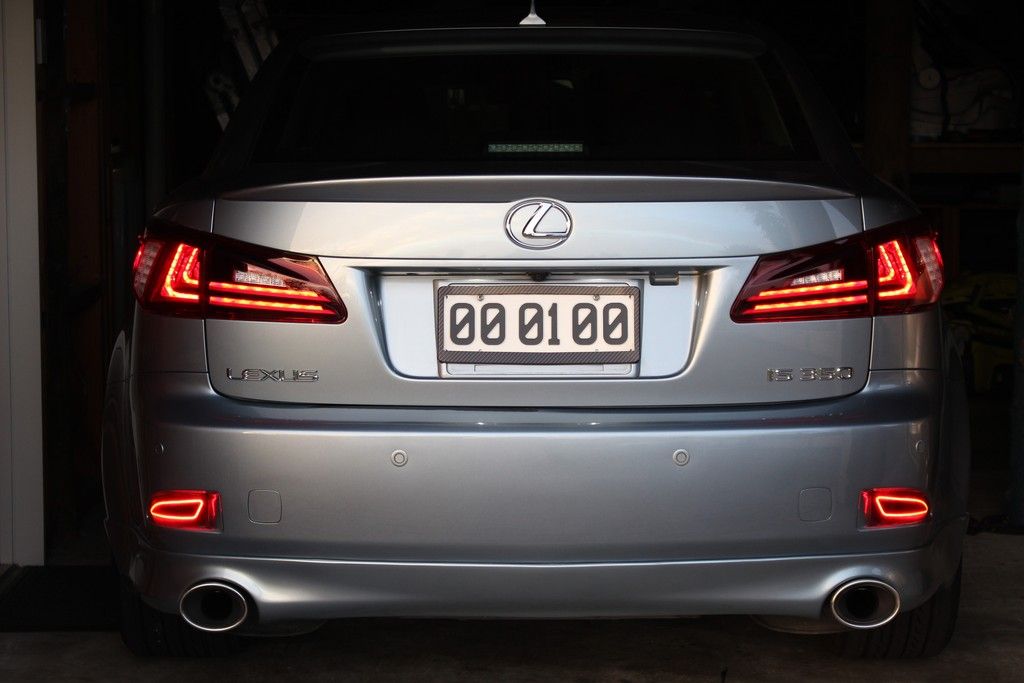
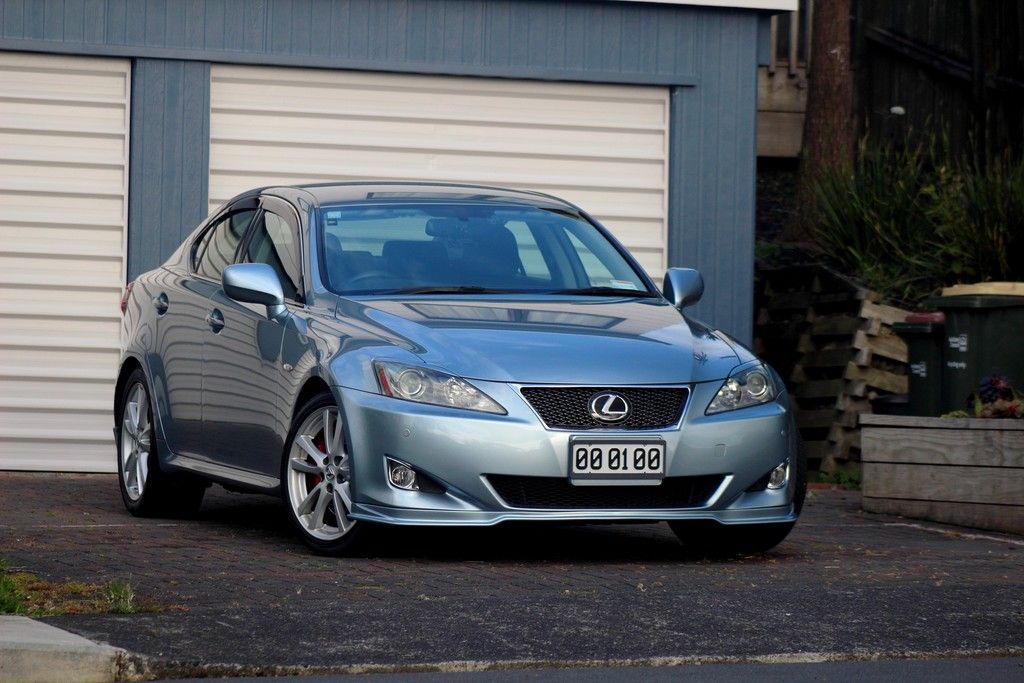
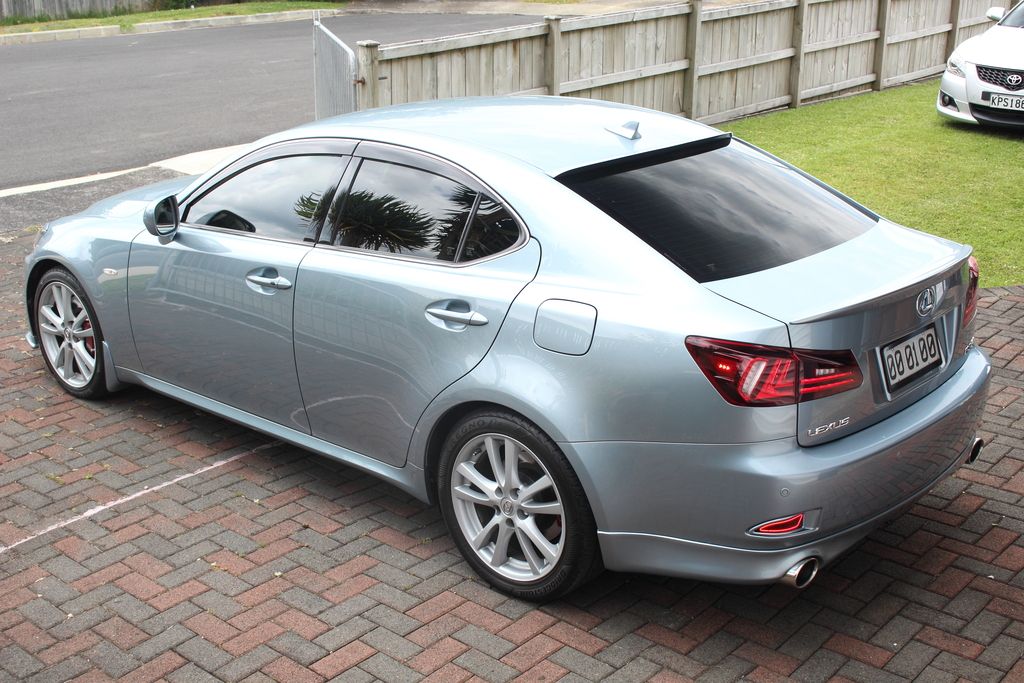
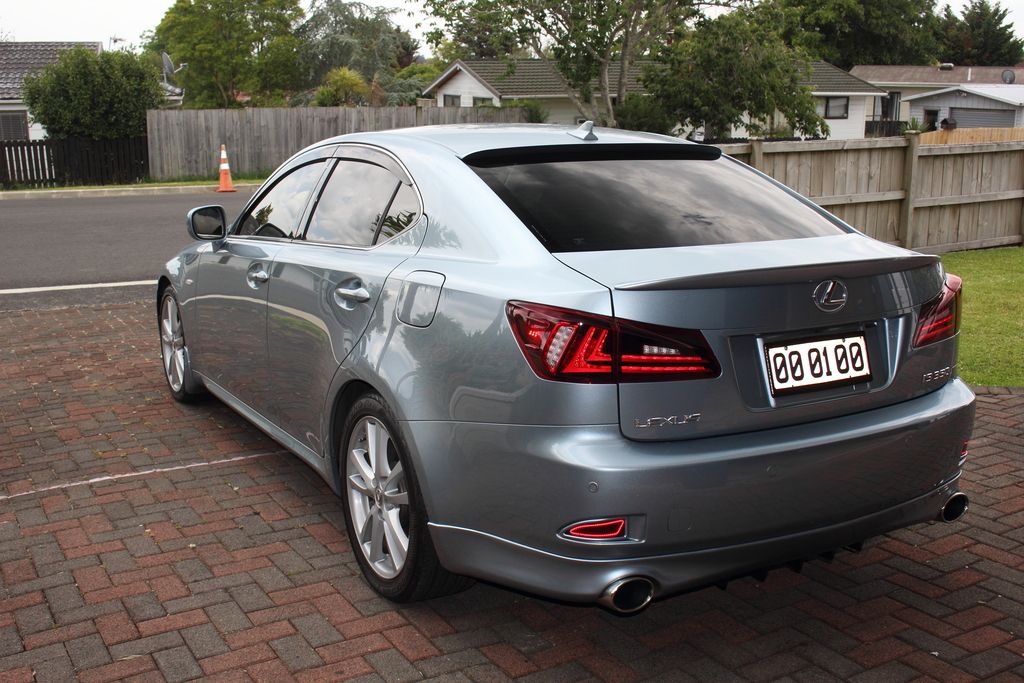
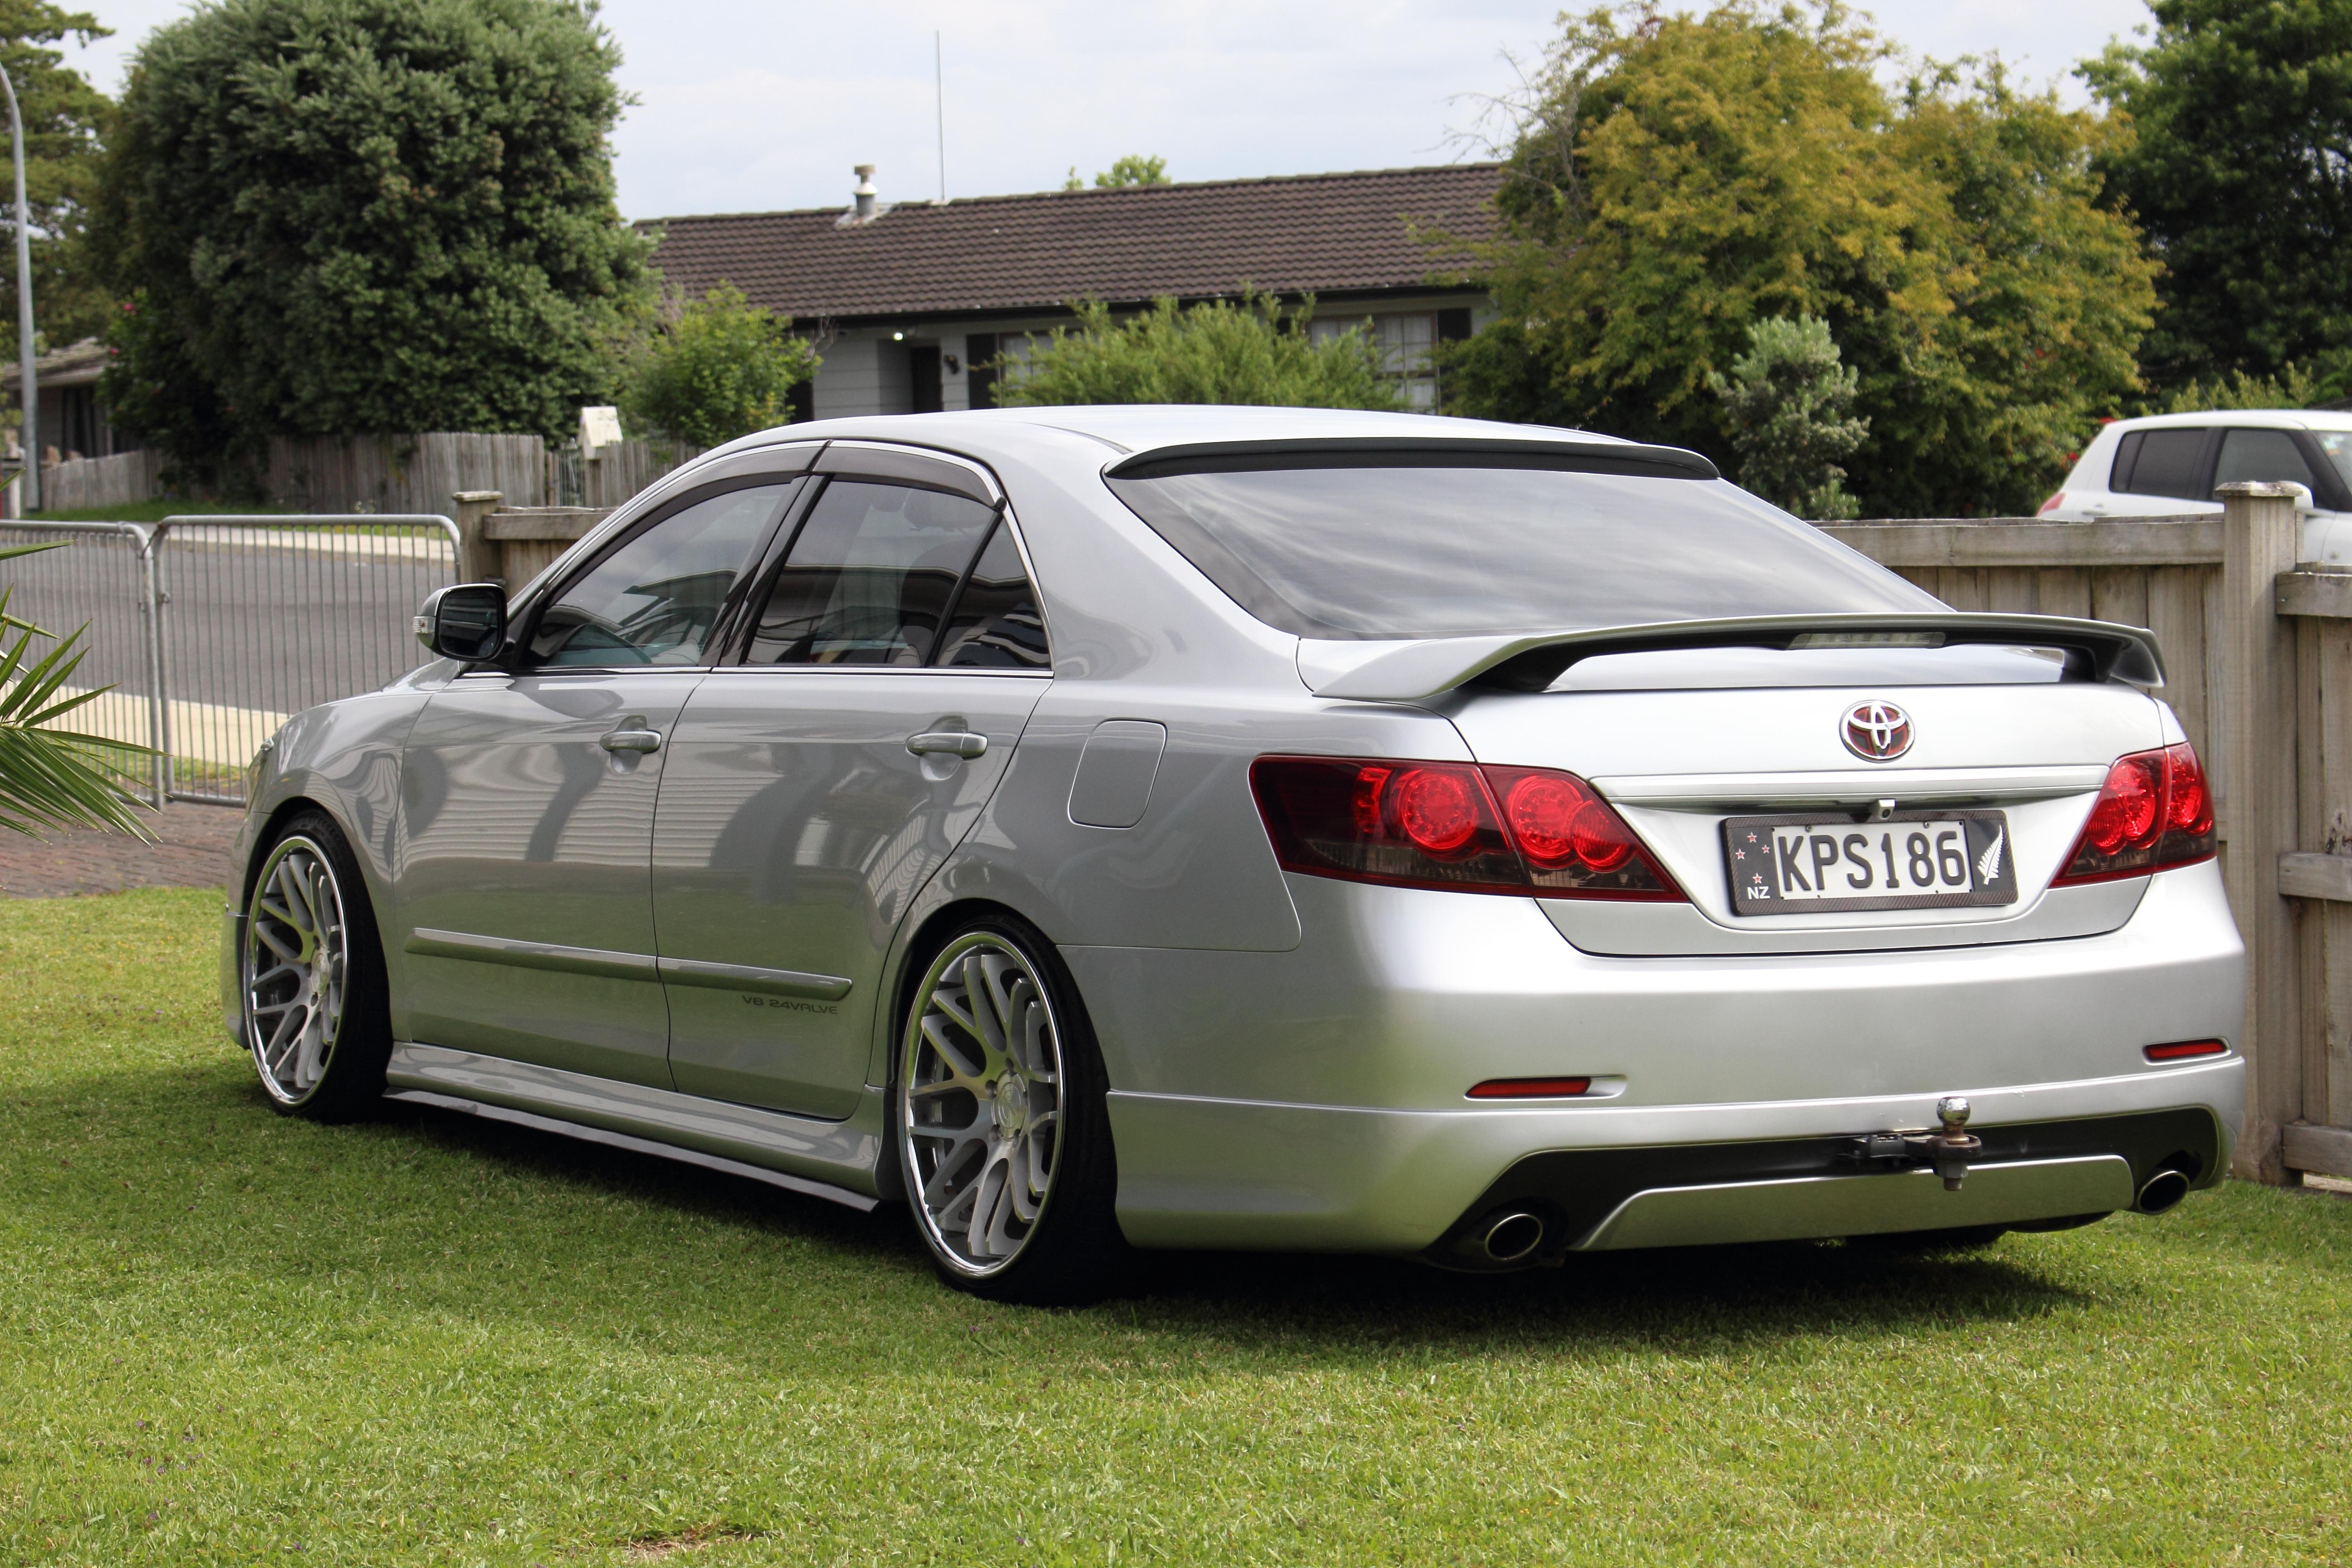
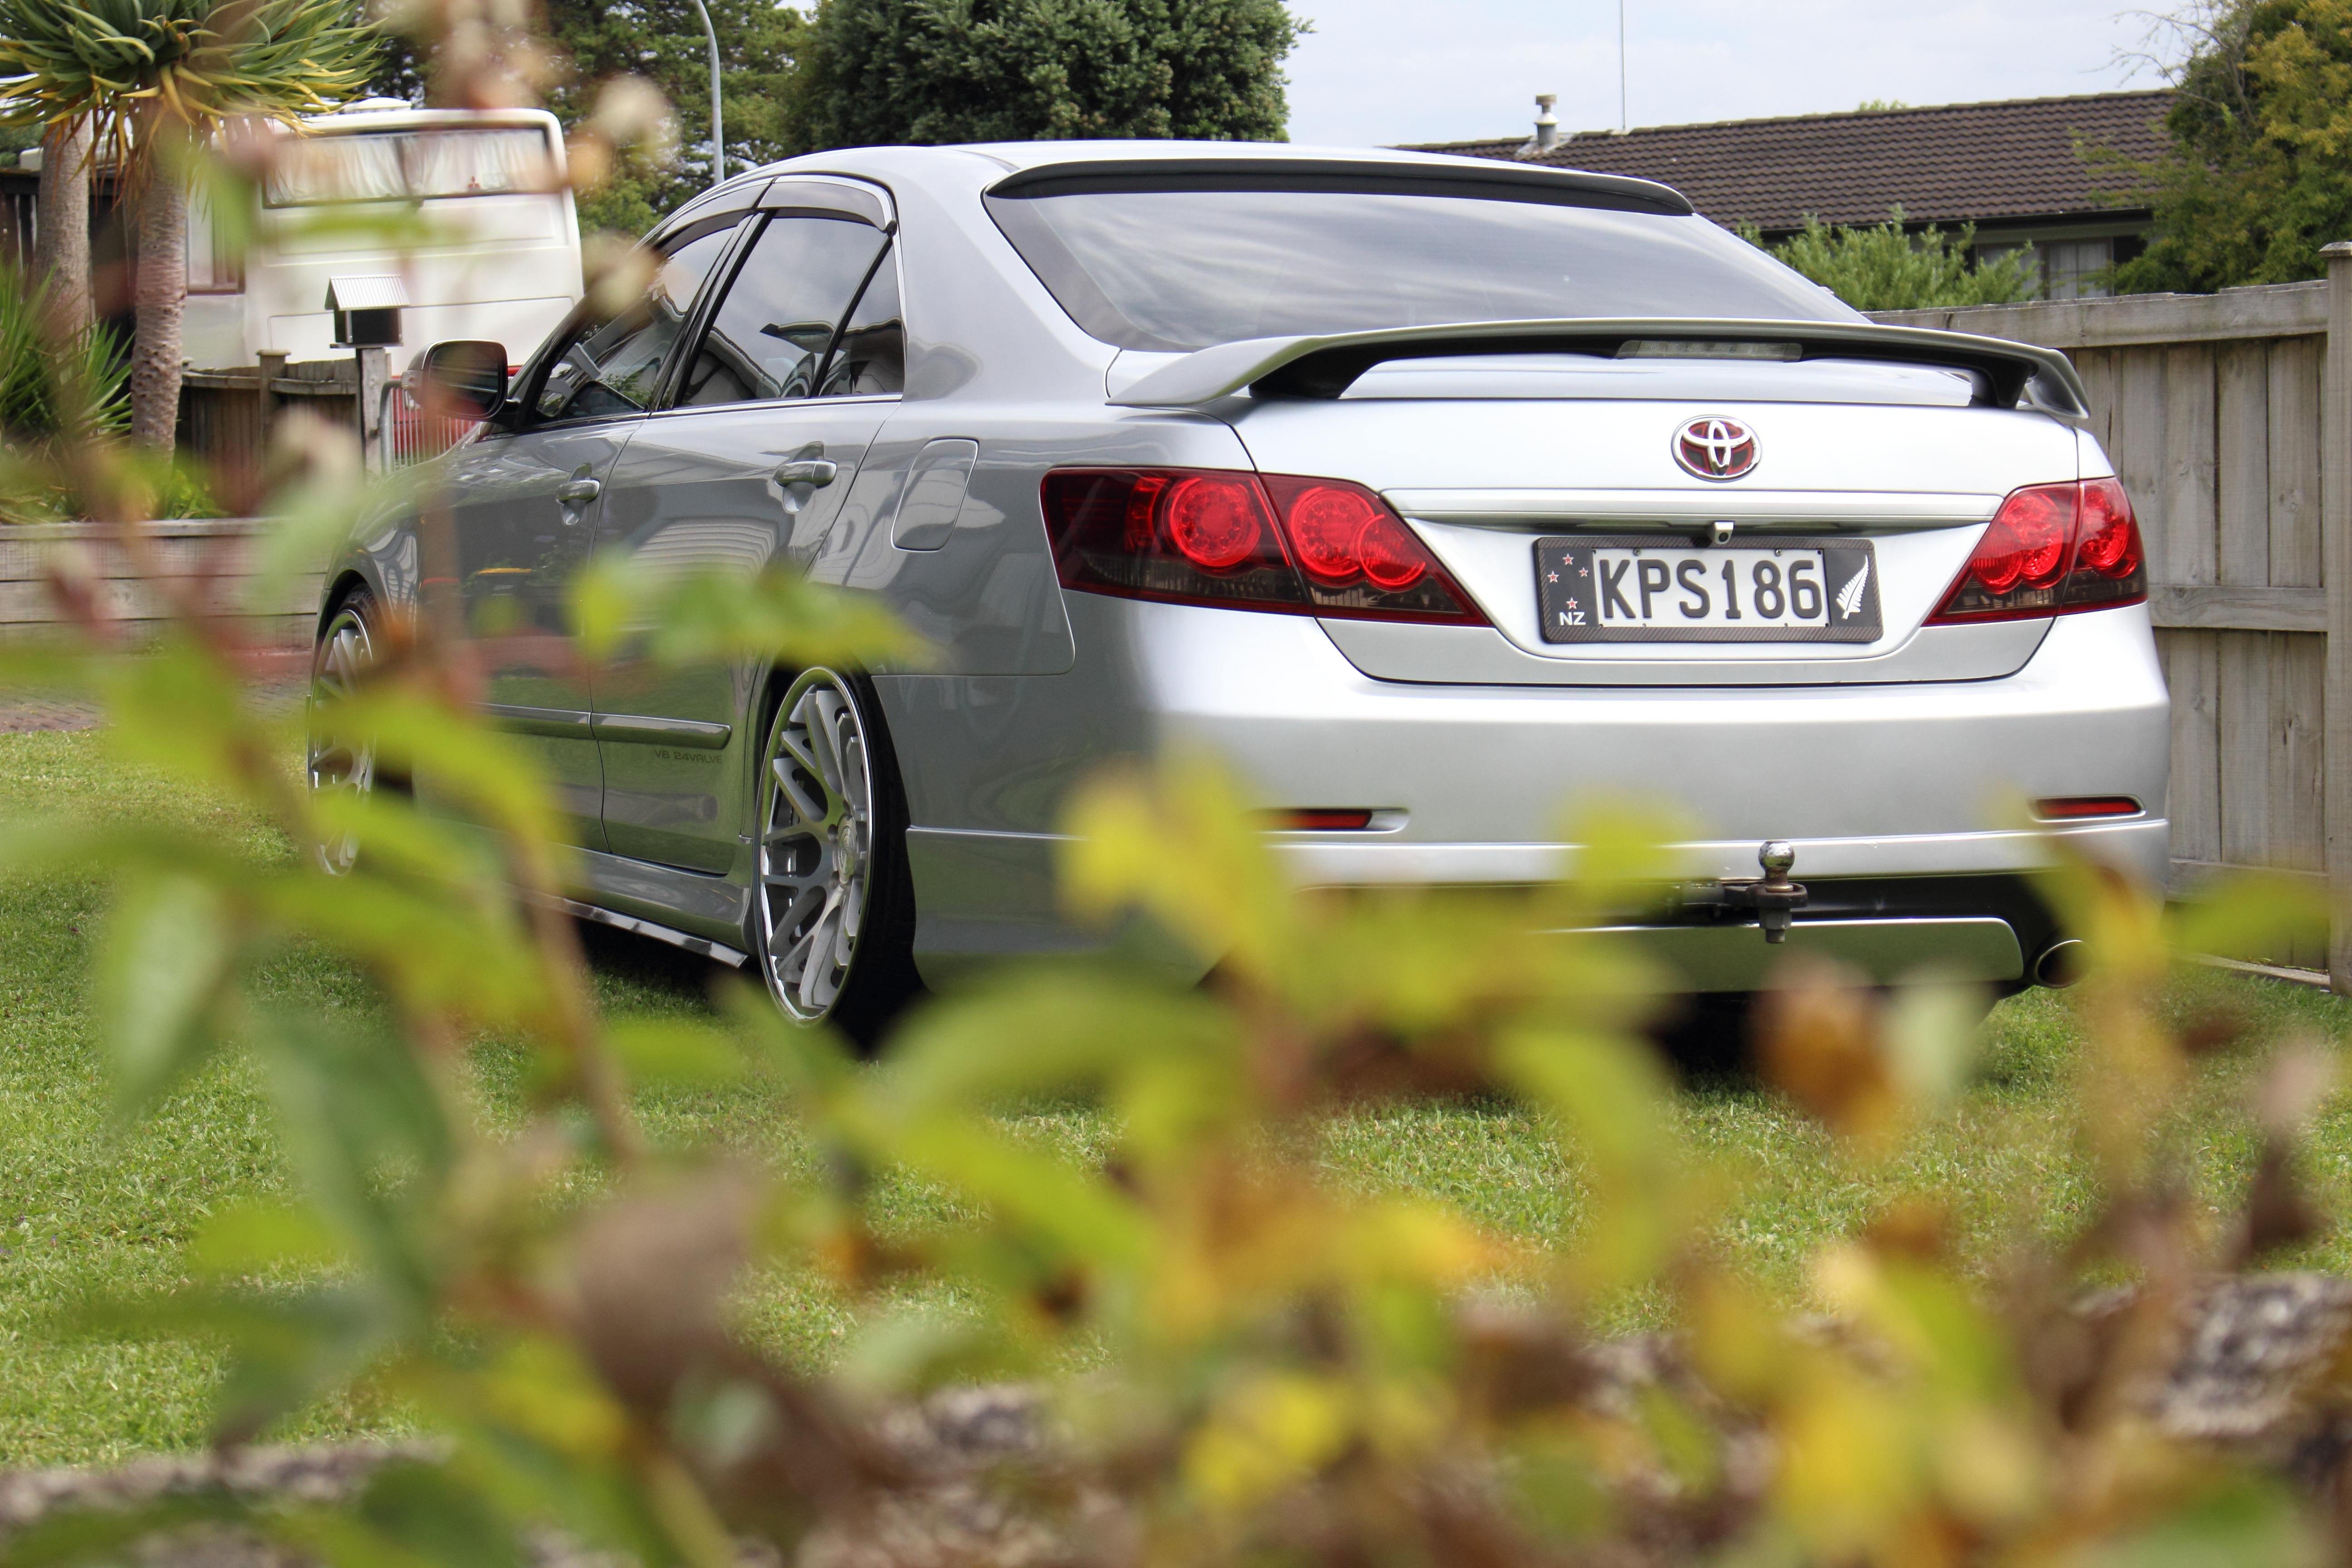
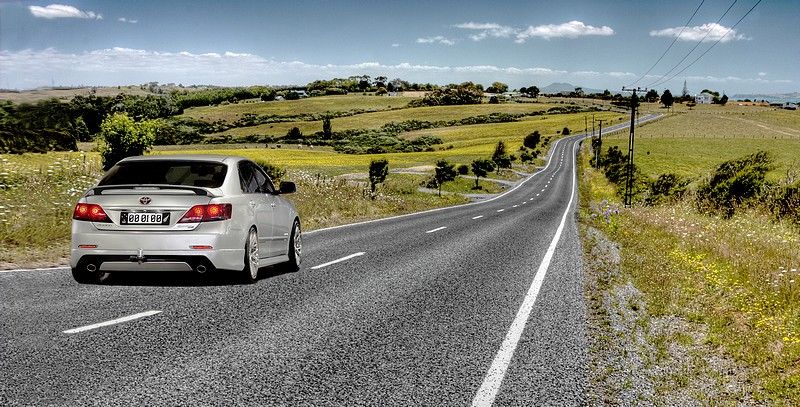
In the meantime, here's some of the IS350.
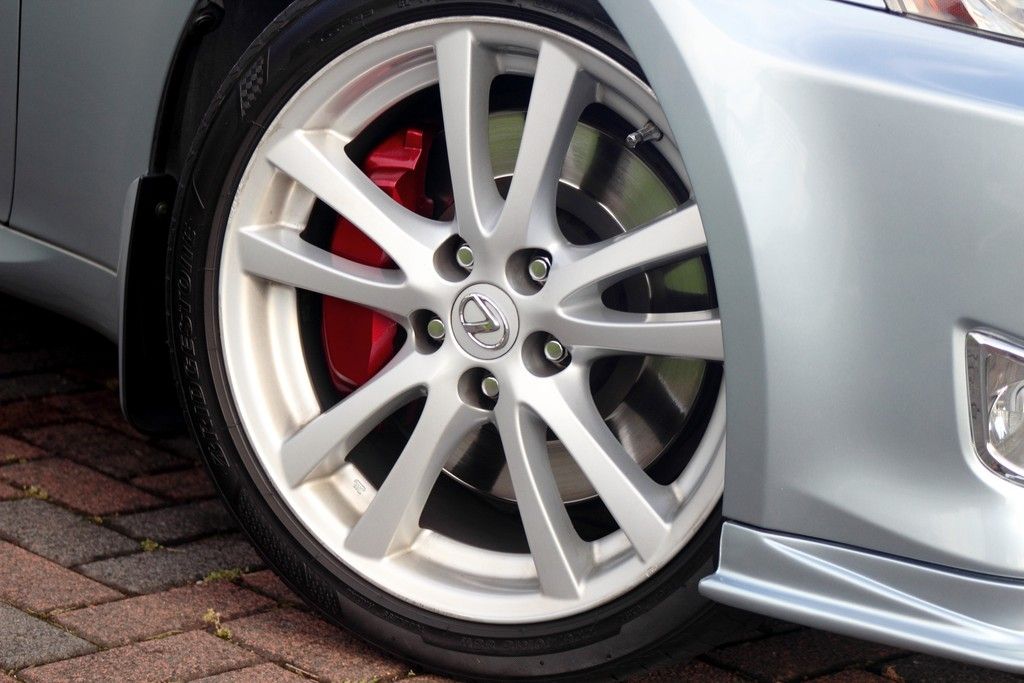
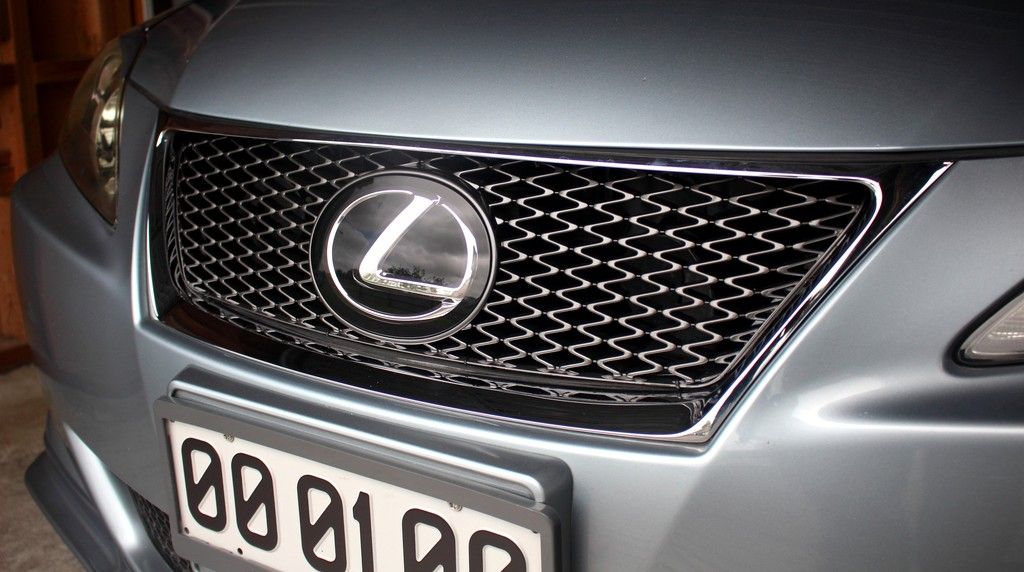
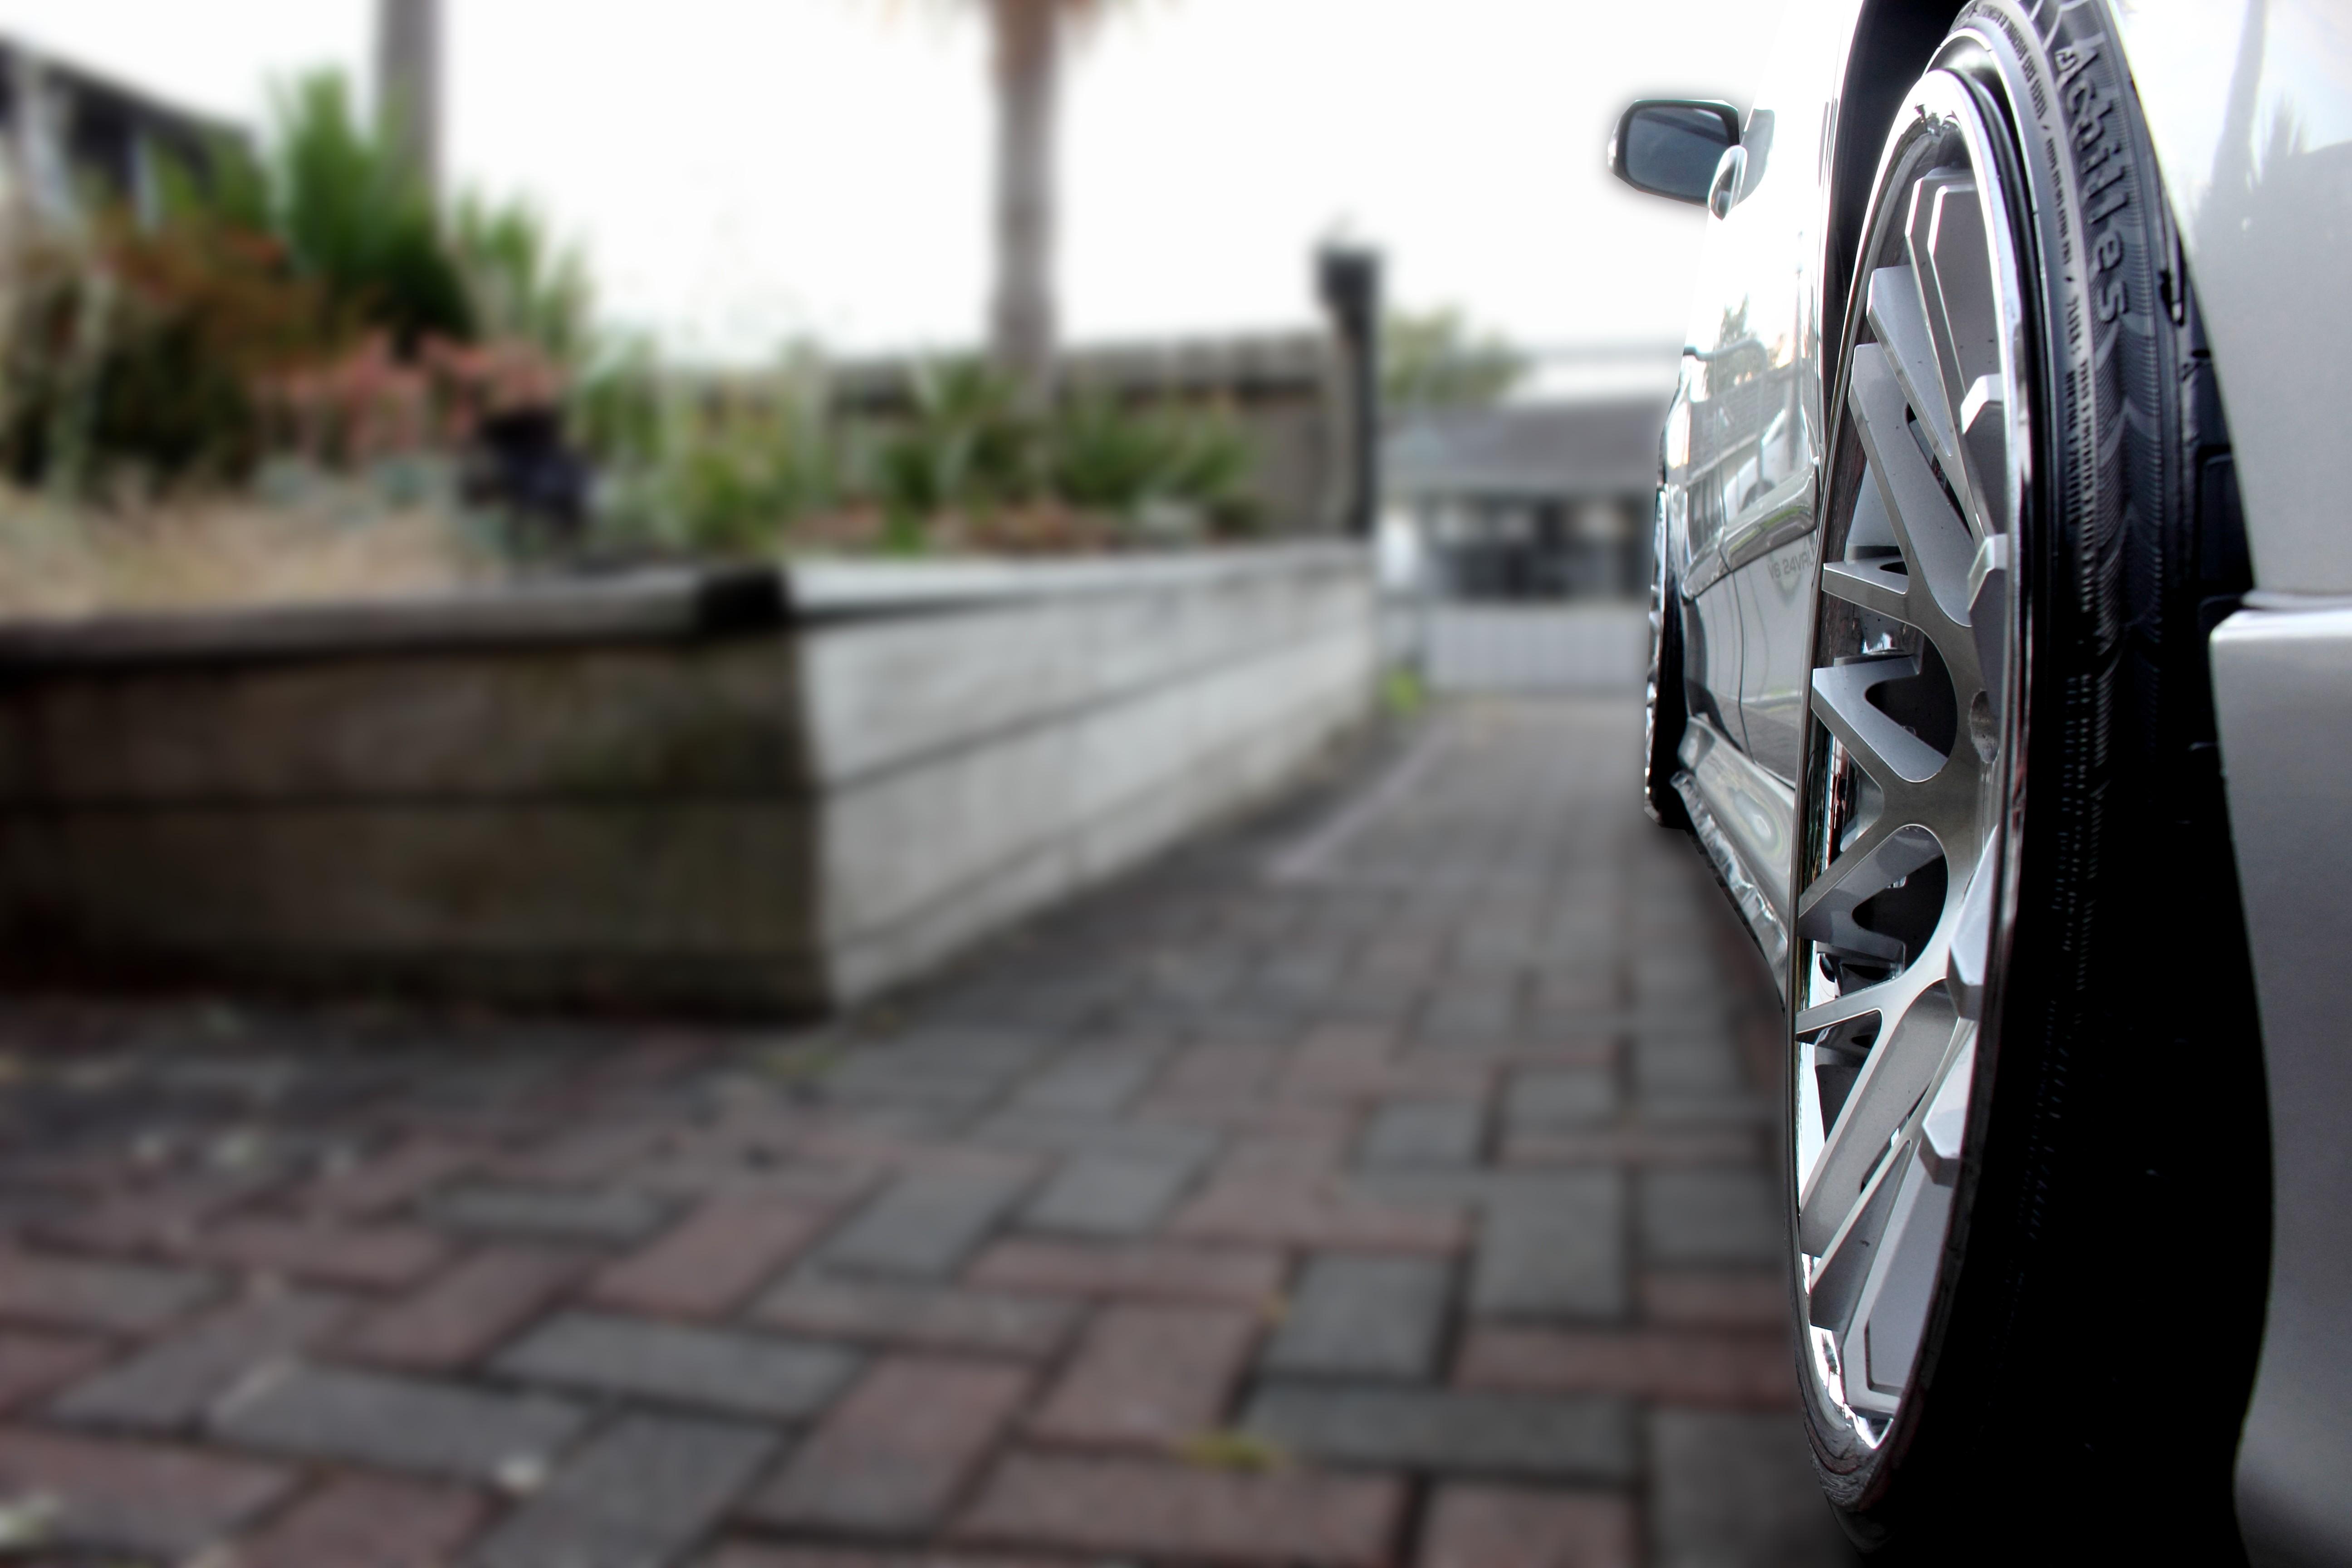
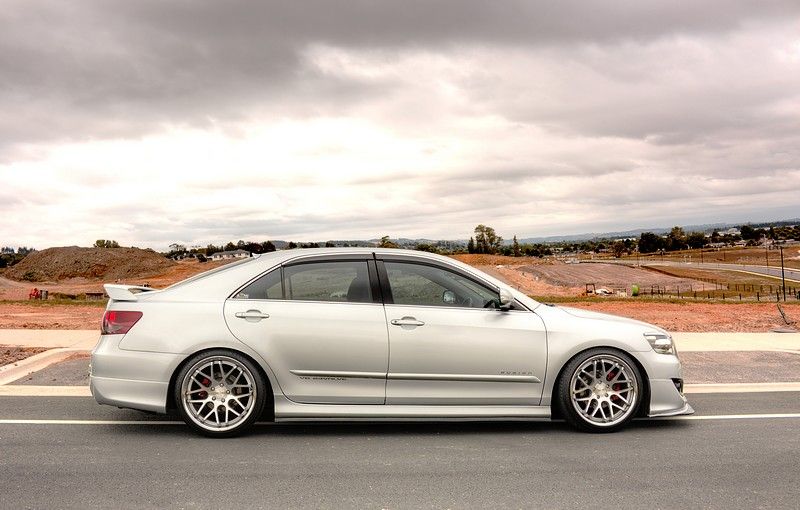
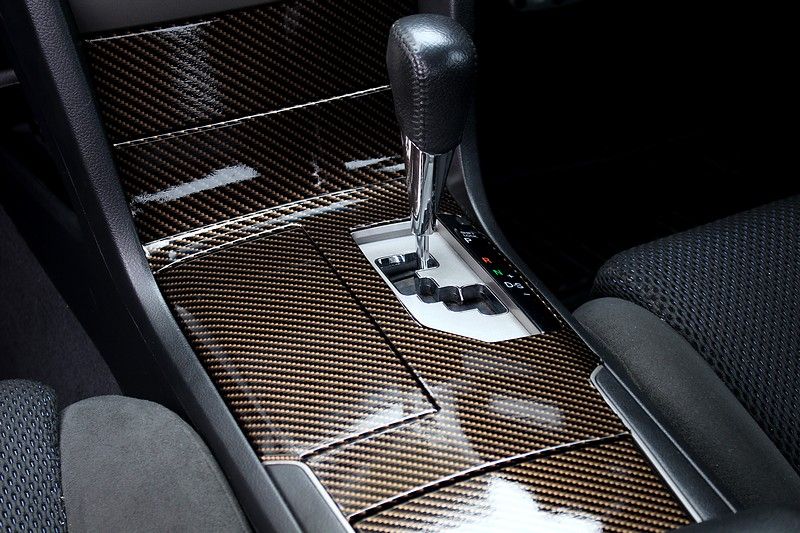
I bought it completely stock in May 2018, but so far have done: Front and rear bumper lips, throttle controller, carbon wrapped center console, trunk lip spoiler, roof spoiler, Vland tail lights, S2000 muffler tips, AF Dynamic air intake, chrome fog light surrounds, custom LED rear bumper reflectors, rear bumper reflector surrounds, Lexus light up high stop lamp, headlight eyelids, front mudflaps, facelift F-Sport grille, anodized red brake calipers, 20% window tint and a leather stitched dash mat.
-
1
-
-
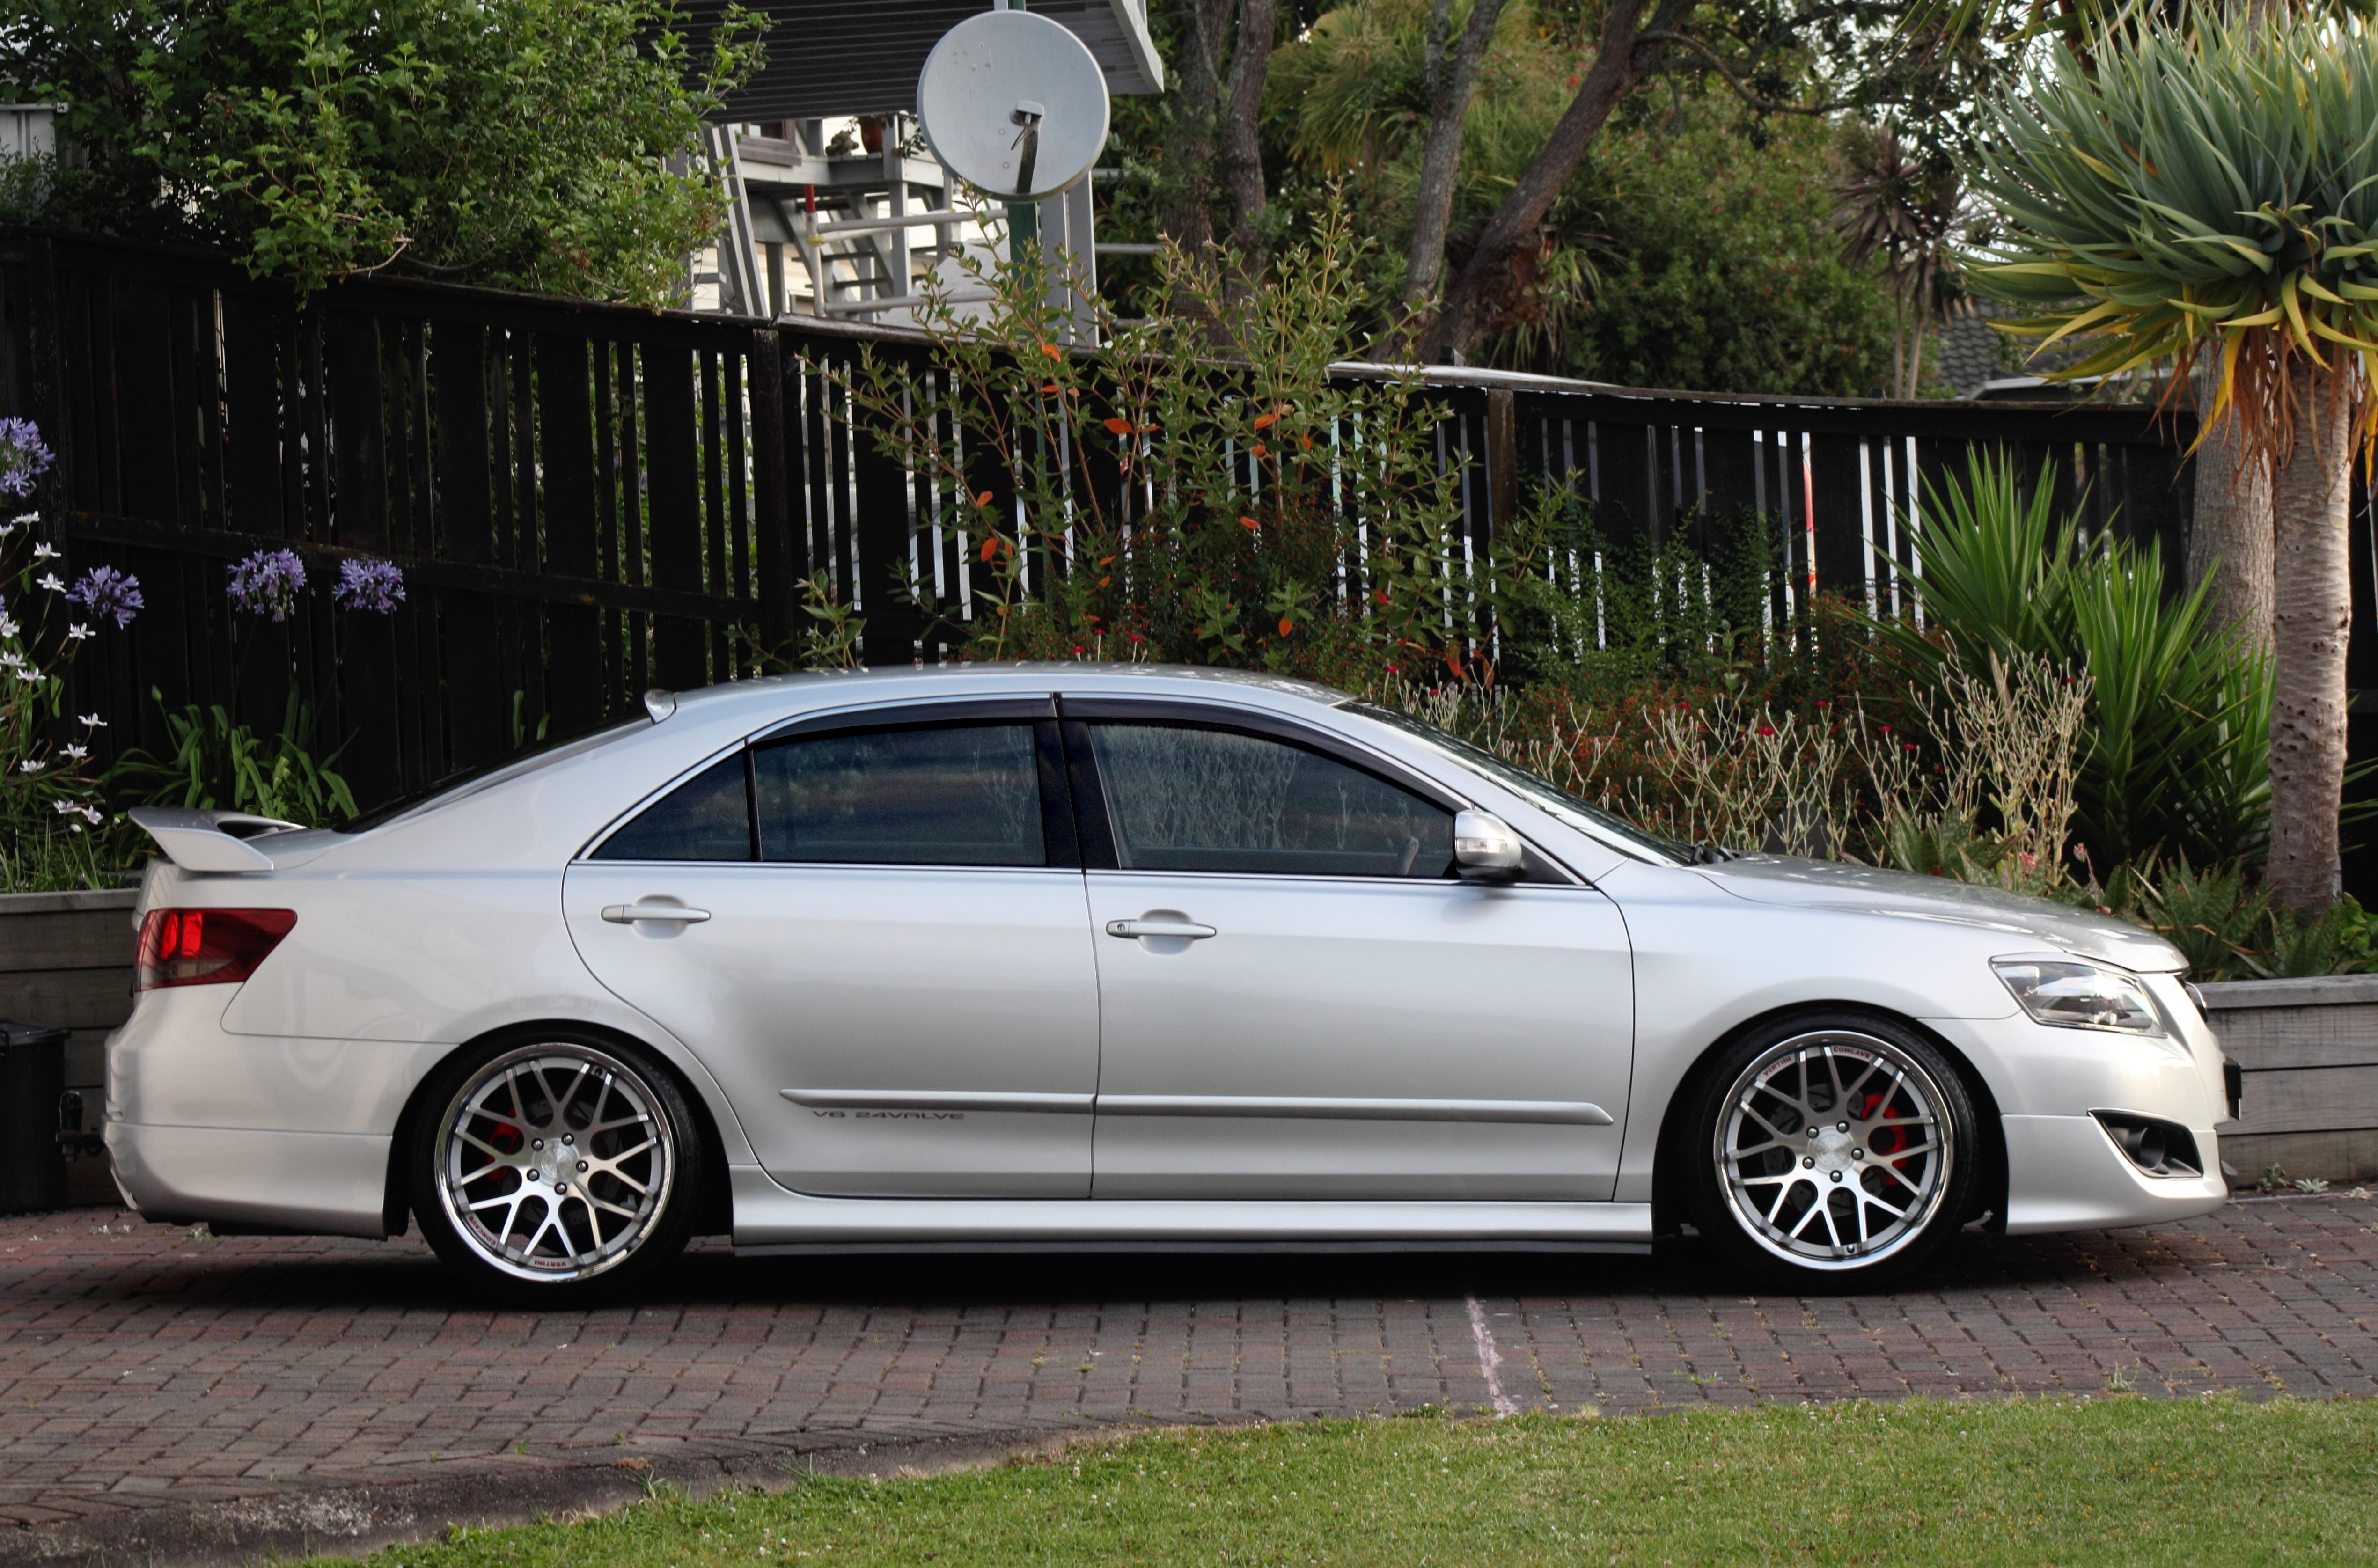
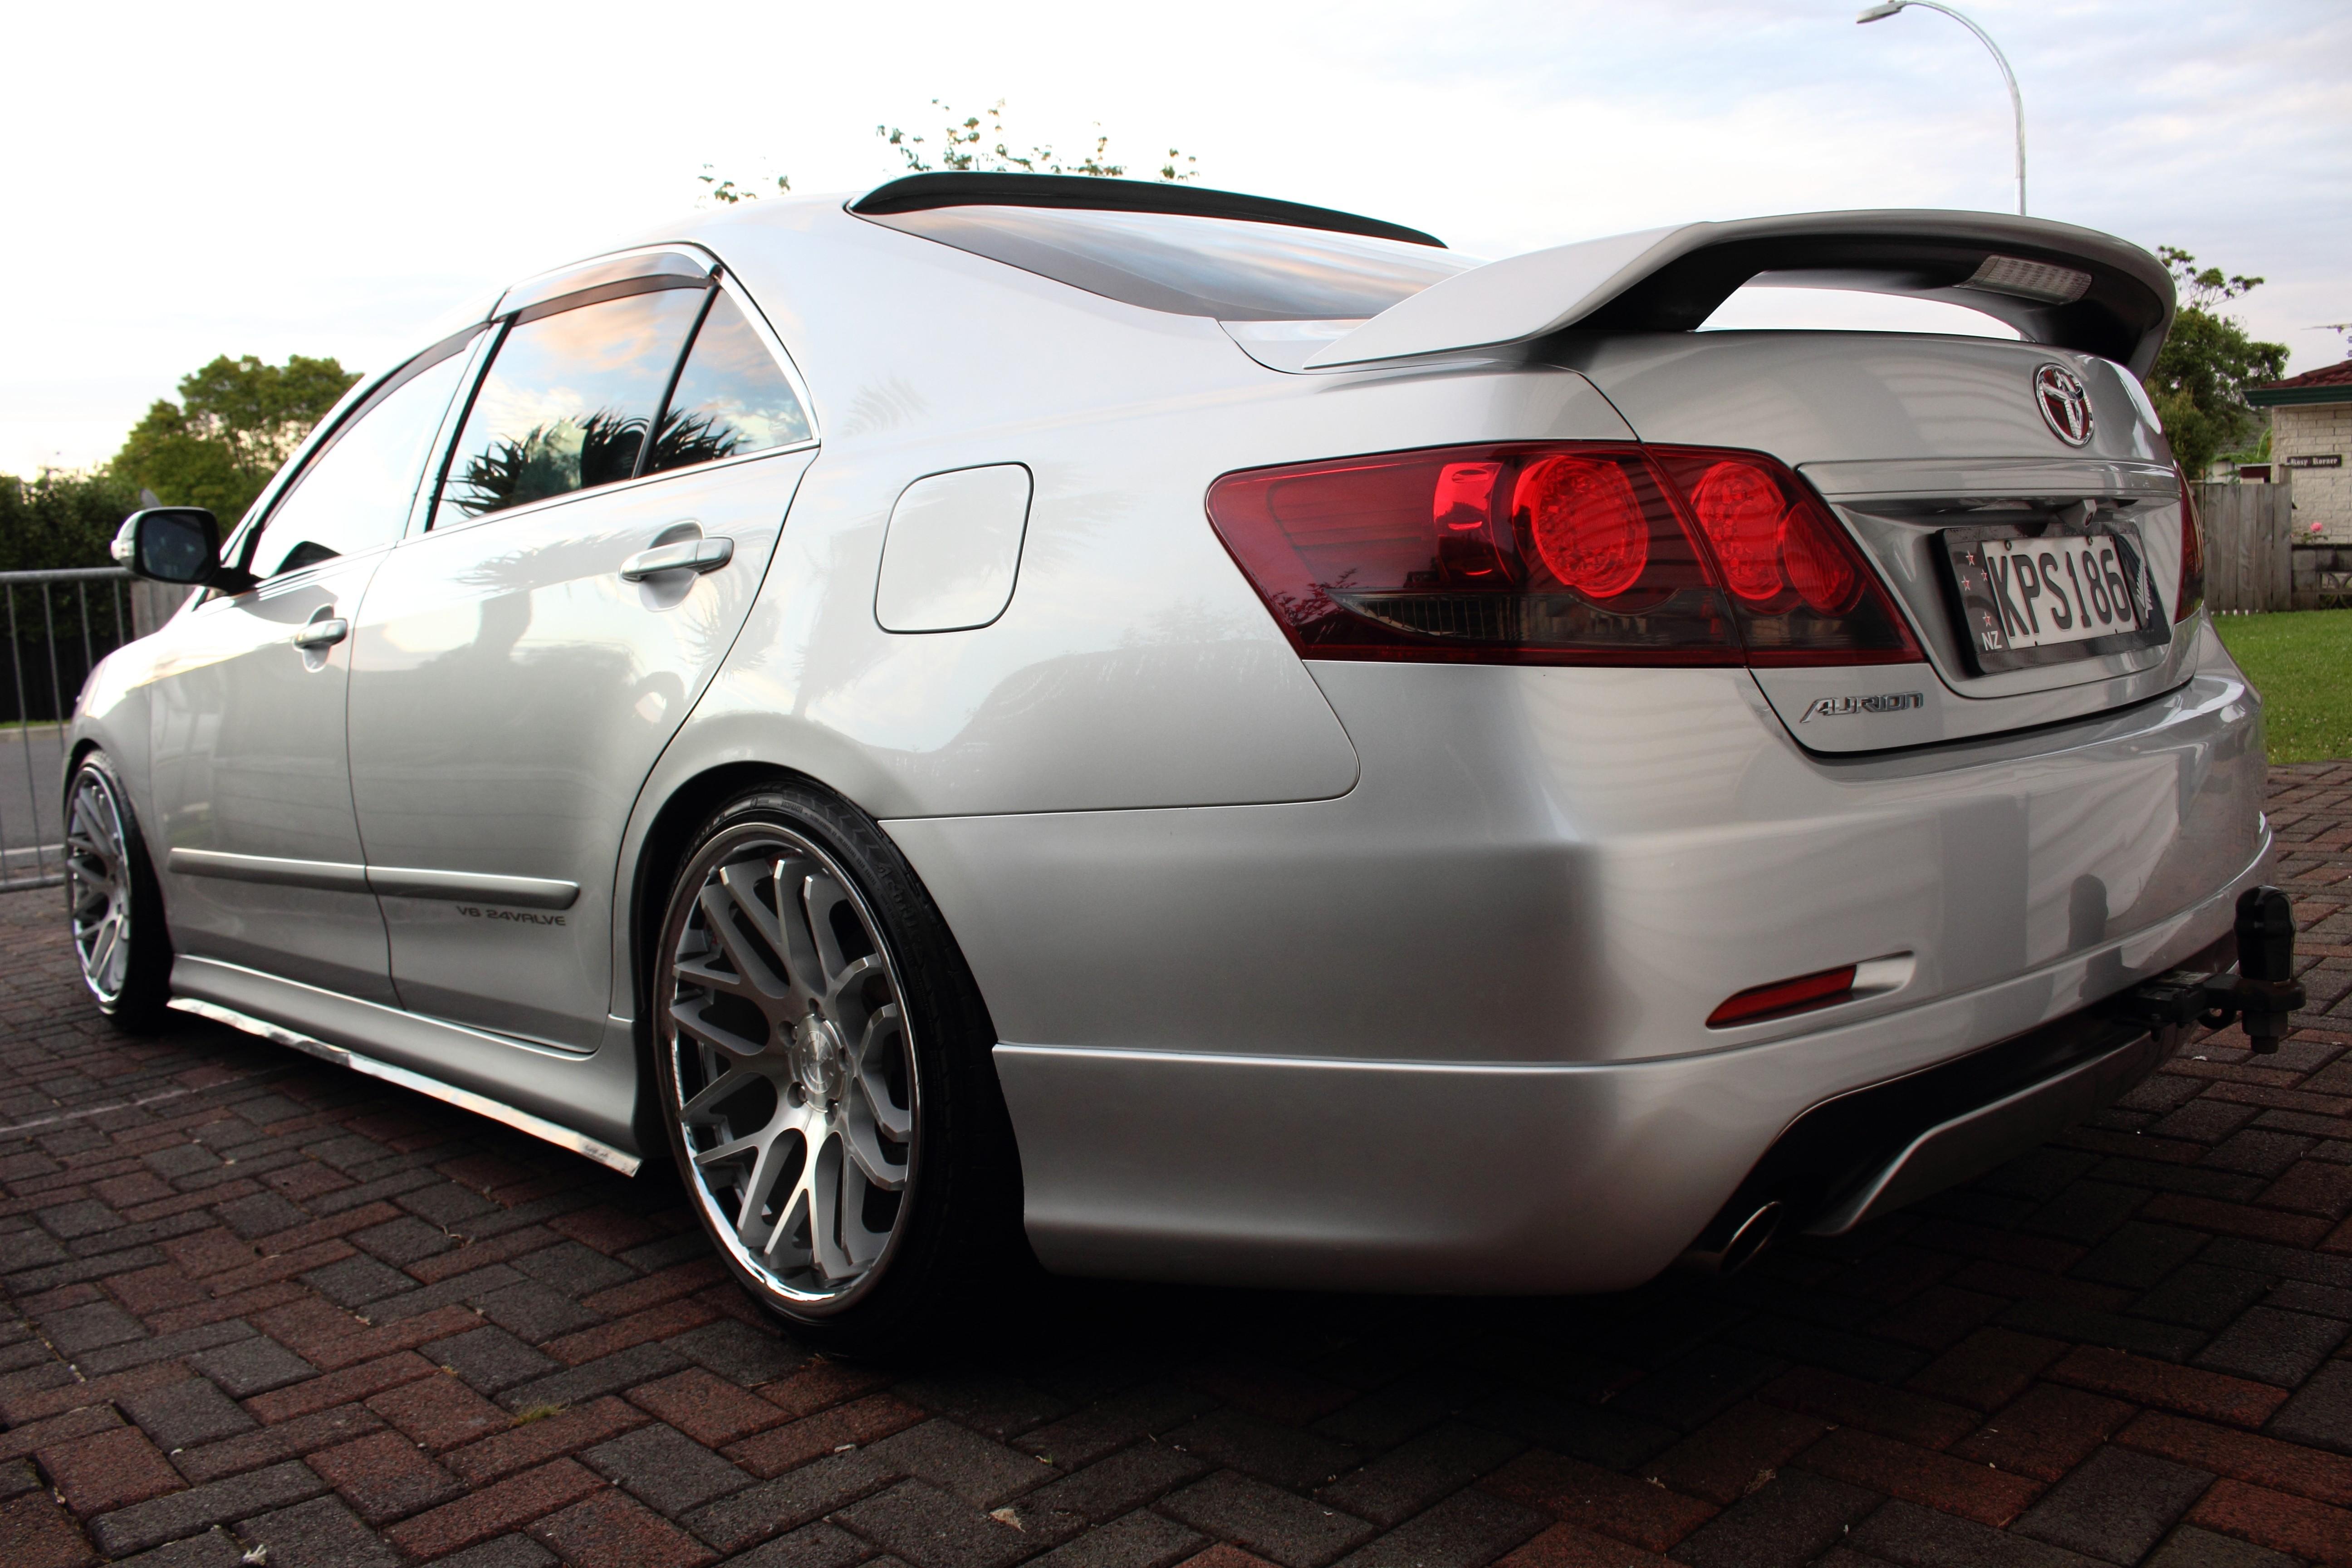
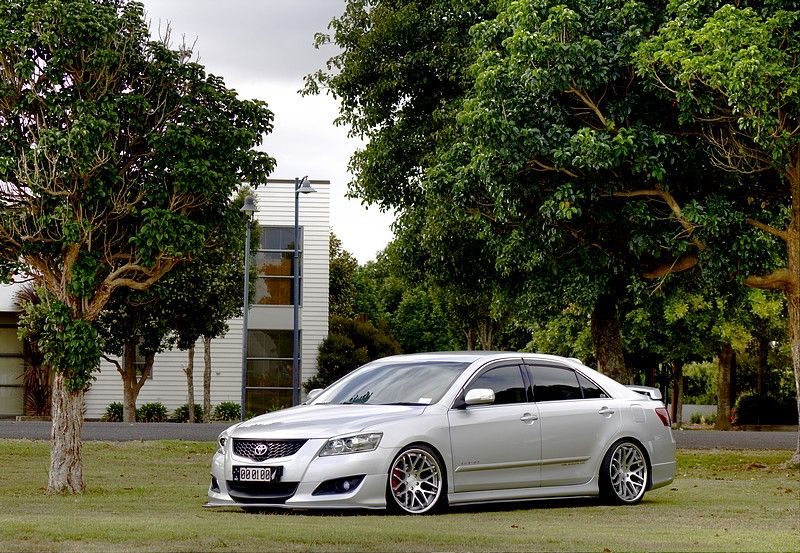
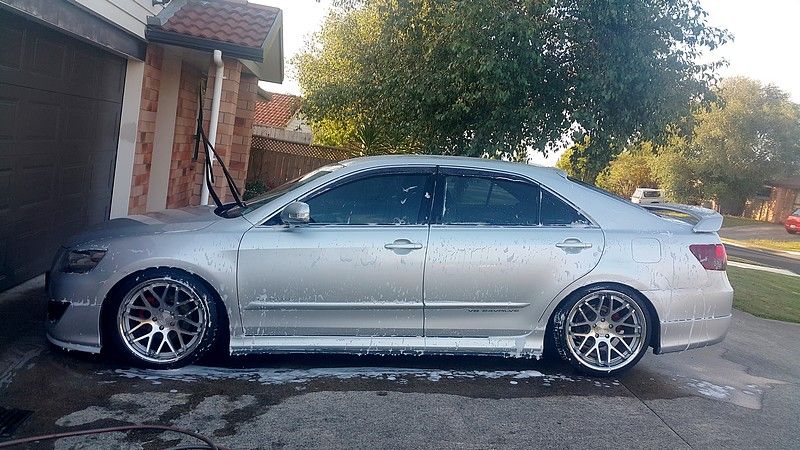
Well guys, it's been almost 2-years and I bought the Aurion back a couple of weeks ago from the same person I sold it to (poster above). When I originally sold the Aurion it was a regretful sale, but we were buying our first home and the difference between our offer on the house and what the seller was willing to accept was about the cost of the Aurion, so sadly it had to go. I've wanted it back ever since, so when the opportunity arose to buy it back I decided to take it.
She still looks the same as the day I sold her, albeit with a few more km's and stone chips here and there, but for the most part she's exactly as I remember. I also have a Lexus IS350 which I take turns driving to work on alternate days, but they both share the garage together and it's a nice feeling to have the old girl back again.
-
1
-
-
-
Are you able to post any real-life pics of the ones you've fitted to your Aurion?
-
-
2 minutes ago, krigeroz said:
Where have you done yours and what was the cost?
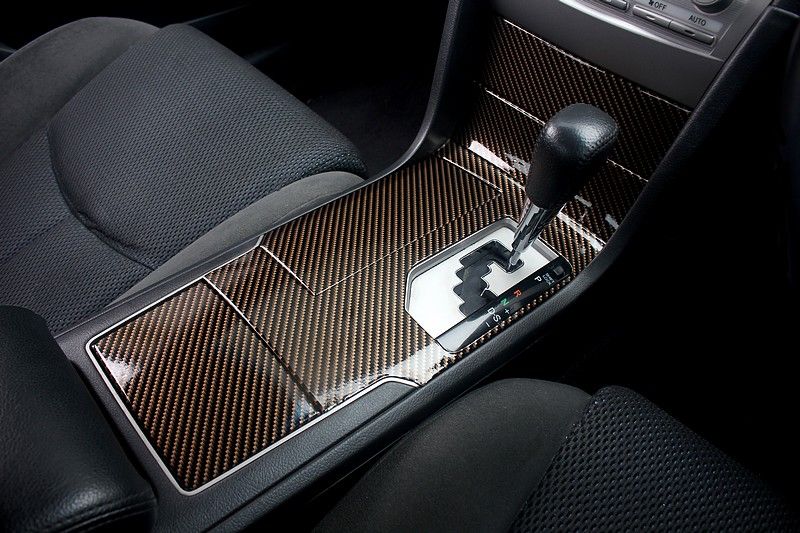
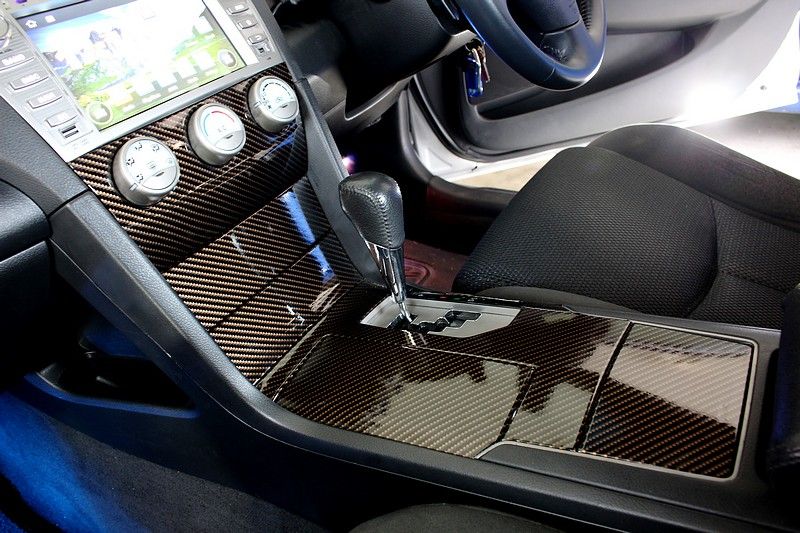
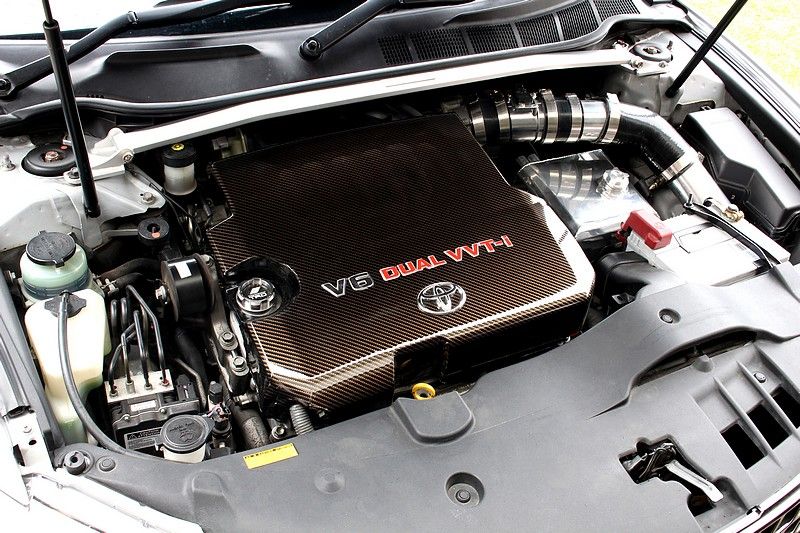
Wrapped the centre console and engine cover in glossy 4D carbon fibre wrap. Cost was only about $12 and a few hours of my time.
-
Hard throttle is my stage name
. But yes, hydrographic printing is a wonderful thing. I wrapped my console in a glossy carbon fibre vinyl, but hydrographic printing would have been even better. You just have to be sure the person doing it is experienced enough not to stuff it up.
-
1
-
-
On 1/30/2017 at 1:16 AM, KAA said:
Looks Great..at least you will have the Photo's for memories as you hear it slowly being destroyed.
KAA
Haha, that's the spirit!! :D
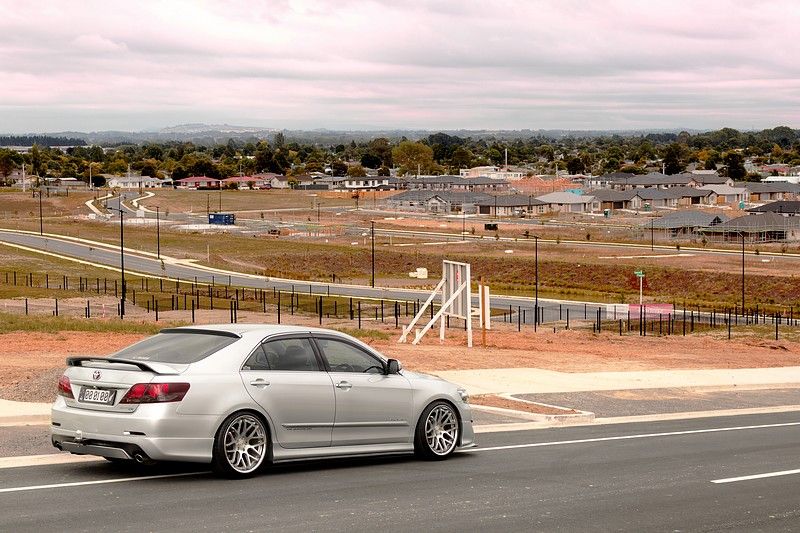
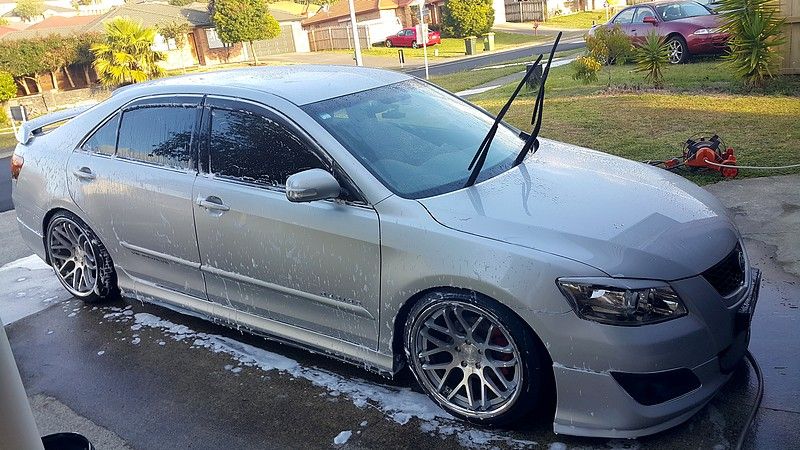
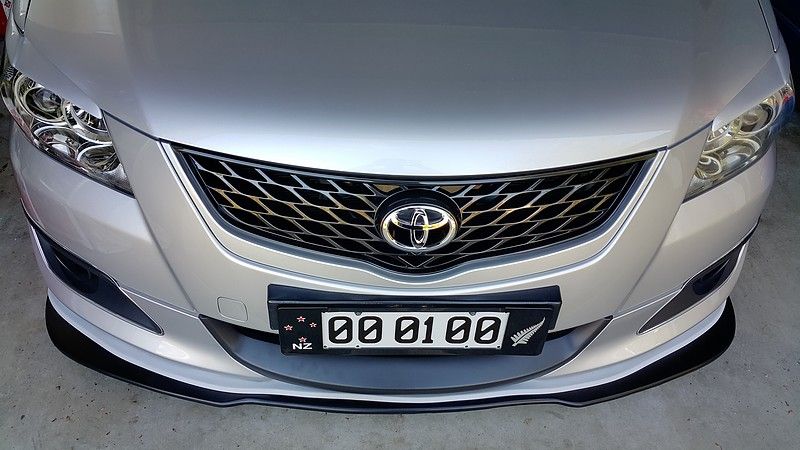
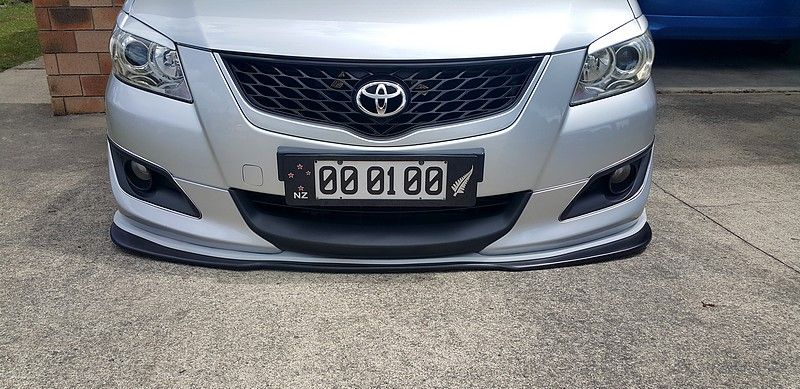
Well, it's been a week so far and the splitter is still there, without any real damage. I've scraped it on a bunch of entrances etc, despite being extremely careful and taking extreme angles wherever possible, but so far so good. The goal of making it to at least a month could well be achievable, but time will tell ;)
Obligatory victory shot:
-
1
-
-
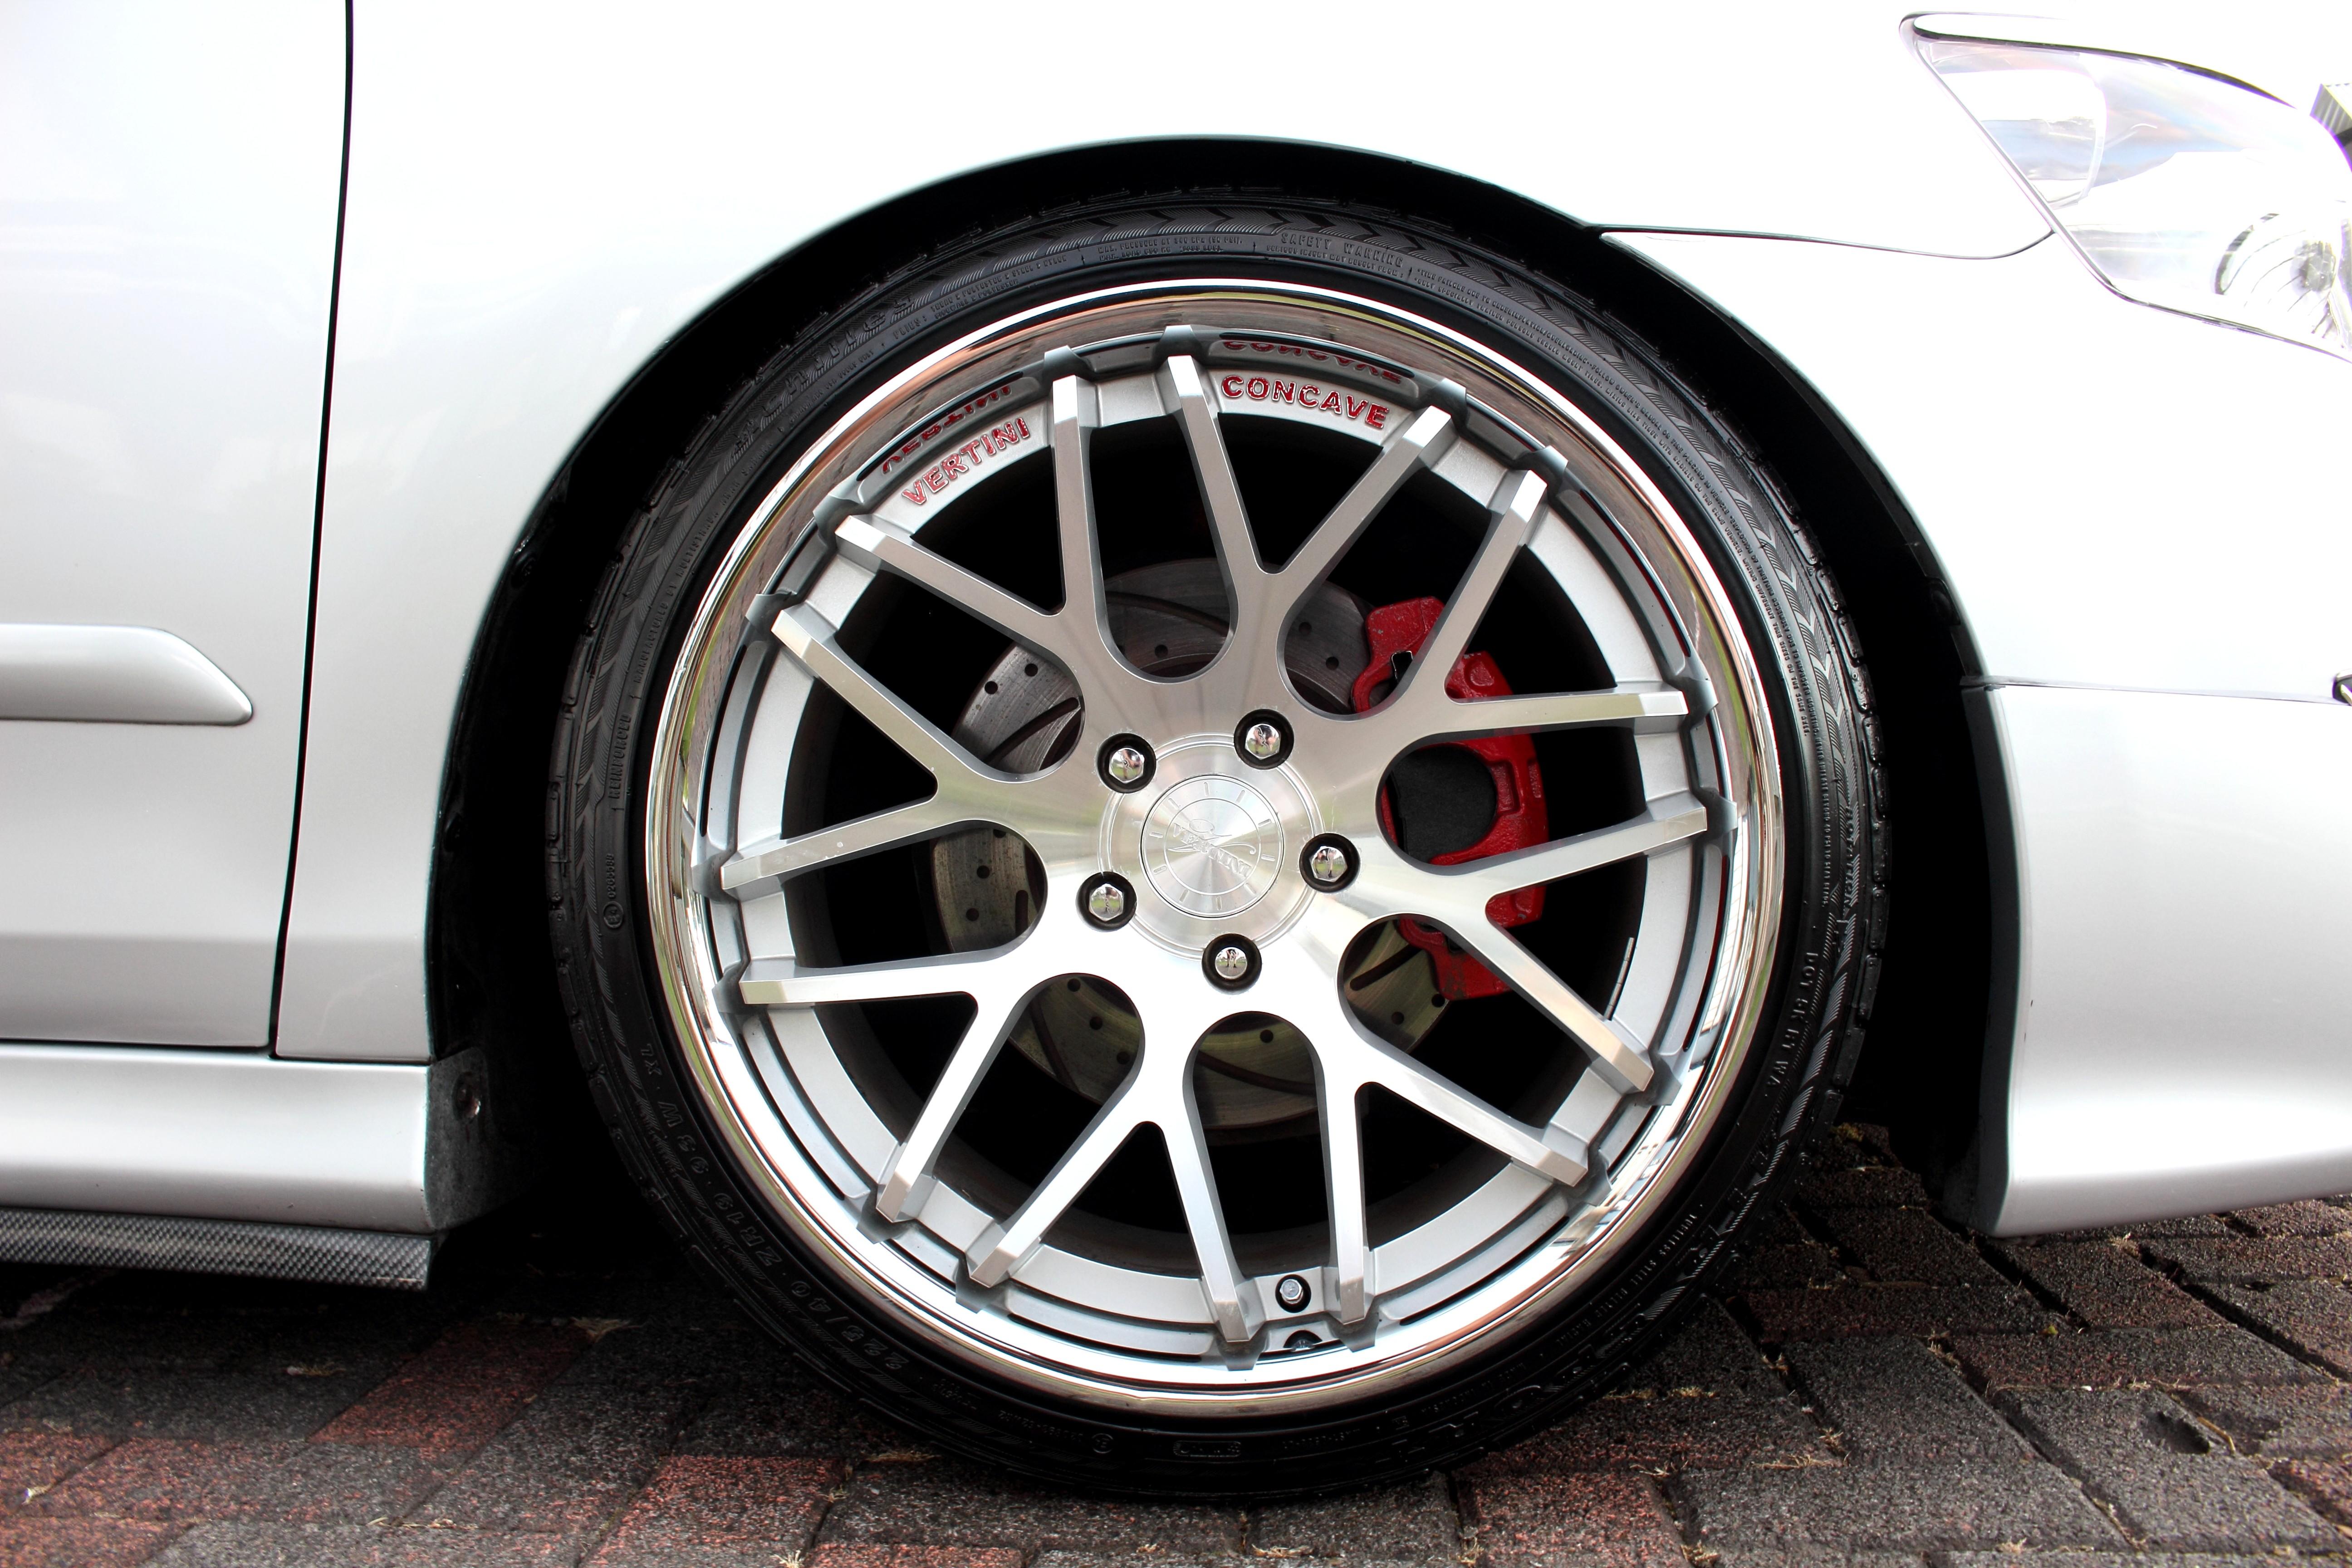
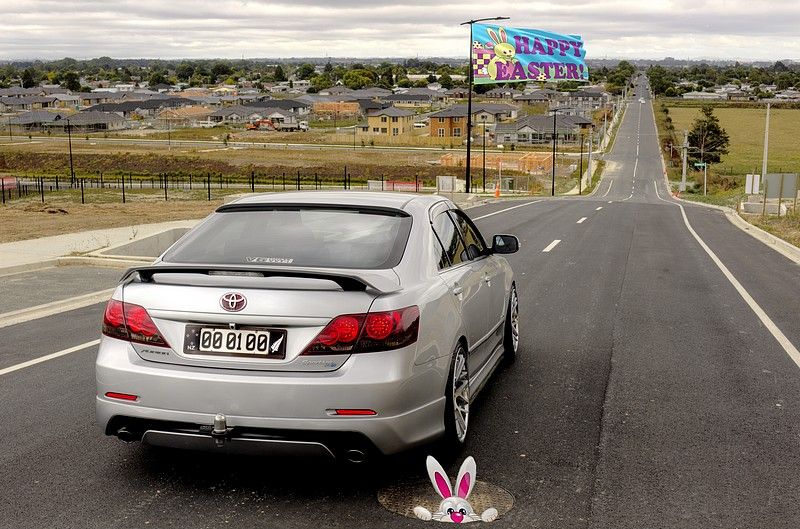
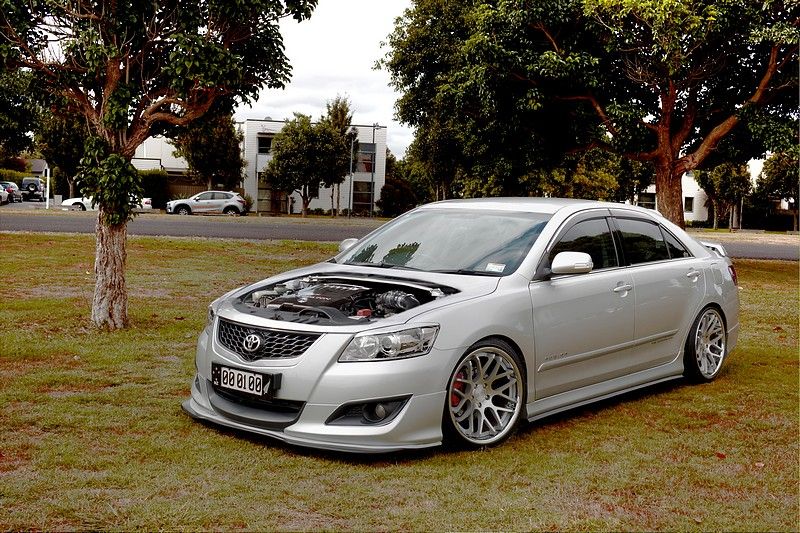
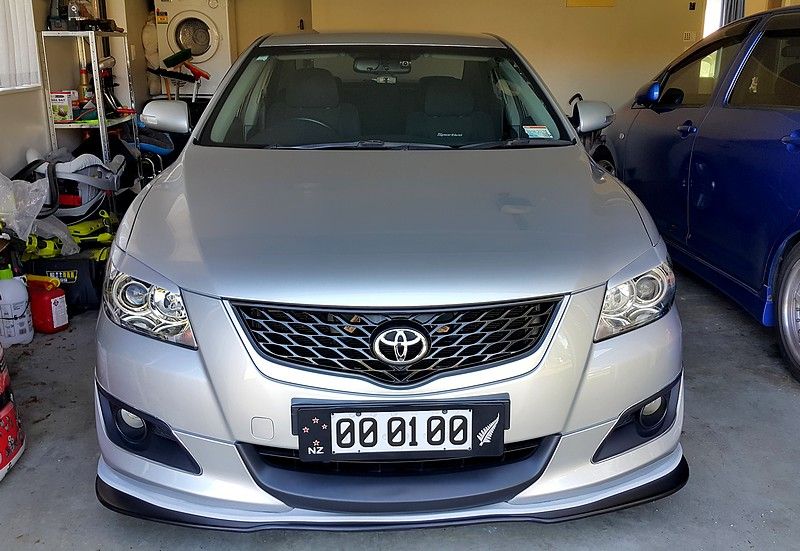
Washed it and then chucked this front splitter on today. I bought it from the US 7-months ago, and it has sat in the garage while I've been deciding whether to put it on as the front bumper already scrapes on a daily basis. I decided to throw caution to the wind however and this is the result. The EZ Lip I had already fitted is still there (except now sits flat), which provides a decent contrast between the bumper and splitter. I can't see this thing lasting more than a month before getting destroyed by a driveway or speed bump to be honest, but it beats sitting there collecting dust.
-
Mmm, liquid metal - Almost sounds as good as it looks
. Welcome to the forums mate -
1
-
-
16 minutes ago, nushydude said:
So...I heard from them. It was a damage in the VVT-I line. Told me it will cost me $520, so like @campbeam mentioned, it is not covered by warranty. :(
That's a shame. There's a piece of foam along the side of the VVTi line, so what likely would have happened as it would have leaked into that until it couldn't absorb any more, then dripped down through the engine bay until it hit the concrete and pooled up. Probably a good thing as you could have quite easily driven away the following morning. My VVTi line blew in a similar fashion, and then a month later the front oil cooler hoses blew too. $520 sounds steep, should only be a couple of hundred at the most. Make sure that whoever you get to do it uses the FULL metal VVTi line, NOT a rubber one.
-
What sort of fuel consumption are you getting? And what sort of driving are you doing? (eg. 40% highway, 60% city).
-
If it's either of the oil lines (VVTi or oil cooler lines) they only leak when under pressure (when the engine is running). It doesn't take long for the oil to squirt out at an extremely fast rate though, so if you left the car running for a minute or so when you got home that would definitely explain the puddle underneath and the lack of oil in the engine. If it randomly leaked out overnight however then it could be something else, such as a leaking seal or cracked sump, but the oil lines are the most common to go, so it's more than likely what's happened.
-
Yes it's possible, but no it's not plug-and-play. Refer to this active thread which discusses the exact same thing: http://au.toyotaownersclub.com/forums/topic/54838-gsv50r-steering-wheel-on-a-gsv40r/
-
Yep, you can just redrill the holes in the bumper for the sensors. They are held in with small spring type clips that are actually part of the sensor itself.
-
17 minutes ago, TRDnz13 said:
Scott I just read through your whole build. Great job and you do take better photos than most.
Thanks mate. She's been a work in progress but it's been fun keep this thread updated. As time as goes on, things are slowing down as I run out of things to do to it, but it gives me more time to enjoy the car instead of constantly working on it or thinking about 'what's next'. Looking forward to getting our cars together sometime for a shoot. Now that would be quite something
-
-
Good to hear!! For the 'DISP' button I had the same problem, since on the Blade you cycle the screen by a knob on the actual cluster itself instead of on the steering wheel like the Aurion, so I hooked it up to the radar cruise control button on the RH side of the steering wheel controls (under the hook/unhook buttons). Fortunately in your case the GSV50 does have a dedicated 'DISP' button, but the pin out must be different to the GSV40. You'll likely have to add another pin to the clockspring under the dash and connect it to the Aurion's factory purple wire.
-
The 3rd wire will be for the ground. So shift up, shift down and ground.
-
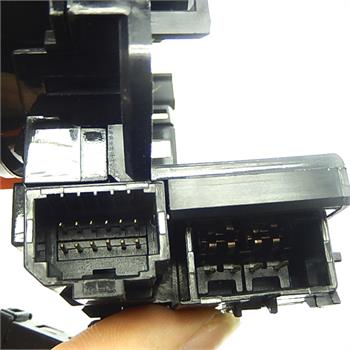
Which plug have you been trying to repin? The wiring from the steering wheel which contain the paddle shifter wires plug into the clockspring on the airbag side, so don't worry if there's 3 pins, just as long as it plugs in. The only two pins you have to add to the clockspring are underneath the dash. Generally the clockspring is pinned for more than necessary to accommodate for different options etc, but the wiring only changes on the actual body loom.
-
No worries! It gets confusing real fast so I'm glad we're both on the same page. Later on down the track you could trace which wires do what and then mix-and-match as required, but the main thing is getting the paddle shift functionality working first. I used original Toyota wiring/pins by smashing open a spare plug that I cut from a wrecked Toyota. Most of the pin/head sizes are the same in late model Toyotas. You can unpin the plug, but it's a pain and it's easier (and more fun) to just smash it open. You just have to be careful not to actually smash the pin itself, but even if you do you generally have about 5 more to choose from on the other side once the plug has been split open.
Once you have 'extracted' your two pins with a bit of existing wire on the end you are ready to insert them to the GSV40 clockspring (dash side). You'll need to use a small screwdriver or blade to gently pop up the locking tab on the existing body plug to allow the new pins to actually slide into the connector, but it's not too difficult. The two pins you want are at the top, directly in the middle (refer to the before and after pics below). In the 'after' pic the two wires added are the pink and purple ones. Don't worry that the wiring colours in each picture differ between the plugs, they are actually two different Toyotas and are only for reference. I can't remember exactly which one was + and - but it's easy to work out when you hook it up to your shifter later. Once you've inserted the pins into the clockspring make sure they're pushed in all the way (they should make an audible "click") push the locking tap back down and give the wires a wriggle so you know they're in there properly.
Next you have to lengthen/run the wiring under your dash and to the centre console, ready to hook up to your existing shifter wiring (the plug isn't part of the shifter itself, but on a plug of it's own further back, but we'll go into that later on).
-
Ok, I'm with you now.
* The plug from the clockspring to the steering wheel (where the two yellow airbag wires are) was lacking pins.
* The plug from the clockspring to the car's harness under the dash has a different plug shape from factory.
That's quite a pain.......I'd personally keep your GSV40 clockspring and not worry about the couple of extra missing pins, as they'll likely only be for directional buttons or back button etc that the GSV50 has, which aren't used on the GSV40 anyway. On my one I have a voice command button that doesn't get used at all, and I turned the radar cruise control button into the 'DISP' button, so it all works out in the end
-
Hmm, strange. Your factory GSV40 clock spring should have a 12-pin connector, but depending on the model/grade (Presara etc) there will be quite a few missing pins on the actual harness side.
GSV40 connector looks like this:


My '06 Toyota Aurion SX6 Sportivo
in Members Rides
Posted
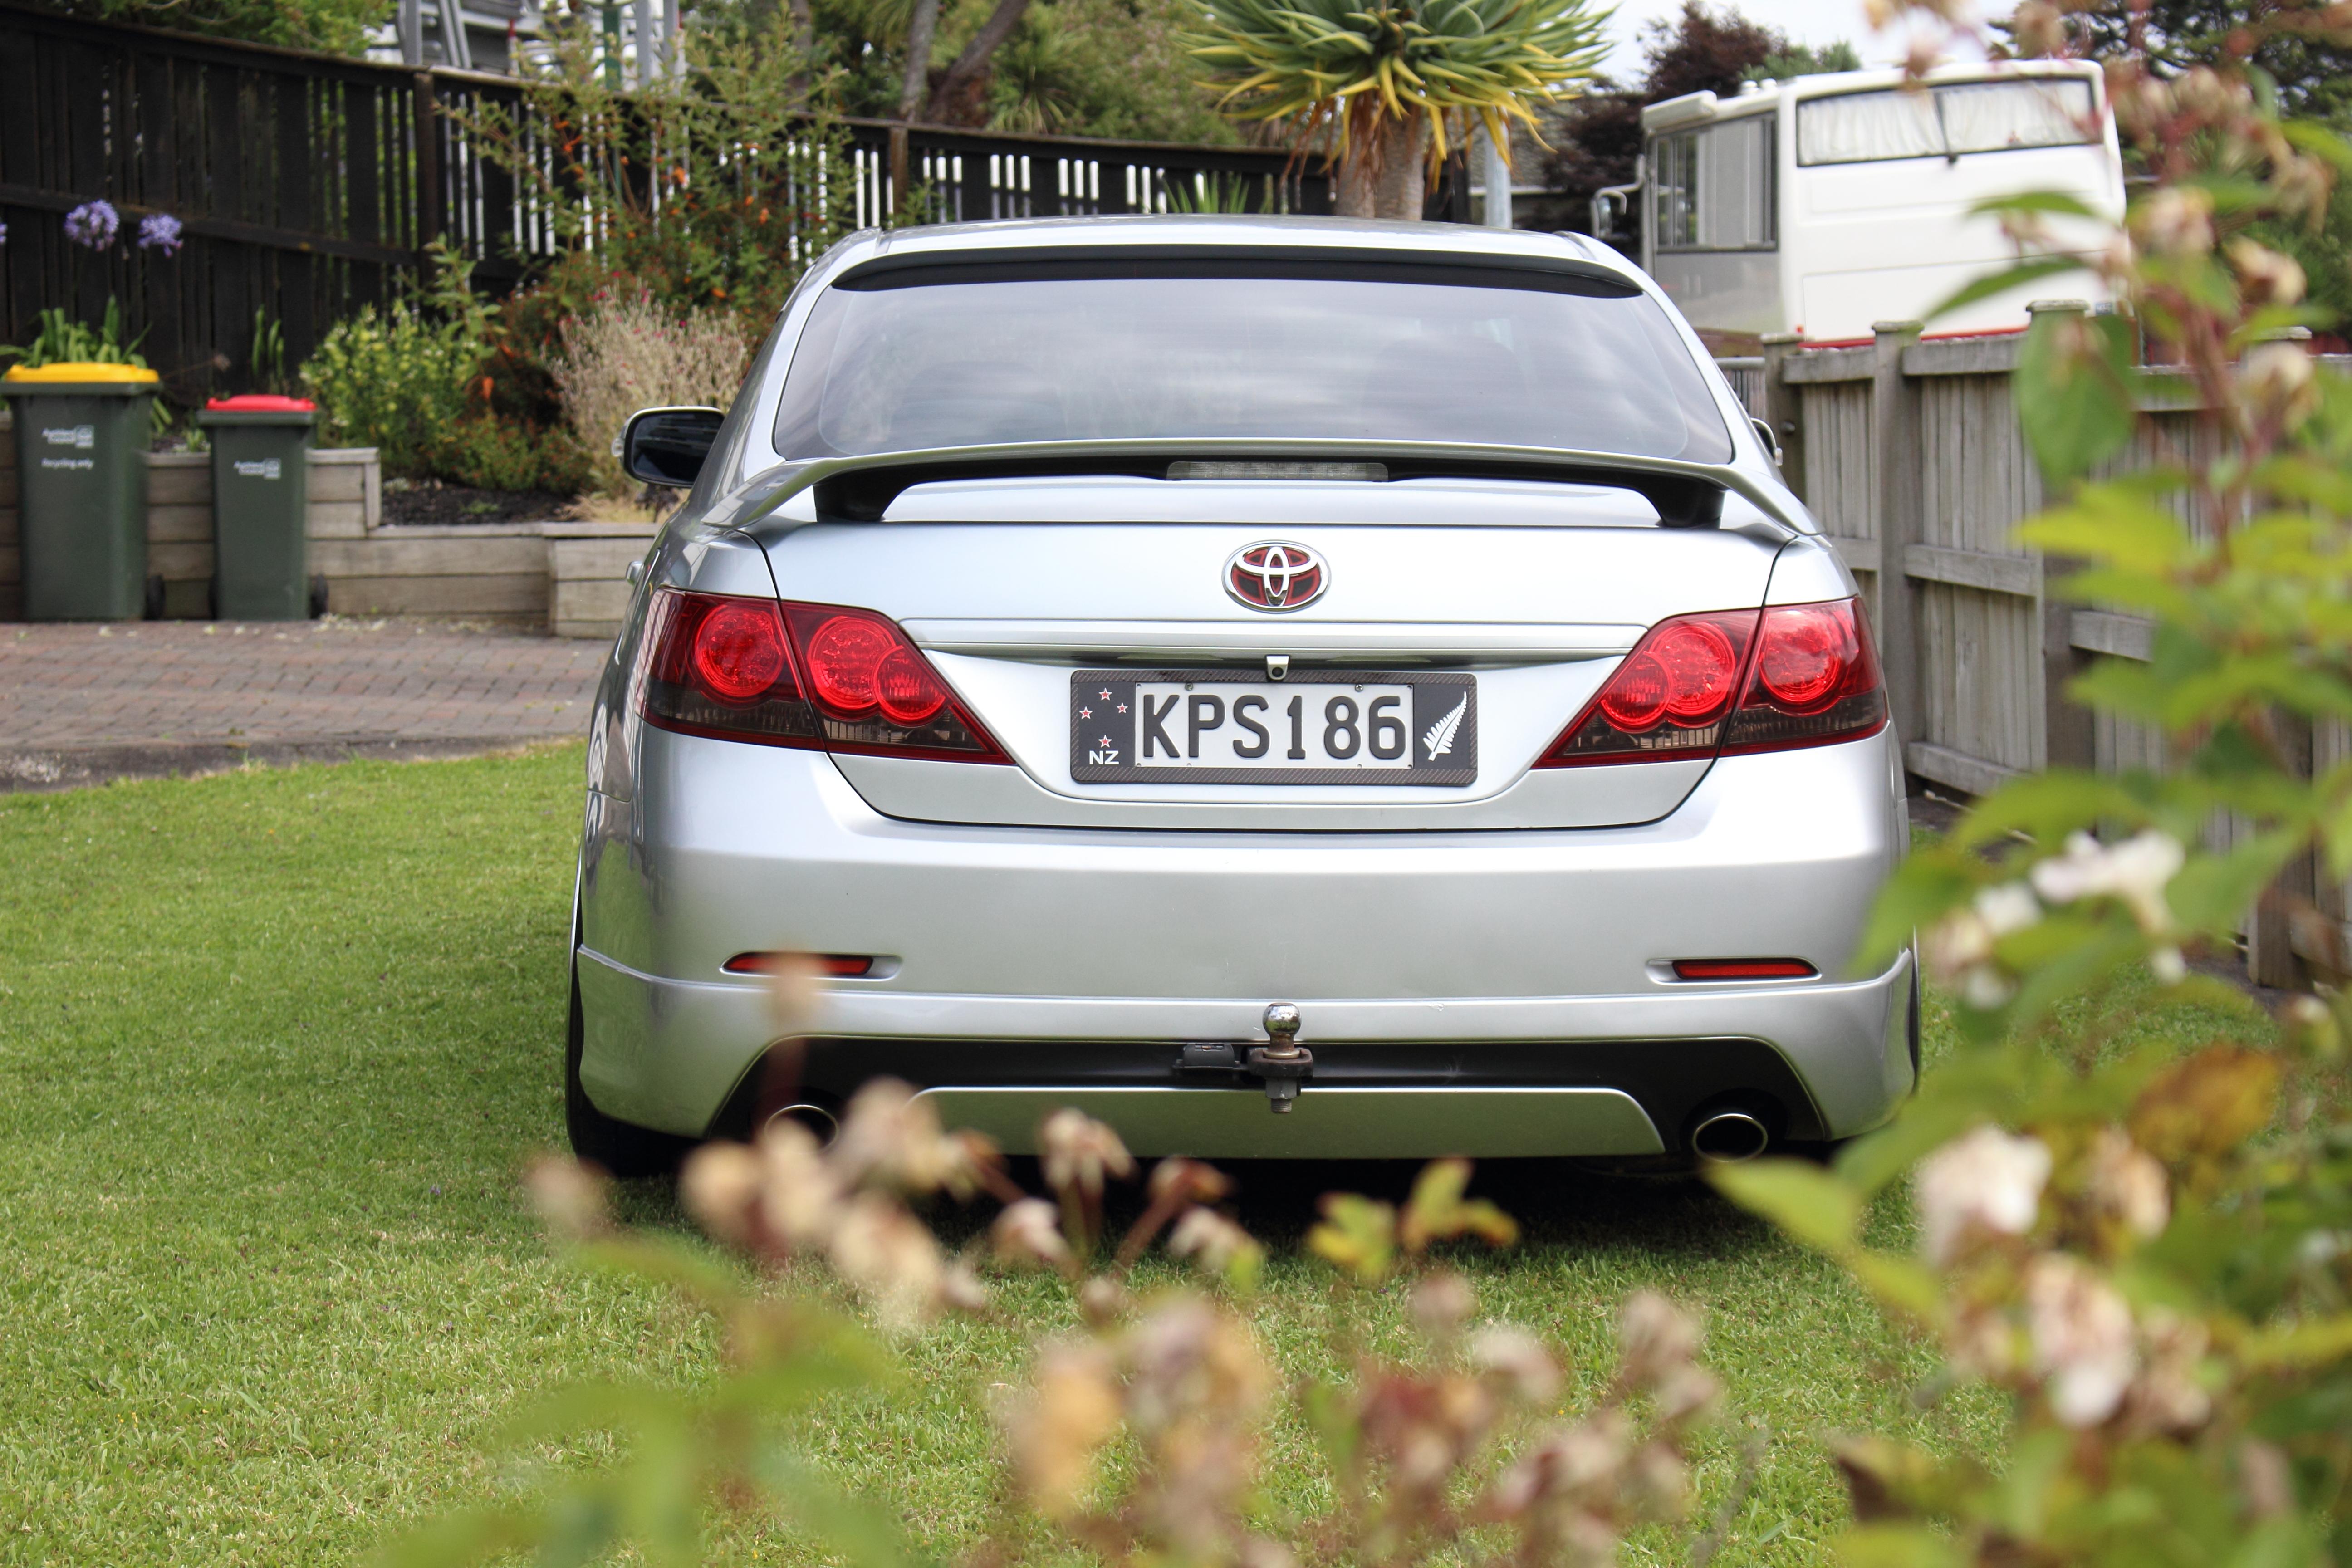
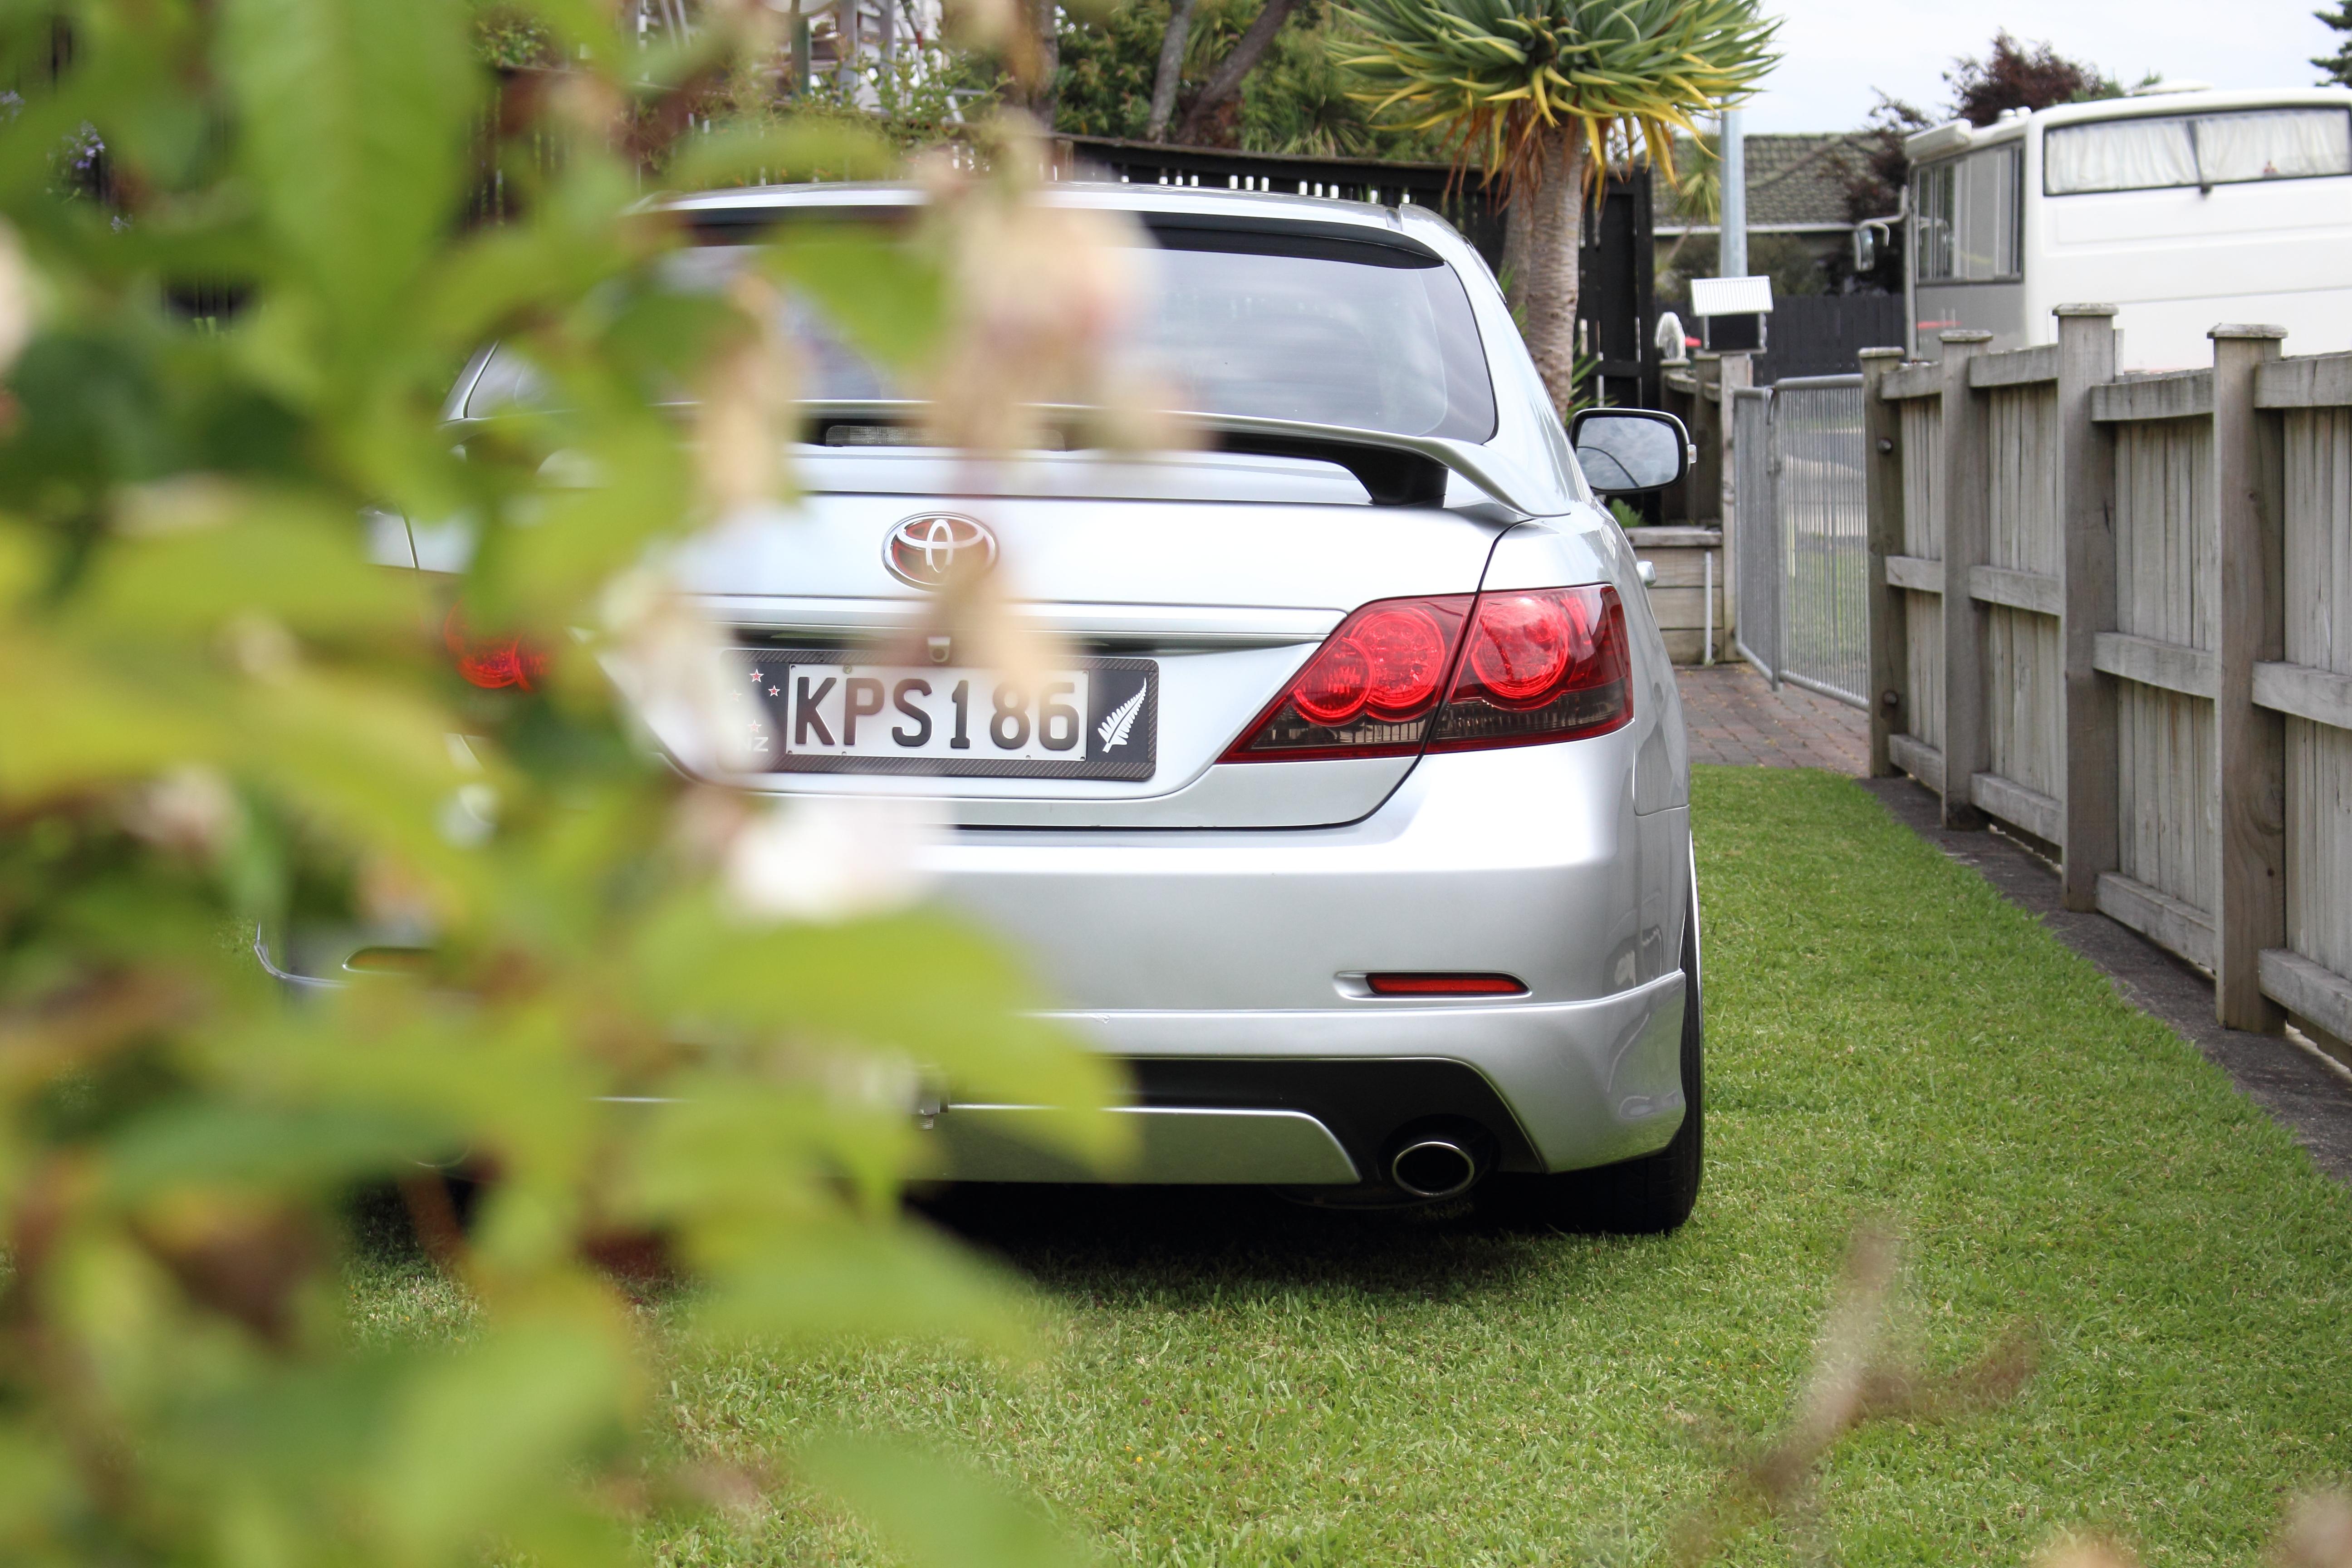
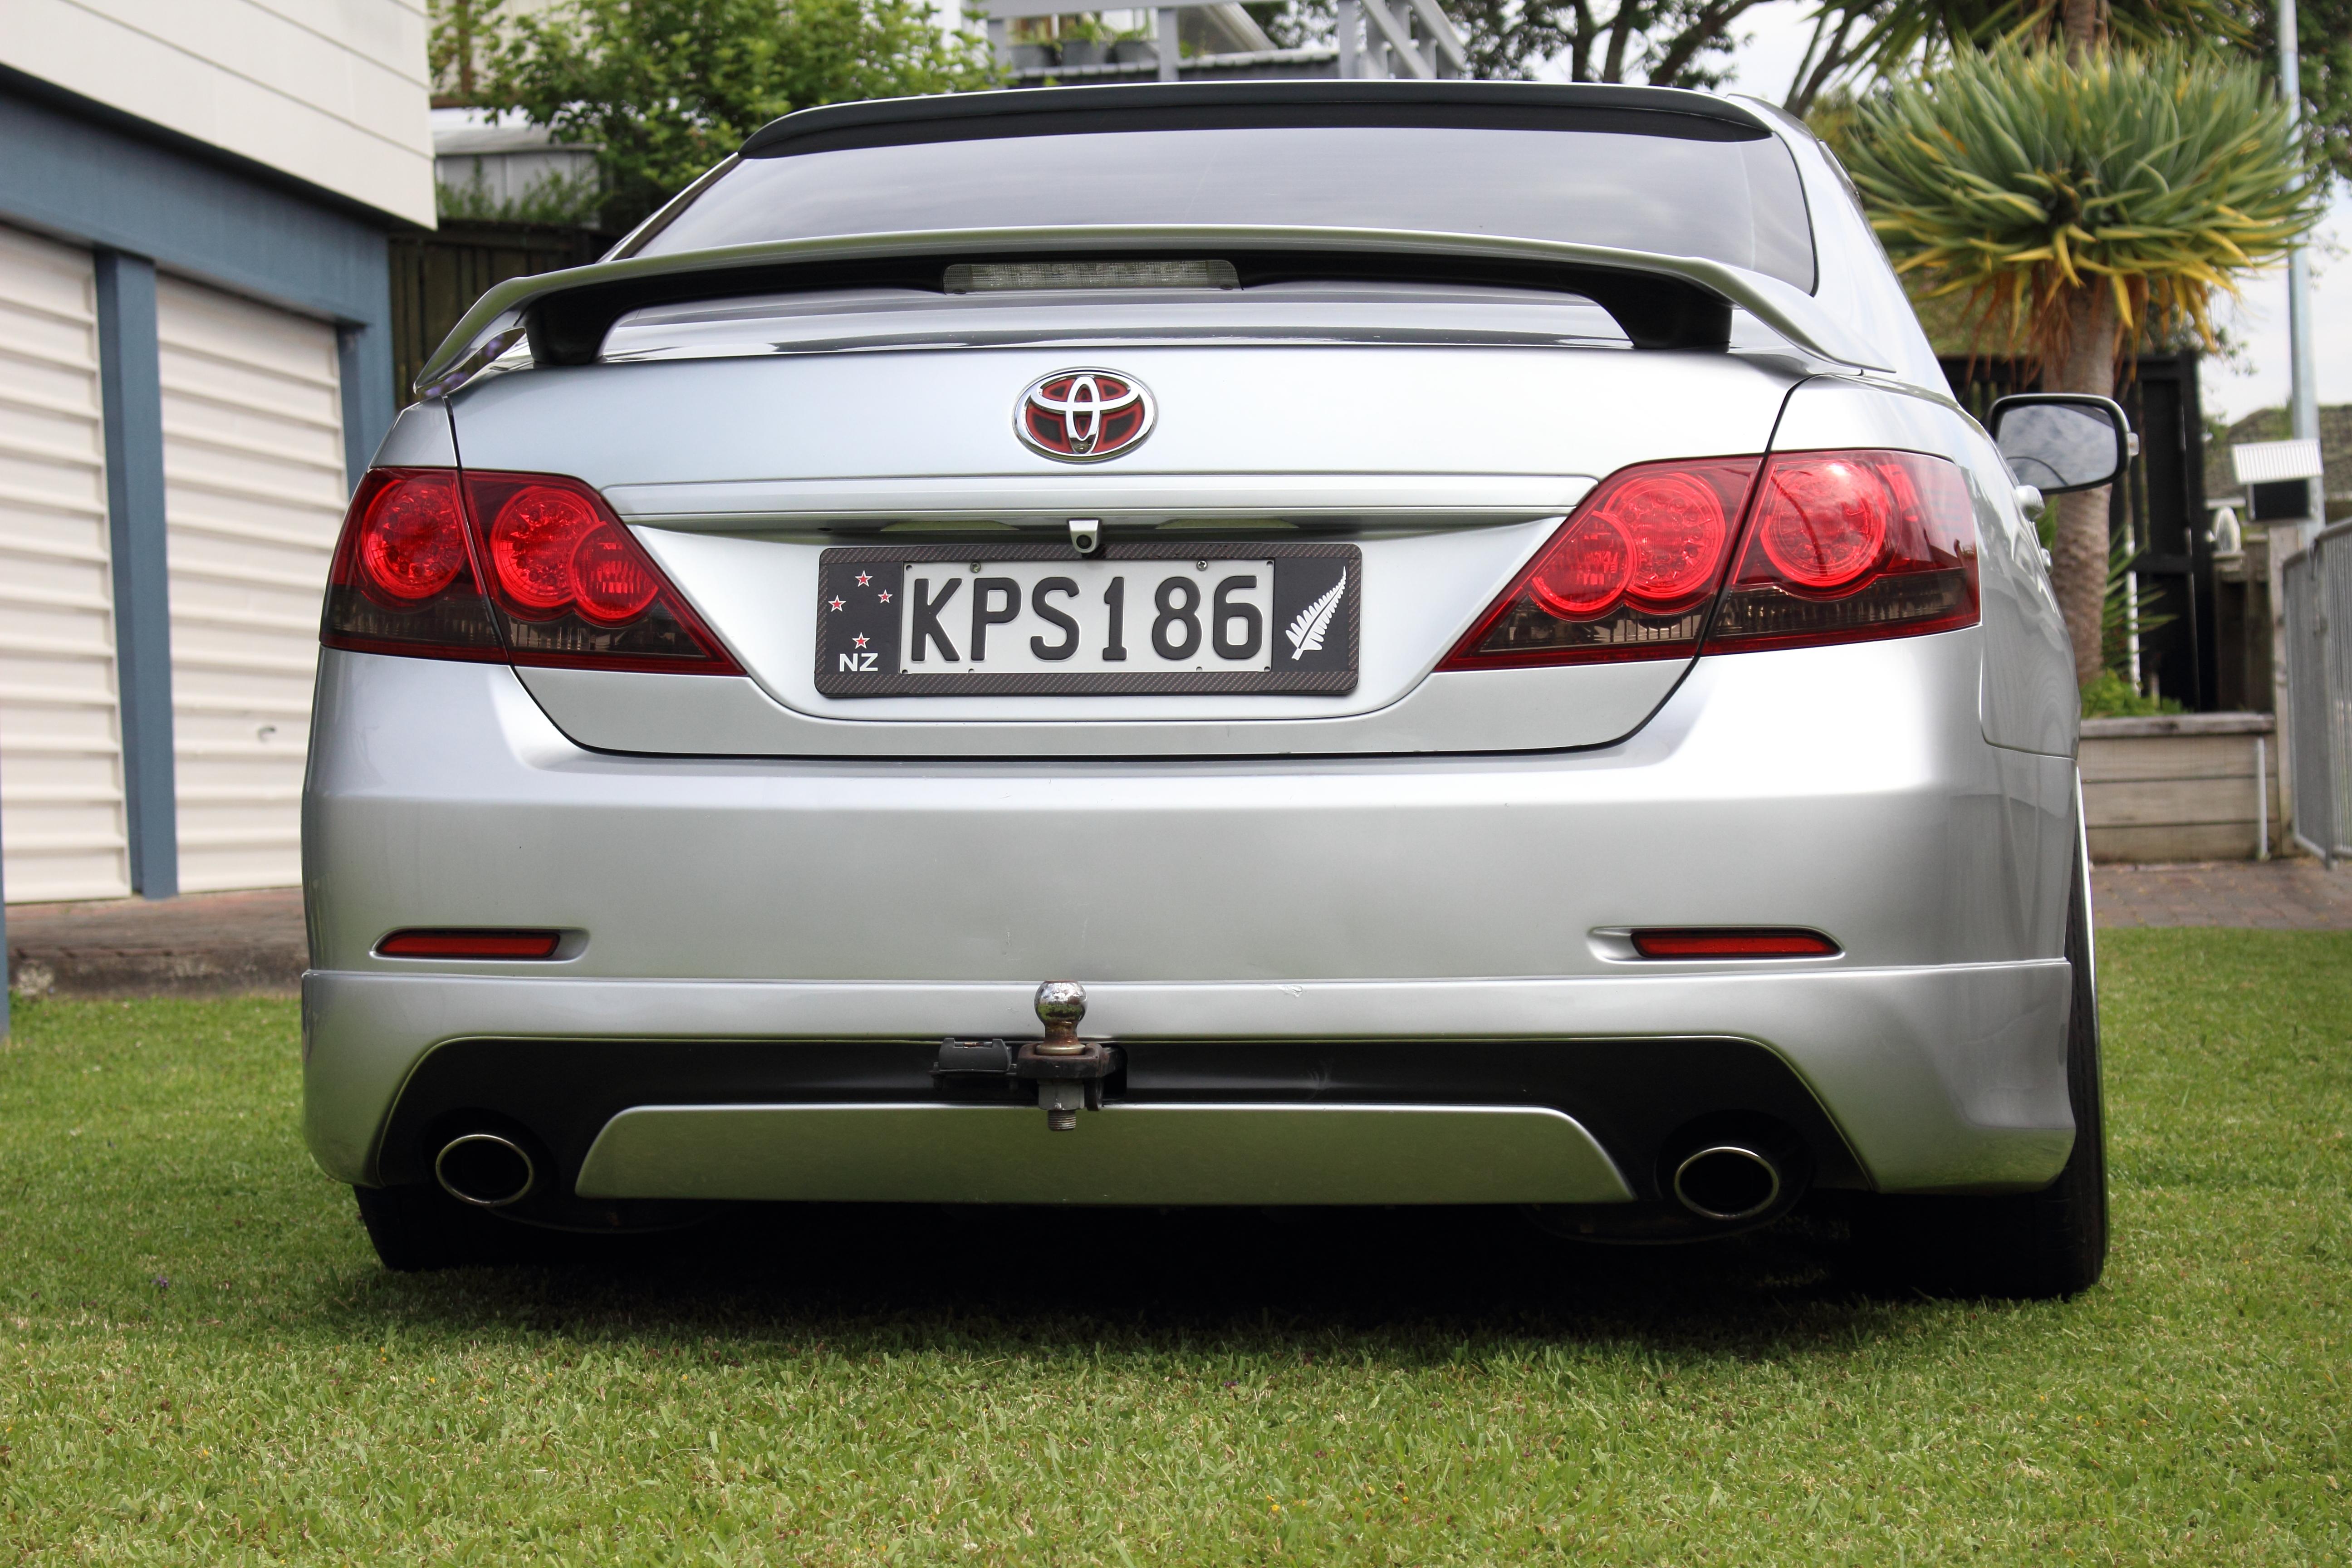
I've had this particular style of LED rear bumper lamps installed for the last 3-years, but after noticing that one of them had moisture inside the lens I decided to swap them out for new ones - And to my surprise, they now do one with a sequential indicator instead of a normal flashing one, so they're even better than before! :)
Here's the video I uploaded to YouTube earlier: https://youtu.be/ty8JQPmolFA