

Full-Throttle
-
Posts
743 -
Joined
-
Last visited
-
Days Won
65
Content Type
Profiles
Forums
Events
Gallery
Tutorials
News & Articles
Videos
Posts posted by Full-Throttle
-
-
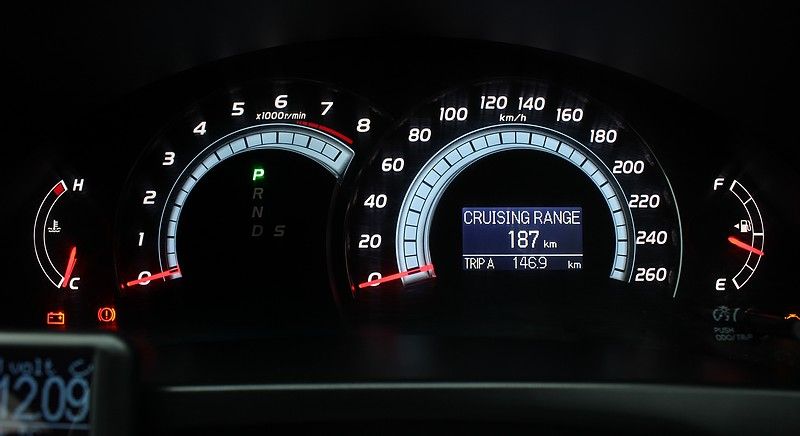
Small update: I just managed to get the radar cruise control button on the steering wheel working as the DISP button, so am now able to cycle through the various displays on the cluster again (cruising range, fuel consumption, outside temp, average speed etc). It was one of those jobs that I knew I needed to done but was scared of blowing anything up (mainly the cluster). I ended up adding an extra wire to the one terminal on my clockspring that didn't have a wire in it and splicing it into the purple wire from the same plug which goes to the cluster. It was a bit of a gamble, but to my delight when I turned the key and pushed the radar cruise button the display cycled through :D. Very pleased to have it fully functional now, as watching the 'outside temp' all day had gotten pretty boring

-
 1
1
-
-
I've managed to get a number of things achieved this weekend on the Aurion.
The first thing I did was remove the rear spoiler to redo the original double-sided tape between the spoiler and bootlid, as the original tape had become dry and unstuck which was letting water into the boot and causing the spoiler to shake. I was going to just use normal double-sided tape and cut it to the right size, but rather than risk it leaking again I decided to buy the genuine Toyota replacement tape which is already cut to size. The two bits of tape cost me $97 though :o, but saved me a lot of stuffing around.
The next thing crossed off the list was the installation of a top roof spoiler. I had it painted locally and installed it using double-sided tape and a strip of urethane in the middle to be on the safe side. It's a difficult thing to take a photo of, so the pics below don't really do it justice, but it seems to give the rear end a more 'complete' look. I had the same sort of roof spoiler on my '93 Corolla, so decided I'd put one on the Aurion too. It doesn't really do anything aside from being more aesthetically pleasing, but helps to separate it from other Aurions on the road :)
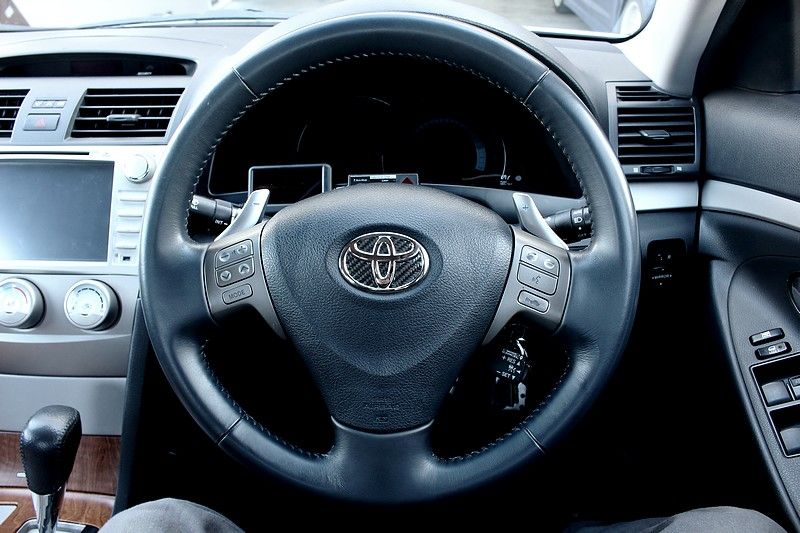
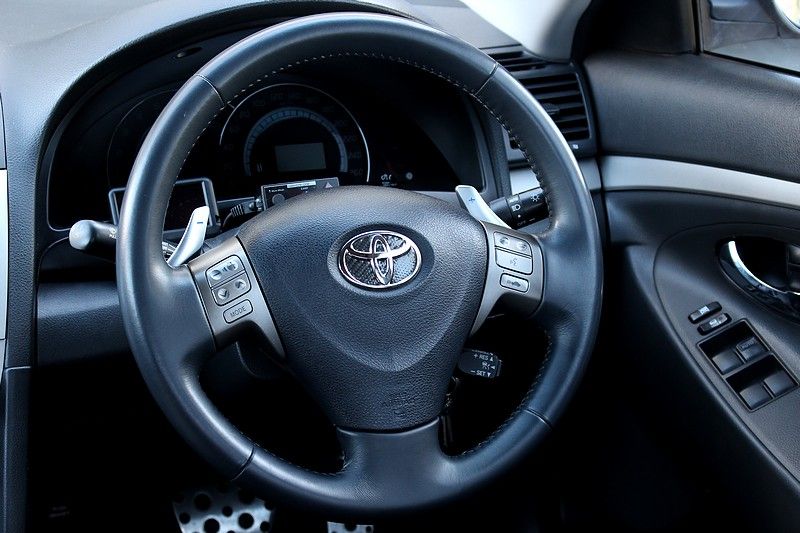
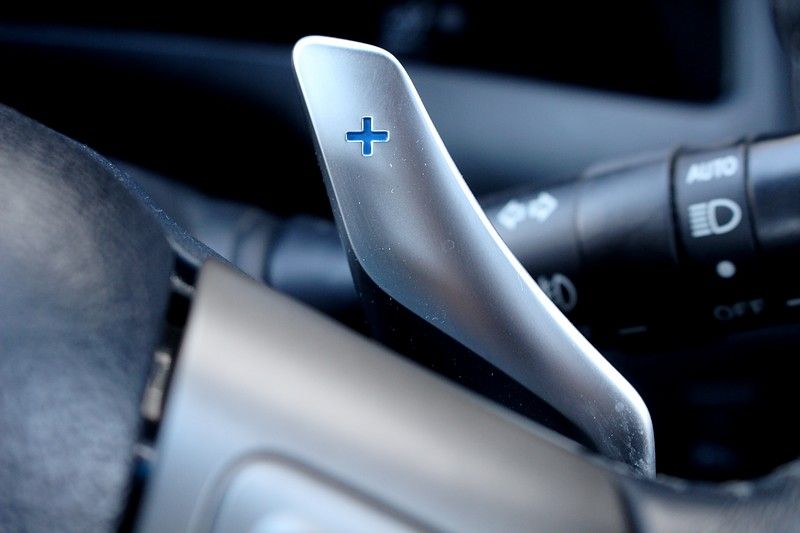
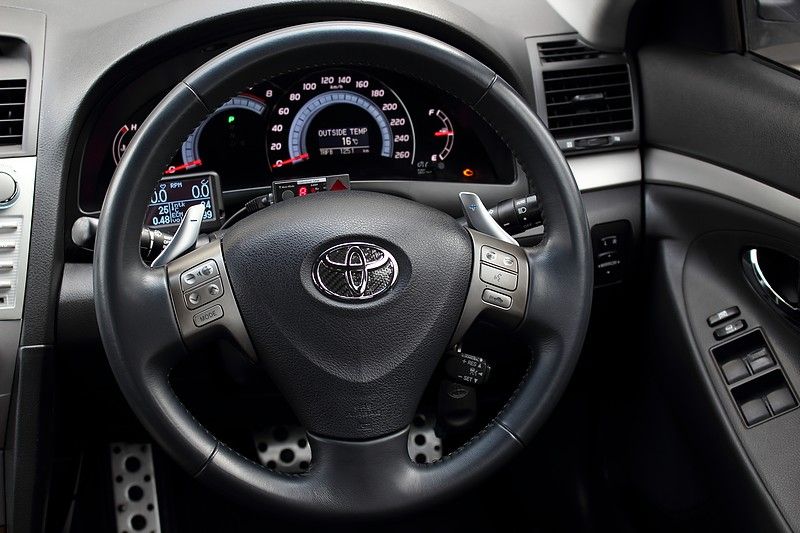
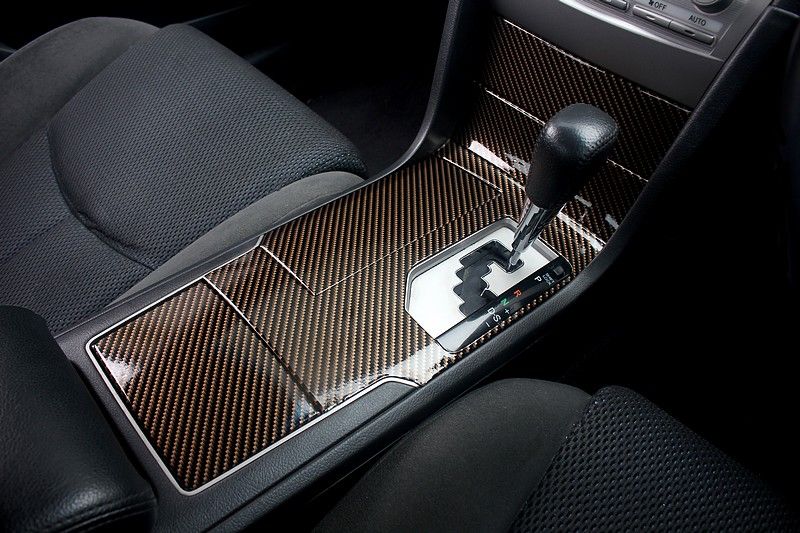
This one was my favourite upgrade from the weekend - The installation of a 2006-2012 Toyota Blade Master G steering wheel. I managed to pick this up for an incredibly low $50 NZD, complete with the airbag, and it's in as-new condition. The biggest feature of this steering wheel is it's paddle shifters on the back. Made of brushed aluminium, they have a very solid feel, and with blue colouring inside the - and + buttons it matches my SX6 badge nicely. It was fairly easy to install, but I had to add two extra wires to the factory Aurion clockspring and run them to the gear shifter in the centre console. While I was there I decided to do the reverse + & - mod, so that I can pull down to upshift and push up to downshift, as I've never liked the way Toyota have configured it from factory. I did have to swap over the airbag igniter on the back of the horn pad as the Blade only uses a single stage charge compared to a dual stage charge like the Aurion. The only issue I need to solve with the Blade steering wheel is that there's no DISP button to cycle through the display on the cluster, so I'm going to have to try and turn the radar cruise control button to function as the 'DISP' button. One bonus of this wheel is that it has the optional carbon fiber look Toyota symbol badge in the middle of the airbag B)
Next on the cards was the addition of an aftermarket reversing camera. I got this cheap on AliExpress and the silver colour is pretty much identical to my Aurion's factory Silver Ash Metallic. It was a bit tricky to install as it gets held in by a threaded stud and a nut, which meant I had to drill a hole and remove the plastic garnish. I got it as flush as possible against the garnish, but due to the shape of the garnish there's still a small gap at the top, so I'll have to fill that in with grey silicone. I also have another camera which looks the same (except black in colour) which I plan to install on my front bumper, which should make parking the garage much easier (as the car only JUST fits), and will stop me damaging the lip/bumper on high car park curbs etc.
After that job it was time to remove my factory 6x9 front speakers and replace them with aftermarket 6x9 to 6.5" speaker brackets, paired with Lexus optional Mark Levinson speakers. The size of the magnet on the back is huge in comparison, and they sound much more defined than the factory 6x9's. I must admit, considering how light and cheaply made the factory Aurion 6x9's are they did sound surprisingly good, but the new ones are definitely more my cup of tea.
While I had the door panels off to install the speakers I swapped over the inner door handles to the ZR6/Presara chrome type handles, and changed from the boring black SX6 vertical hand grip surrounds to the silver ones to match the rest of the interior. Two very small changes that made such a difference :)
Last but not least, I swapped the intake hose with a GSV50 Aurion (latest shape) hose as it looks much tidier and doesn't have the ridiculously large non-removable intake resonator like the factory one has. The GSV50 resonator is simply clamped on and can be removed if desired, and by being a lot smaller it made a noticeable difference to the intake noise under full throttle. When I had the hose off I decided to also remove (break off) the factory carbon filter on the underside of the intake box cover, allowing the engine to breathe much easier instead of having to go through the carbon filter first. This likely would have contributed to the additional intake noise too.
Anyway, enough talking from me, here's some pics ^_^
-
I looked up the part numbers this morning out of interest and the Touring and Grande (Presara) have a different part number for the mirrors compared to the other models, so those are likely the ones with the heated mirrors.
-
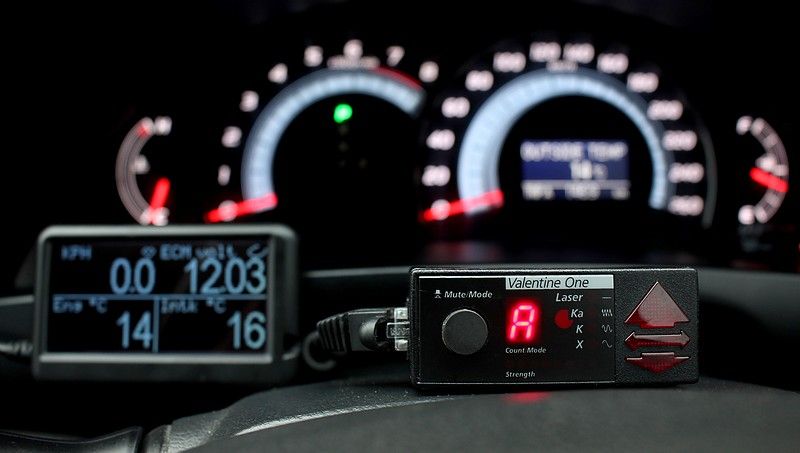
Looks very neat and tidy, I didnt know radar detectors are legal there?
Thanks! Yeah radar detectors are perfectly legal here :)
-
Build another garage! :P
If I had it my way the Corolla would park in the lounge!
-
1
-
-
But why? :(
Will be sad to see it go. I really hope you change your mind.
I've got the Aurion now, and it deserves to be put in the garage, so sadly it's time for the Corolla to give up it's top spot and move onto a new home. I'm a very stubborn person so the likelihood of me changing my mind is very slim, lol, but it's something that is going to have to happen sooner or later so I might as well get the heartache over and done with.
-
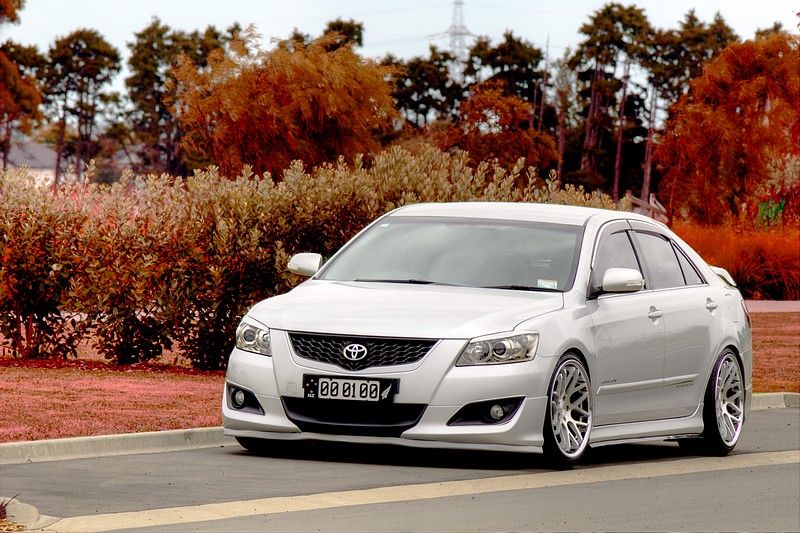
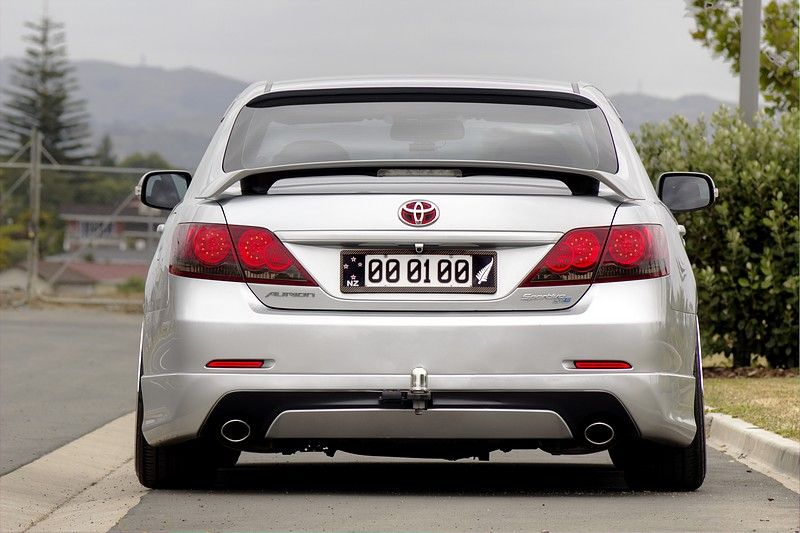
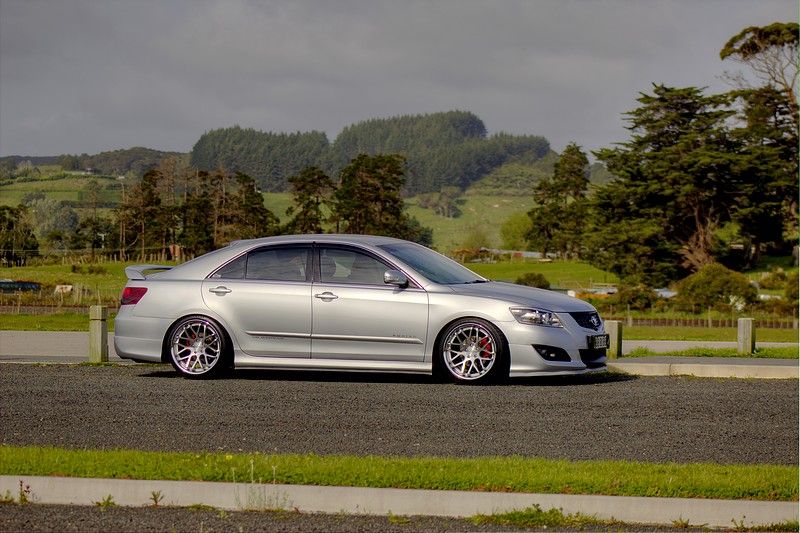
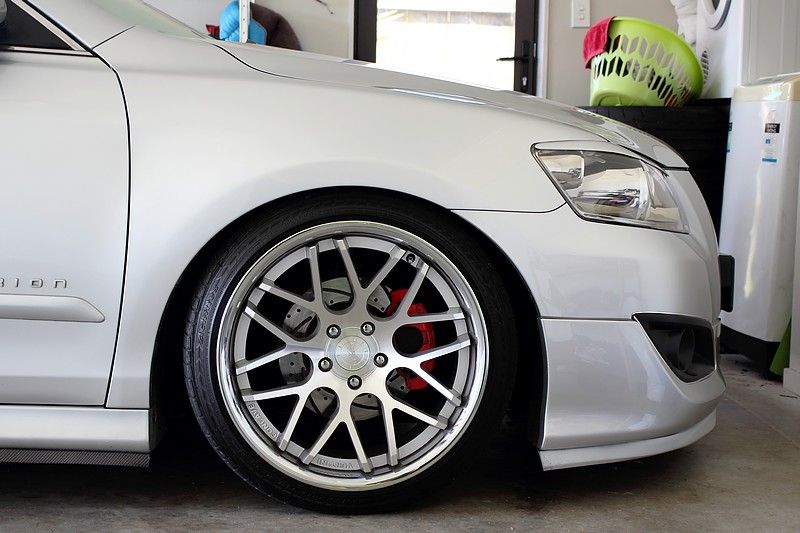
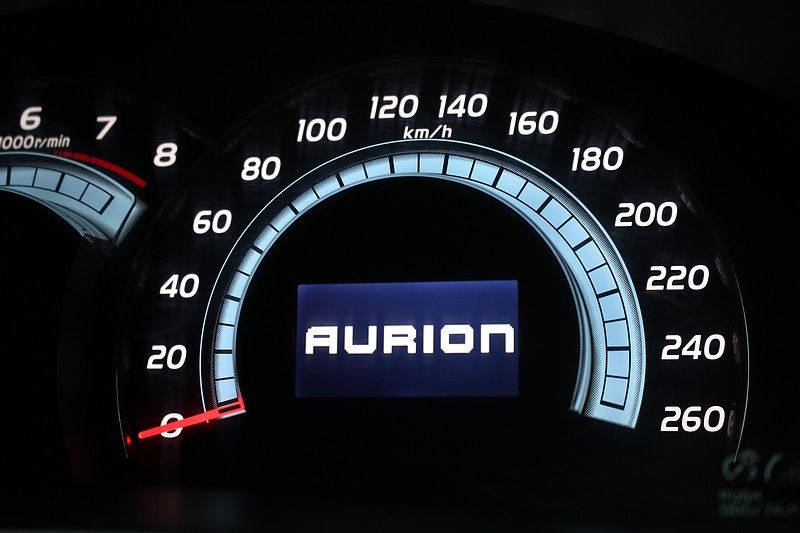
Welcome, and cheers for viewing my build thread! I bought this car in May '15 and didn't really plan on doing any mods to it, but as we all know, things often don't stay standard for very long. I've always liked these cars, so when I finally had the chance to buy one I opted for this '06 SX6 Sportivo model.
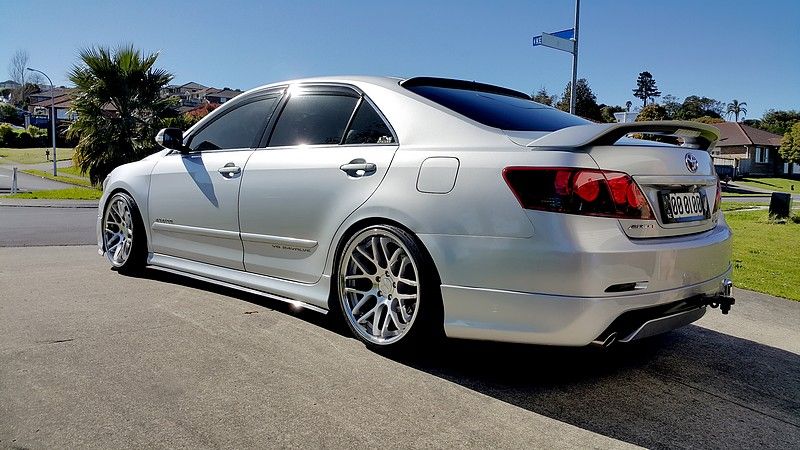
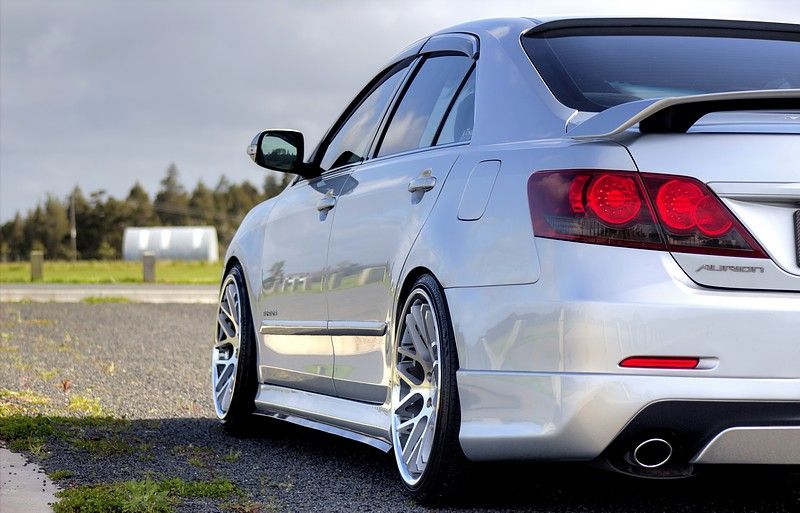
It came with 18" TRD wheels, but apart from that it was all stock. It's not very often you see modified Aurions here in New Zealand so it leaves people wondering what the hell it is, while still blending in as a family sedan at the same time. The car now wears 19x9.5" Vertini Magic concave wheels, along with an array of other mods that contribute to the overall look of the build.
This post will stay updated with the most recent mods & photos, but the rest from post #2 onward are in chronological order.
So far the spec list is as follows:
Engine:
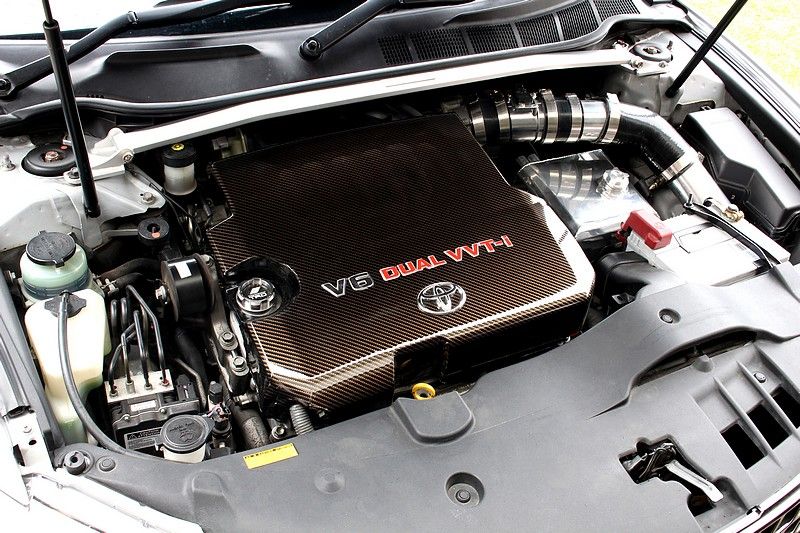
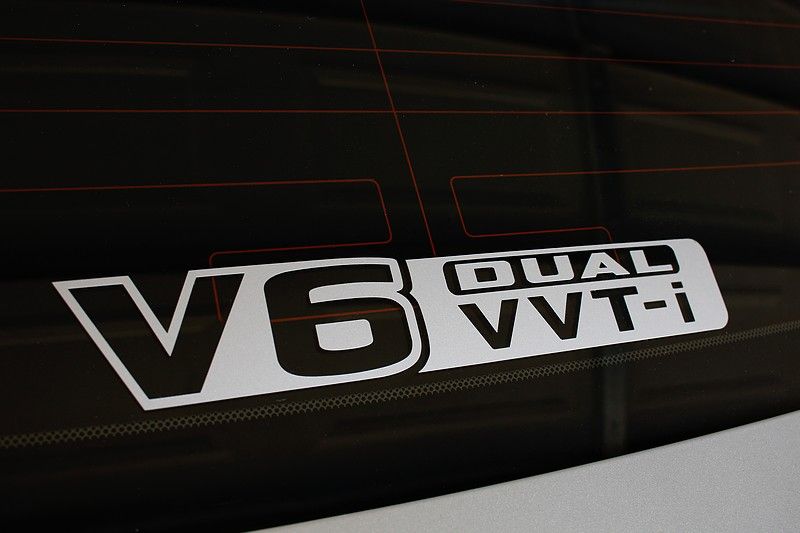
* Stock 2GR-FE V6 3500cc 24v Dual VVT-i engine.
* Custom made 3" cold air intake setup.
* Simota extra long pod filter behind LH fog light.
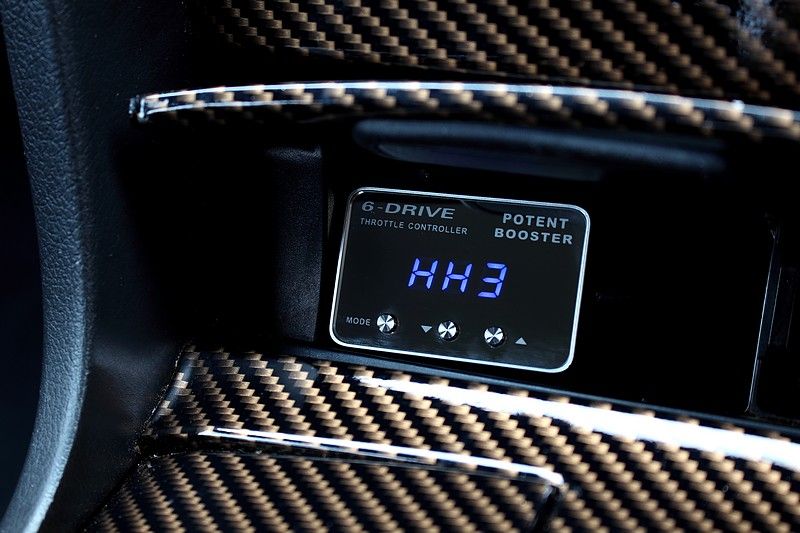
* Potent Booster throttle controller.
* Aurion 2012+ GSV50 full metal VVT-i oil line.
* Aurion 2012+ GSV50 full metal oil cooler line.
* TRD style billet aluminium oil cap.
* Custom bronze carbon fiber wrapped engine cover.
* Large 2L polished aluminium oil catch tank.
Exterior:
* Aftermarket ducktail roof spoiler.
* Carbon fiber bumper lip extension.
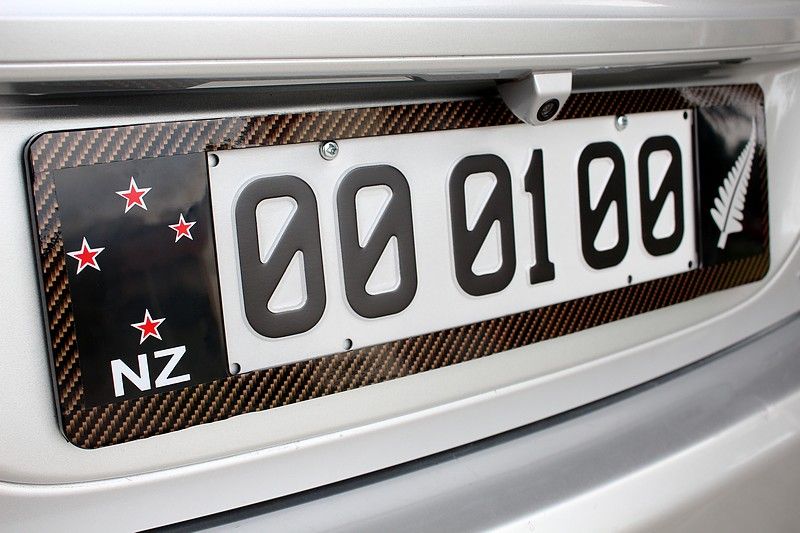
* Aftermarket colour coded reversing camera.
* Aftermarket concealed front bumper camera.
* Genuine Toyota optional towbar & wiring.
* Genuine Toyota optional weathershields/monsoons.
* 35% opacity window tint.
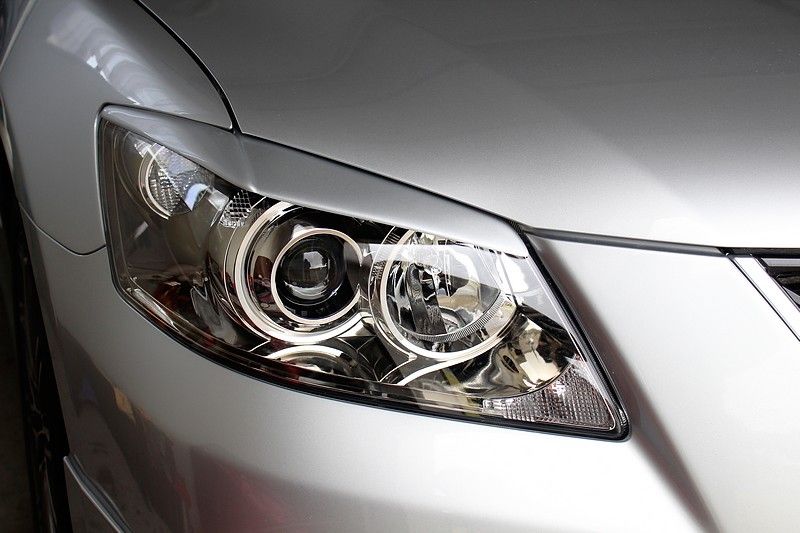
* Bodykit Kingdom headlight eyelids.
* CREE LED headlight, park light and fog light bulbs.
* Chrome trim around fog light surrounds.
* Aftermarket red 'Heat Emblem' in Toyota boot badge.
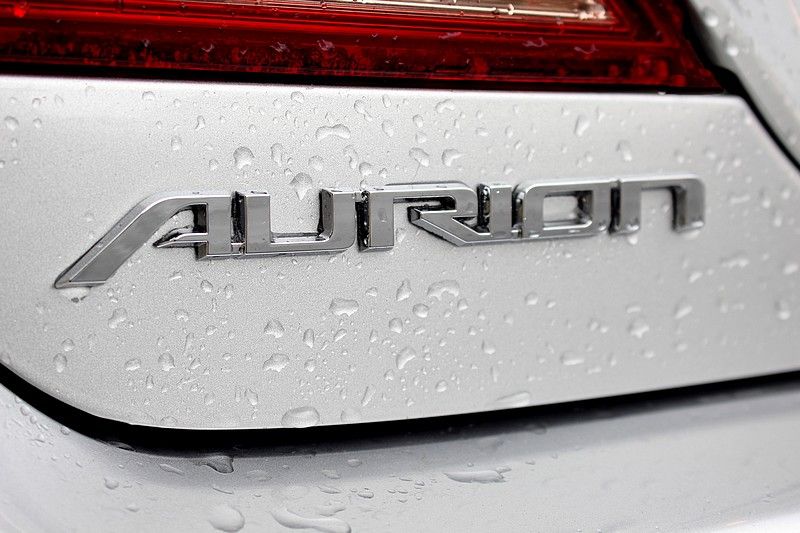
* Aurion 2012+ GSV50 'AURION' 1-piece rear boot badge.
* 2009+ Toyota Landcruiser Prado 'V6 Dual VVT-i' sticker.
* 'V6 24 VALVE' stickers on rear doors.
* Aftermarket Japanese Mitsuba Alpha dual front horns.
* Lexus GS450h engine bay horn for factory alarm system.
* Personalized license plates - 00 01 00.
* Facelift Aurion extra-long license plate bracket.
* Carbon wrapped Euro style license plate frames.
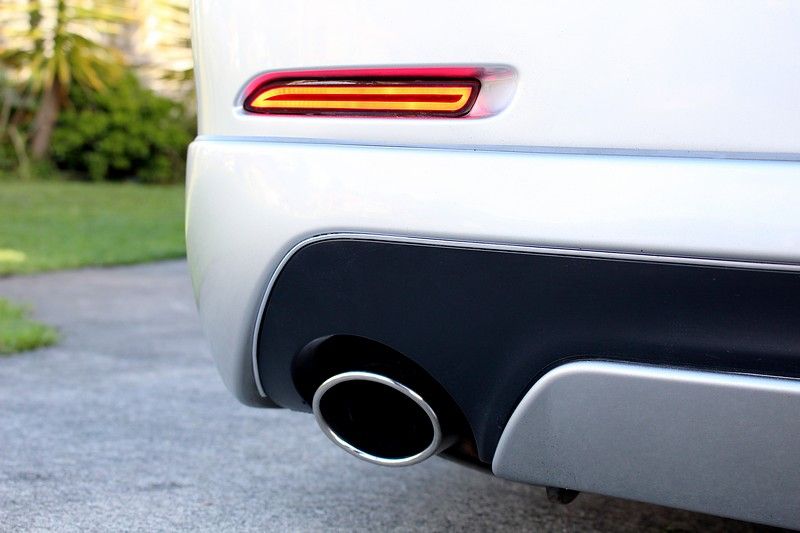
* Smoked vinyl wrapped lower tail light sections.
* LED rear bumper reflectors.
Interior:
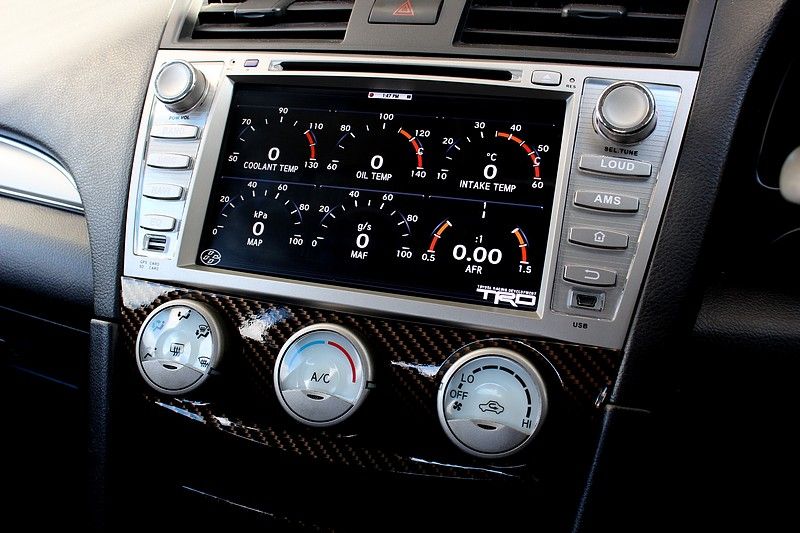
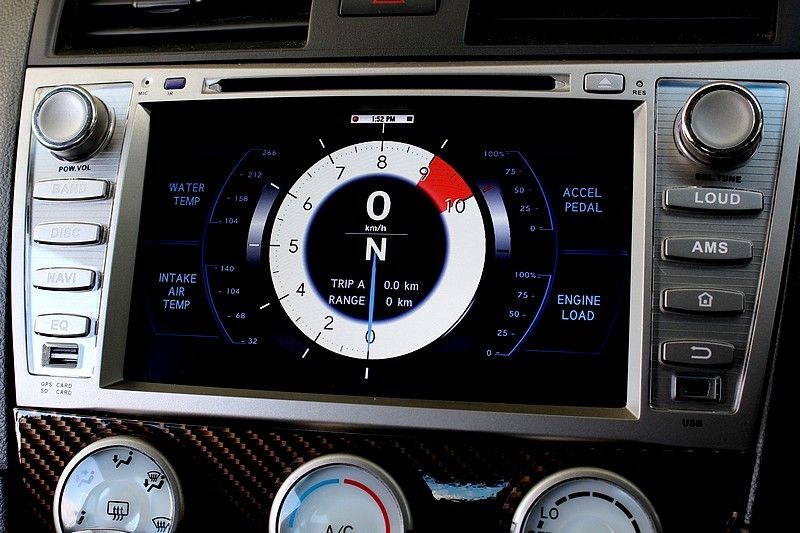
* Eonon GA5164F Android GPS/USB/Bluetooth headunit.
* Aftermarket Bluetooth mic mounted in roof console.
* Genuine Toyota optional LED blue footwell lights.
* Toyota Blade Master G leather steering wheel.
* Lexus IS-F genuine Magnesium working paddle shifters.
* Genuine Toyota optional carbon fibre steering wheel logo insert.
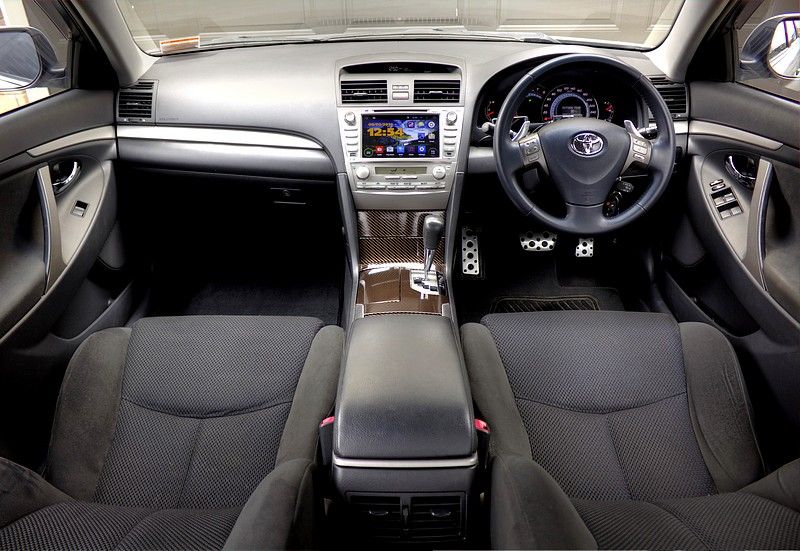
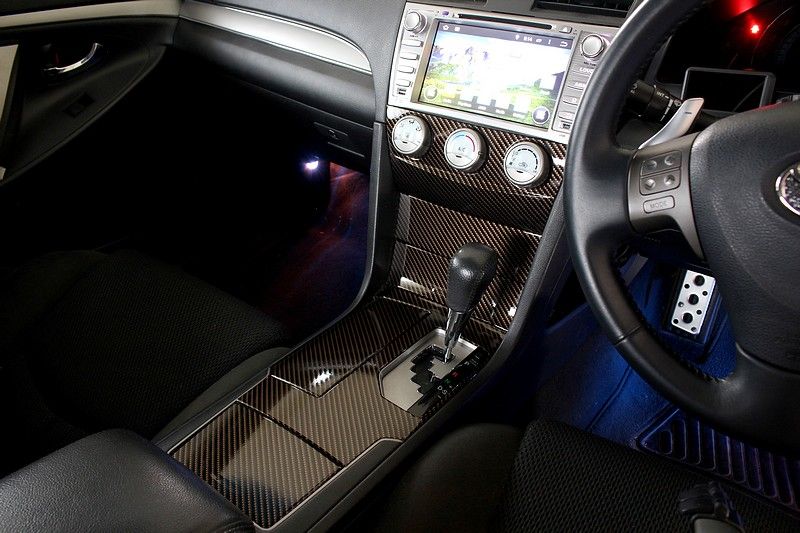
* Custom bronze carbon fibre wrapped centre console.
* Custom bronze carbon fibre wrapped A/C controls.
* Aurion ZR6 silver door trim and chrome handles.
* Chrome trim around silver dashboard inserts.
* Aurion Grande carpeted centre boot trim.
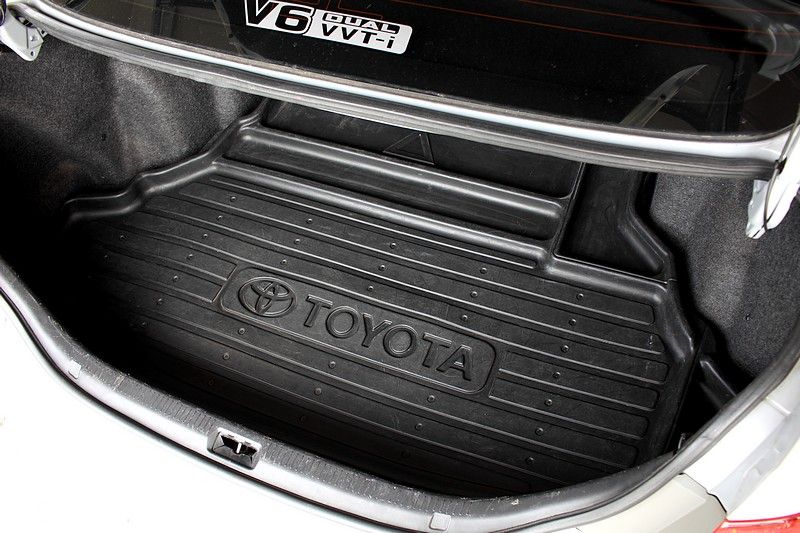
* Genuine Toyota optional rubber moulded boot tray.
* Aftermarket 6x9 to 6.5" front speaker adapter pods.
* Lexus GS450h Mark Levinson 6.5" front speakers.
* Aftermarket white LED door courtesy light units.
* Aurion Grande auto dimming rear-view mirror.
* Valentine One radar mirror mount & hardwire kit.
* Novatek A118 HD dashcam concealed behind mirror.
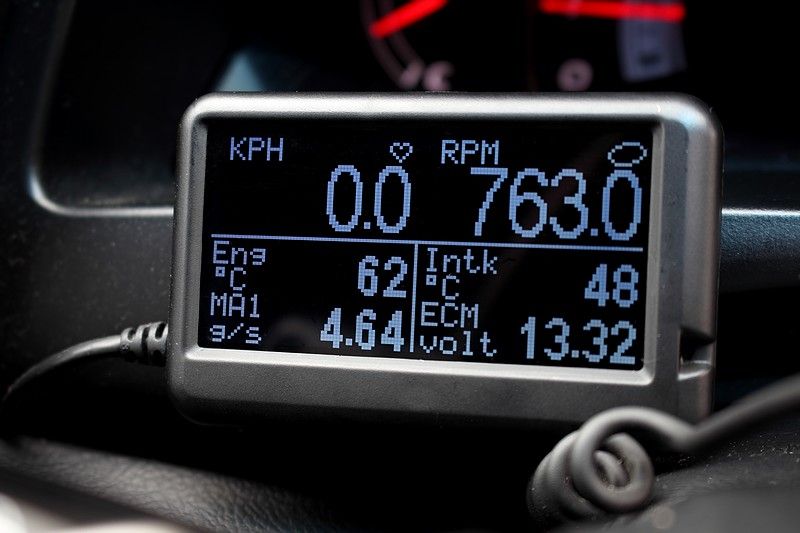
* UltraGauge OBDII display unit (speed, RPM, temps etc).
* Altezza aluminium footrest pedal (to match OEM pedals).
* Carbon fiber dash vent surrounds.
Wheels/Suspension:
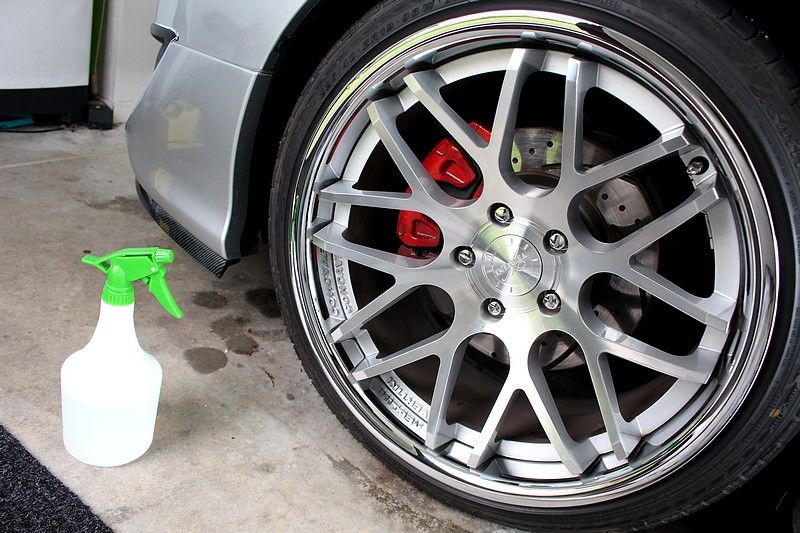
* 19"x9.5" (32p) Vertini Magic Concave alloy wheels.
* 225/40/19 tyres (front) & 235/35/19 tyres (rear).
* Rolled rear fenders.
* Rays chrome wheel nuts and lock nuts.
* SPC 17mm front camber bolts.
* SPC 15mm rear camber bolts.
* Znoelli dimple drilled/slotted rotors front & rear.
* Bendix GCT stealth brake pads.
* PBR brake calipers painted red.
* Dobi Sport SL springs (front), King Spring SL springs (rear).
* Aftermarket shocks & swaybar links.
* Alutec aluminium front strut brace.-
5
-
-
As much as I hate to say it, this build is now over and the car is up for sale :(. It's been a very enjoyable 6-years and I've met a huge amount of great people over that time, so I'd just like to say a massive thank you to everybody who has supported this project over the years and has offered their thoughts, opinions and encouragement. Without that, this build likely would've died a long time ago, so cheers! :D. I look forward to seeing what the future holds and the exciting times that are ahead :)
-
Thanks alot. Wouldnt have got it going without your help.
No problem :). Confession time: I was actually the guy who sold you the headunit
-
1
-
-
I've never had my key in the half way position before
, but the ignition only knows if it's either 'OFF', 'ACC' or 'ON', so I'd say the car thought it was more in the 'ON' position than the 'ACC' position, if that makes sense.-
1
-
-
Ok thanks. Thats the next mission. And by the way the reverse signal wire was not the purple one. It was the red one on pin 5. I guess the purple one must have been for the sat nav speed sensor.
Whoops, got my colours mixed up :P. Glad you got it working.
-
Thanks a lot mate. Everything is going now. But just realized that if i use hands free to call than person on other end cant hear me. My old unit had builtin mic. Maybe this unit doesn't?
Great to hear!! :D. Yeah this unit doesn't have a built-in mic. The mic is meant to be in the interior light surround by the rear vision mirror (you'll see the little spot for it, but there'll be no microphone in there). You could wire in an aftermarket mic easily enough though.
-
Completely normal :). My Aurion does the same thing, and so has every other Toyota I've owned/driven, even the early 90's models. Usually if you're sitting stationary with the engine off after driving and have the key sitting in the 'ON' position the fans will kick in after a short period of time as heat-soak from the engine causes the radiator core to get hot enough and tell the sensor to turn the fans on. It won't do this when the ignition is switched off or onto 'ACC' though of course.
-
I will try doing it tonight. Hope it works. Do i need to connect the sat nav speed sensor wire aswell for my gps to work?
As far as I know, the speed sensor wire is only a safety feature to lock you out of inputting addresses on the GPS when moving at over 5kph, so you shouldn't need to connect it.
-
Where would i find this wire from?
It's the purple wire from your original 20-pin connector where you got the other 4 wires from ;)
-
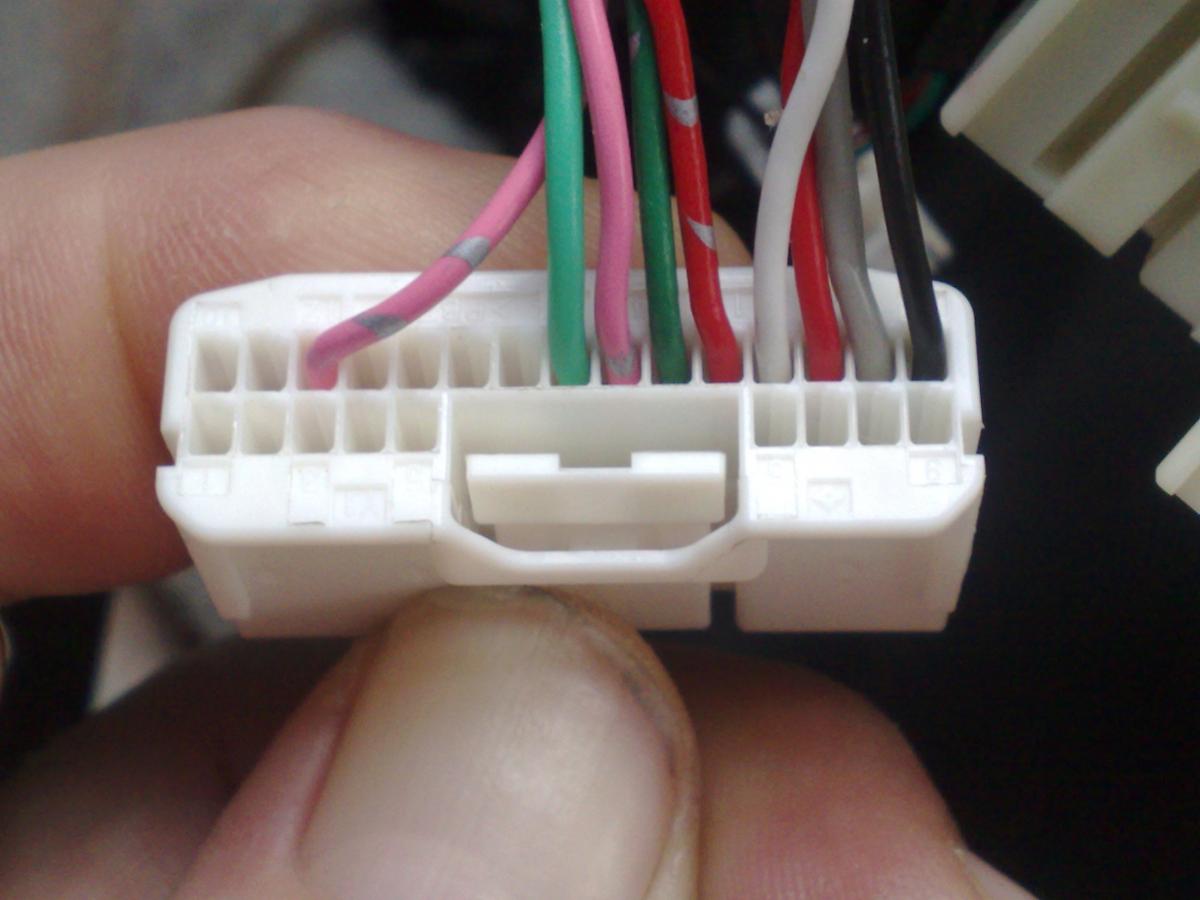
Guys, i tried taking the 4 wires out of the 20 pin connector which were for the camera. I believe it was pins 11, 12, 13 & 14. And wired into pins 21, 22, 23 & 24 with spade connectors as per the instructions but still no go. All out steering control and display works but reversing camera is still a no go.
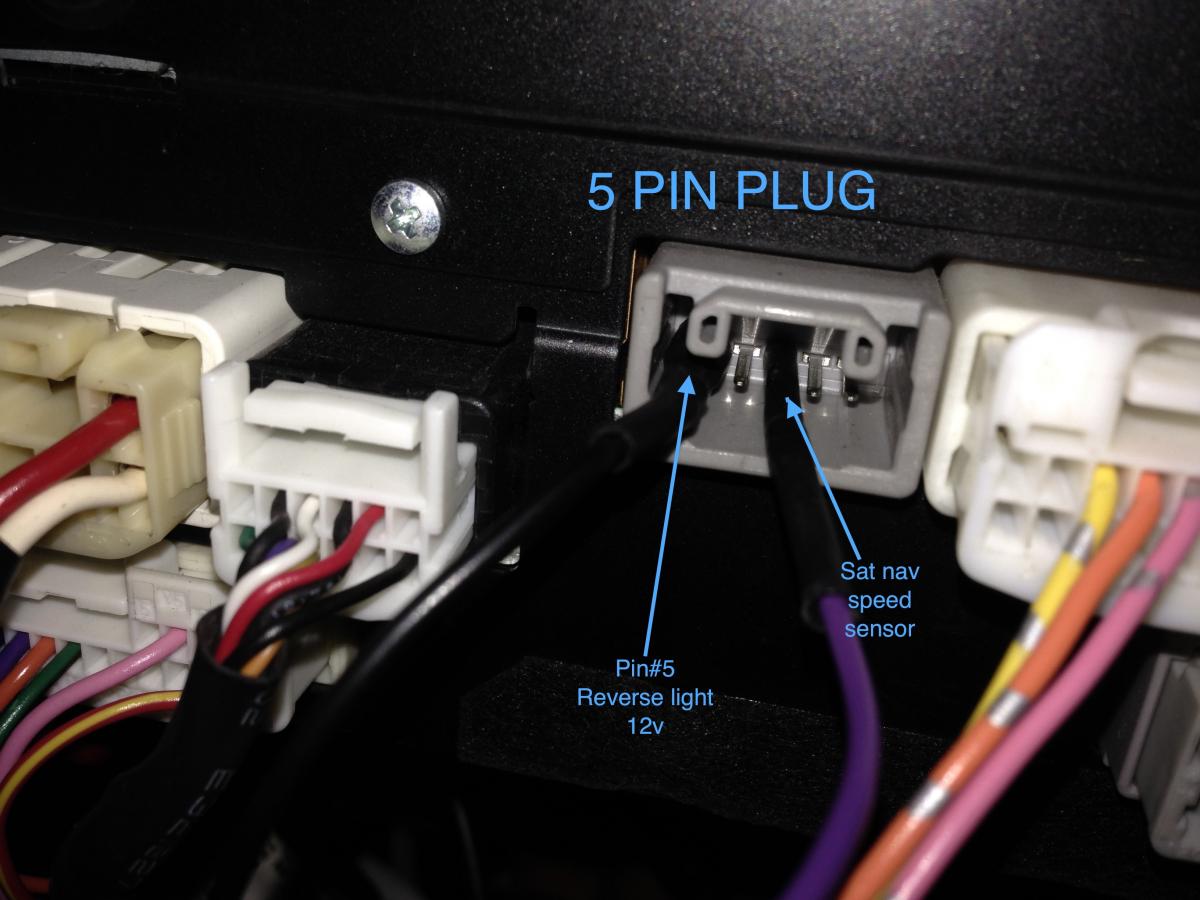
Sounds like you're almost there! You've now given the camera power and signal, but you're missing just one wire - The reverse gear wire to tell the camera to turn on. This is a single wire which goes into the pin #5 of the 5-pin plug on the back of your SatNav headunit, shown in this photo:
-
I have learnt from being married that I am supposed to ask. :PMine's currently been at the panel beaters for the last 3-weeks (don't ask, lol) and I'm eager to get it back, it back, so I can certainly relate.
What happened?
I....um.....had a little incident at a roundabout on the way to work one morning
. Lets just say that the Aurion needed a new front bumper, RH fog light, RH headlight, bonnet, grille, radiator and bumper reinforcer. My panel beater got all new parts from the dealership luckily, rather than secondhand, so the parts came to $3,968, plus another 3k in labour. Thank God for insurance! ^_^. First accident I've had for a long time though, and will hopefully be the last! But I won't put a damper on this guy's thread :P. I'll post some photos when I get it back ;) -
Haha cool as mate. Thanks! I bet it's an anxious wait to pick up the Aurion from the dealership. Mine's currently been at the panel beaters for the last 3-weeks (don't ask, lol) and I'm eager to get it back, so I can certainly relate. Looking forward to seeing some pics from you when you finally have it home :)
-
No worries man! :). It's allgood, not like it's a photo of the outside of my car or anything
, but when I saw the photo I thought it looked a bit too familiar, lol. You can keep it up there if you like B) -
Looks nice man, but why are you using one of my photos as your profile pic?
.............lol -
With all this information, i could give it a go myself. I am a technician but for security and access control system. So im not too bad with wiring and stuff. But what i need to know is that since my car doesnt even have the 24 pin male plug, where do i get this plug from?
In lieu of the original 24-pin plug you could use some small cylindrical spade terminal connectors instead, and connect them directly to the pins themselves. So it's essentially like having the original plastic plug, but you're attaching the wire directly to the terminals on the back of the headunit.
-
No worries. Here's some more information (courtesy of other members on this forum) in relation to which pins you'll need to connect your existing wiring to on the SatNav unit (ignore the part about the adapter cable on the RH side of image #1). Pin #5 of the 5-pin plug in photo #2 is the reverse signal wire, which tells the camera to come on when you select reverse gear. The wires on the other plug are what actually gives it power, signal and ground. You can just probe the terminals like shown in the second photo, instead of actually needing the original plastic connector/wires.
-
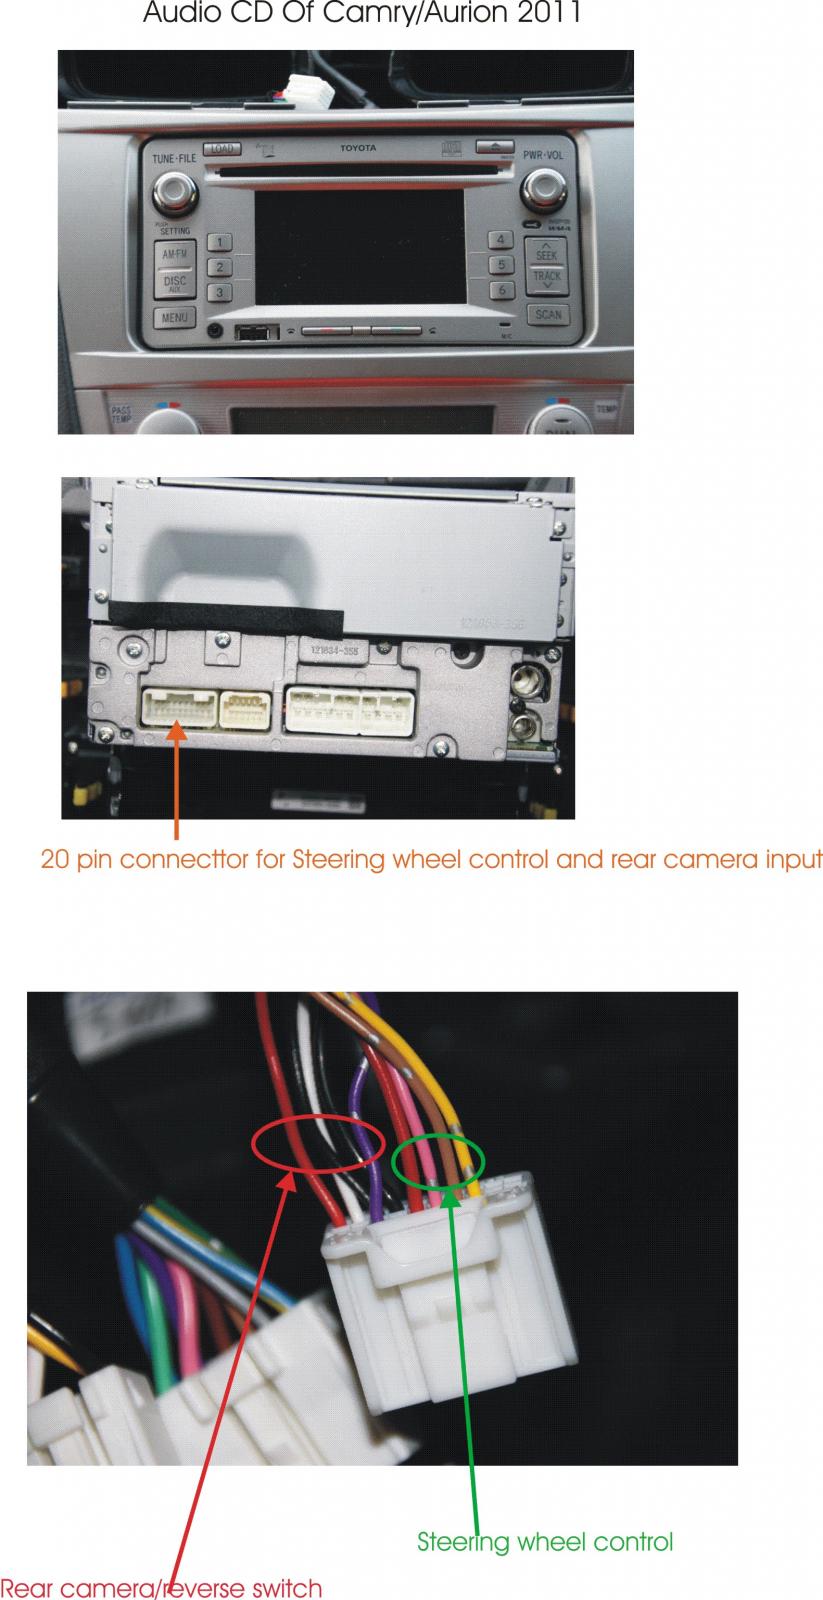
Your original headunit will have a 20-pin plug which contains the wiring for your reversing camera, whereas your new headunit will have a 24-pin plug. Both of these plugs are different sizes between the two units and in slightly different locations, so you'll have to move the existing wires to suit the connector on the new headunit. So basically it's just a case of moving the wires around to the correct location so that your reversing camera gets power and signal.
These images are courtesy of other threads on this forum, showing the facelift plug and the pre-facelift SatNav plug for the reversing camera. Any auto electrician should easily be able to solve the problem.
-
What about reverse camera do u have this installed? If yes does it have the marks on the screen to indicate how close things are? Thanks.
I have the same Erisin unit and am using it with the factory camera. Yes it has a setting to impose the parking marks (yellow and red lines) on top of the reverse camera image to help see how close things are.
Good to know! Thanks! :). Still waiting for my reverse camera to arrive from overseas, so even more eager for it to arrive now, lol.


 . Lets just say that the Aurion needed a new front bumper, RH fog light, RH headlight, bonnet, grille, radiator and bumper reinforcer. My panel beater got all new parts from the dealership luckily, rather than secondhand, so the parts came to $3,968, plus another 3k in labour. Thank God for insurance! ^_^. First accident I've had for a long time though, and will hopefully be the last! But I won't put a damper on this guy's thread :P. I'll post some photos when I get it back ;)
 .............lol
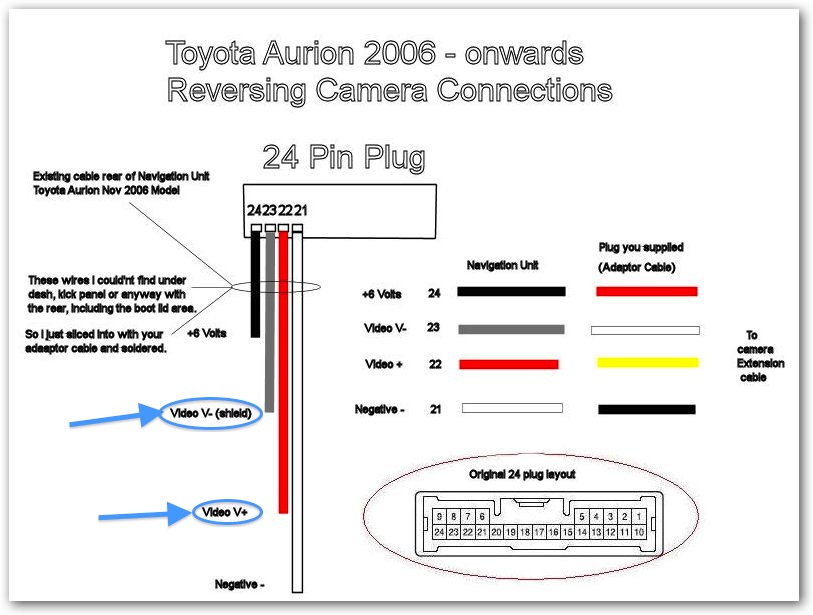

xv40 heated mirror possibility?
in Aurion / TRD Aurion Club
Posted
I managed to compare two mirrors at work today (one from an SX6 and one from a Grande/Presara) and the mirror plug for the one with the heater element is quite a lot larger and the mirror itself is noticeable heavier. The non-heated mirror only has 5-wires whereas the heated mirror has 11-wires. Aside from that, the mirrors look identical in their outside appearance.
Here's some comparison photos: