dyslexik
-
Posts
523 -
Joined
-
Last visited
Content Type
Profiles
Forums
Events
Gallery
Tutorials
News & Articles
Videos
Everything posted by dyslexik
-
Don't bother dude, I was quoted $560 a pair prior to attempting to do it on my own headlights. cai+pod looks good Duy. Vacuum much over the weekend? hehe
-
check the car's manual. Generally replaced every 100,000kms for other cars along with aircon and power steering belts.
-
Cut the silicone hose a bit shorter. Then secure it on the cai with another hose screw clip.
-
duy wheres the pics of the cai installed with the pod??
-
The 3A pod filter will fit duy. scroll all the way to the end of the post. http://au.toyotaownersclub.com/forums/index.php?showtopic=711 If your using the bracket to bolt the TRD cai down, the cai should sit an inch higher. You secure the bracket near the bottom end of the fuse box closer to the headlight. It should make the cai sit a bit higher compared to bolting it down at the top end of it closer to the strut tower. You need to use this below and hopefully you have a spare nut to secure the top end of it. If you don't have a spare nut to fit the bolt thread, then use a couple of cable ties to hold it for the mean time or forever. Supercheap auto has plenty of nuts and they let you try it before you buy...they let me open the packaging when i was looking for screws, bolts and nuts to mount my amp in the boot panel.
-
Sorry to hear man. First it was your side skirts and now your stubby aerial? Maybe time to invest in a car alarm system dude with remote pager that vibrates to warm you of thieving scumbags messing with your car.
-
I'm adding this in for those who require more info. I used both Danny's guide in conjunction to the attached PDF files to successfully do this on my pre-facelift (not on a hoist). The first time it took me about 1.5 hours because the front bumper was really hard to remove due to the bumpers 2 sliding insert into the metal car body. However, it now takes me less than 10mins as I find that this is the most quickest and safest way for me to get to my cai pod filter to remove, clean, air dry, re-oil and reinstall it every now and then. Guide is also useful for removing headlights to re-aim HID headlights, changing indicator bulbs and doing the DIY JDM blackened headlight mod. 1. Unscrew the 2 screws from each side of the grille. 2. Flick out with a flat head screw driver the 2 plastic screw clips I showed you top middle of grille and at the bottom back middle of grille. 3. Skip the step that tells you to unclip the grille tabs from the front bumper. Just leave them attached together. 4. Unscrew the 6 bolts on the diagram and flick out the 2 upside down plastic screw clips in the middle of the bumper with a flat head screw driver. Total of 8 you need to unscrew (6) and flick out (2). 5. Unplug your foglights. 6. Pull each side of the bumper from the under-guard area slowly and carefully until the hook tabs detach themselves from the car body. You need to un-tab it all the way to the grille side corner of the headlights. 7. You should have both sides of the bumper hanging hopelessly. Put a couple of yellow pages under the bumper to help it hang horizontally straight. Then carefully tug at the front bumper from the bottom middle. Make sure your handbrake is on, the car will move forward when your tugging at it. 8. If its stubborn, see if you can see the metal part of the body holding the front bumper tab inserts. Try and bend the metal bit slightly upwards with a flat head screw driver. This will allow the front bumper to slide out a lot easier without the need of applying force to it. These can be located on the metal part of the body - one on each side of the corner of the headlights closest to the grille. I've attached a more simple and easier to read version of the diagrams as well as the original PDF that was downloaded from TOCAU. ZZE123 Front Bumper Components.pdf ZZE123 Front Bumper Guide Removal.pdf Screw clips = circled in red Grille tabs = circled in green (Skip this step)
-
Just follow the front bumper removal guide I printed out and laminated for you dude (Downloaded from TOCAU). But skip the step that tells you to unclip the grille tabs from the front bumper. Just leave them attached together and just flick out the 2 plastic screw clips I showed you top middle of grille and at the bottom back middle of grille. Then unscrew the 2 screws from each side of the grille. Then unscrew the 6 bolts on the diagram and flick out the 2 upside down plastic screw clips in the middle of the bumper with a flat head screw driver. Total of 8 you need to unscrew and flick out. Then pull each side of the bumper from the underguard area slowly and carefully until the hook tabs detach themselves fromt he car body. you need to untab it all the way to the grille side corner of the headlights. After doing this, you should have both sides of the bumper hanging hopelessly. Put a couple of yellow pages under the bumper to help it hang horizontally straight. Unplug your foggies. Then carefully tug at the front bumper from the bottom middle. Make sure your handbrake is on, the car will move forward when your tugging at it. If its stubborn, see if you can see the metal part of the body holding the front bumper tab inserts. try and bend the metal bit slightly with a flat head screw driver. this will allow the front bumper just to slide out easier without the need to put force in it. These can be located one on each side of the corner of the headlights closest to the grille. I've attached a more simple and easier to read version of the diagrams. Screw clips = circled in red Grille tabs = circled in green (Skip this step) You can also you Danny's post as a guide with PICS! http://au.toyotaownersclub.com/forums/index.php?showtopic=26806
-
Autos are incredibly good for driving under the influence of tasty fast food on the GO! ;)
-
I used these paints: Cherry red colour - Max 120 degrees celcius. http://whiteknightpaints.com.au/product/view/engine-enamel Flat black - Max 540 degrees celcius http://whiteknightpaints.com.au/product/view/hi-temp
-
May as well get the TRD cai installed too Duy with the engine mount inserts.
-
If the bottom layer hasn't cured, then that would mean there was over spray. Hence, why I ended up using 2 cans of paint, because first time I had heaps of over spray, learnt my lesson and sanded it back and did it all over again properly. I suggest sanding it back again if you want it to be perfect. But this time, do short 3 second bursts of spray paint with gentle hand motions shaking the can often. Do not aim the heat gun so close for the paint to bubble like you told me it did. If it does, you are simply heating the parts to close or too long in one specified area. If you have the heat gun on a lower setting, the distance you should maintain is where your hand would be warm but not cooked by it. When I used the higher setting, I had to stand up with the painted parts on the ground and kept at least a 70cm distance. Basically, the safe distance was where my feet in flip flops would be kept warm, but not cooked by the heat gun.
-
I thought the stuff you painted had already cured from using the $43 heat gun you bought from Bunnings on Monday?????
-
My custom made RDA Gold rear rotors are finally installed on the car along with EBC Green brake pads too. Front Rear Another change oil was done today with the Amsoil RD30. While the car was on the hoist, we discovered today that the u-bend exhaust piping over the torsion beam has a dent the size of a 10cent coin and 4mm deep. -_- It also has an exhaust leak coming from one of the welds near the u-bend, possibly caused from the piping hitting against the torsion beam. She is booked for next tues at BKS's muffler referral in Carnegie.
-
[VIC] FS: Corolla Parts (ZZE)
dyslexik replied to dyslexik's topic in Buy & Sell - Parts and Accessories
I'm in Melbourne. -
toyota recall again. aurion included!
dyslexik replied to JasonWW's topic in Aurion / TRD Aurion Club
The 2GR-FE engine is what powers the JDM Corolla - Blade Master G no? -
What a rip! Which toyota dealer/service centre was this at? If your in melb, suspension city in north melb sells a set of 4 KYB Excel G for $700!!! You may as well buy lowered springs to compliment the stiffer KYB shocks. Coilovers allows you to adjust ride height and damper settings (soft/hard) closer to your requirements. Replacing the shocks will fix the problem and either of the above options will do the job. All depends on how much your willing to spend.
-
[VIC] MONTHLY MEET - SUNDAY 25TH JULY 2010
dyslexik replied to Kenshin X's topic in Previous/Past Club Meets & Events
At least you will have 10 million hot corollas as your escorts... then your camry will truly look like a VIP as it cruises in the center of the pack ;) -
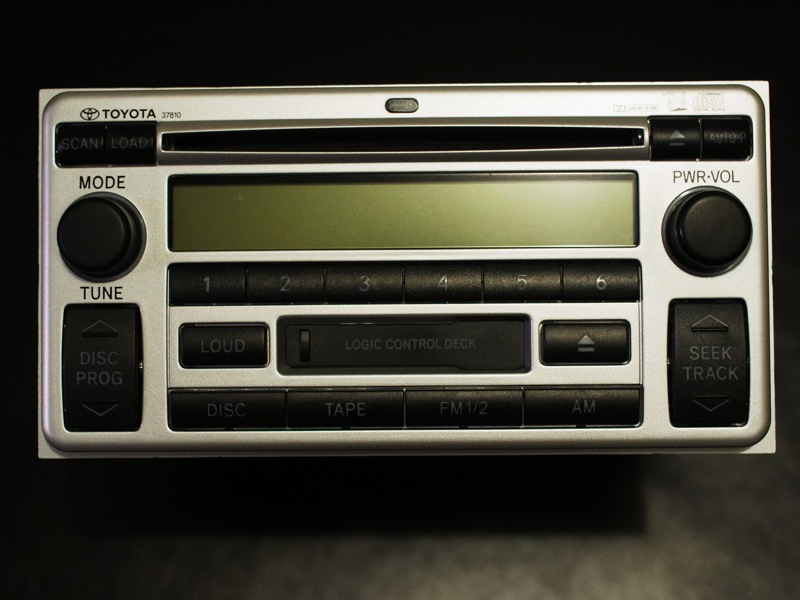
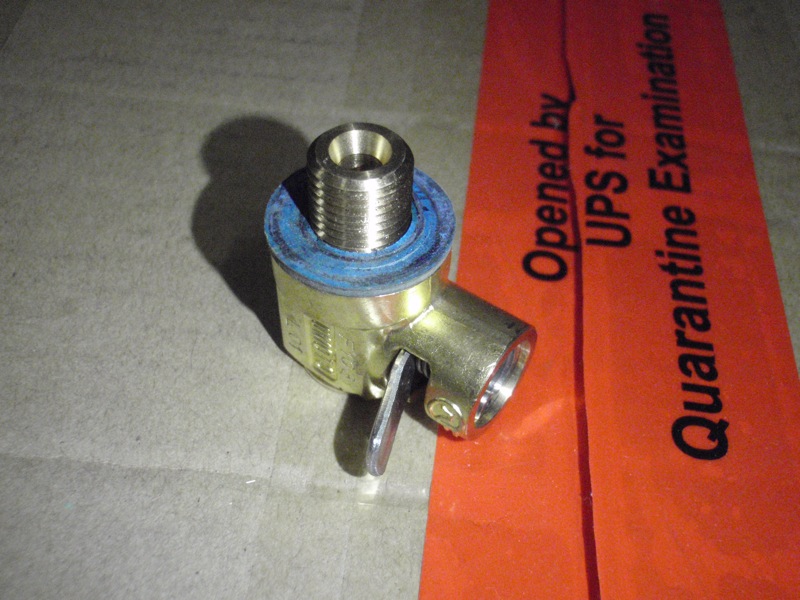
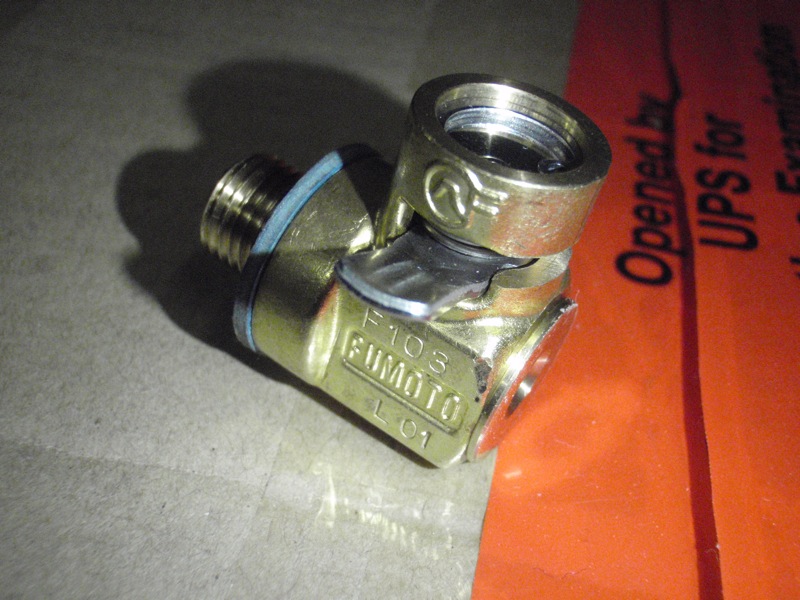
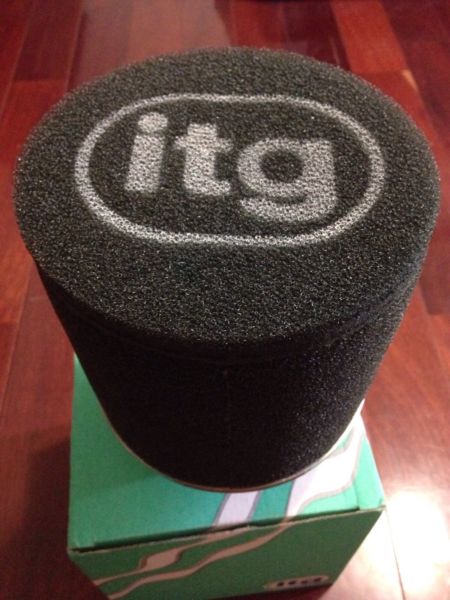
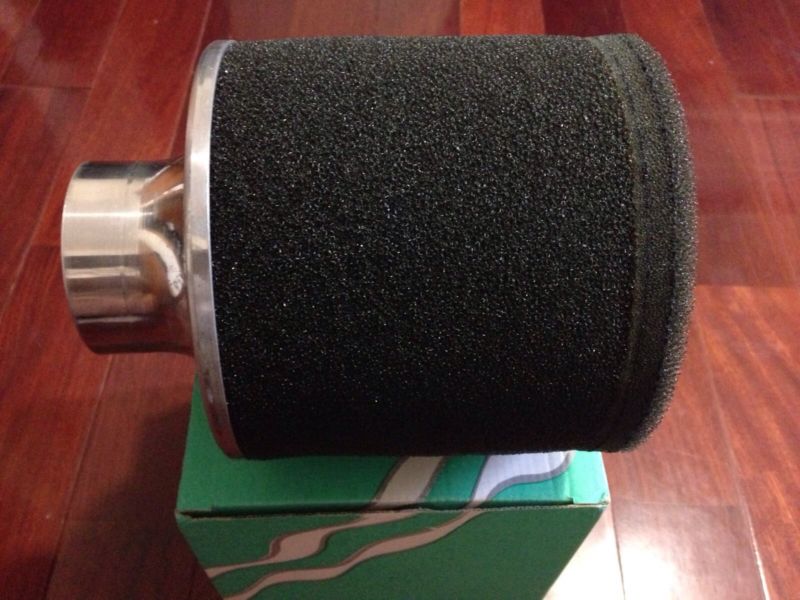
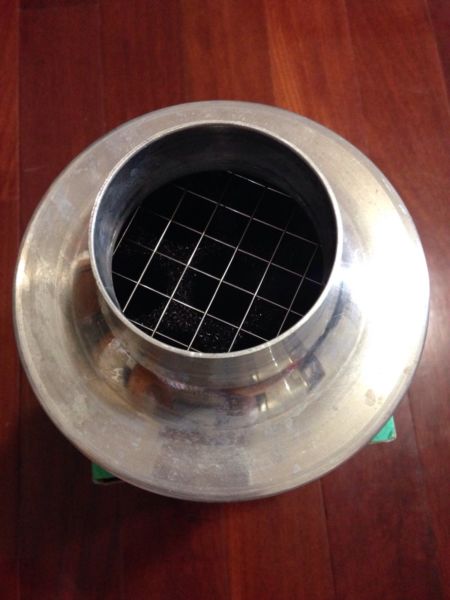
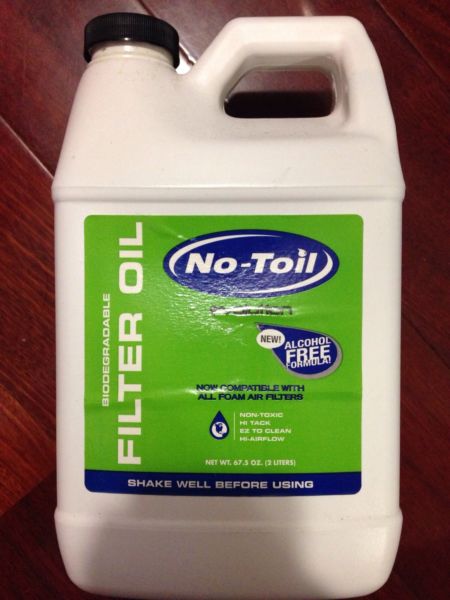
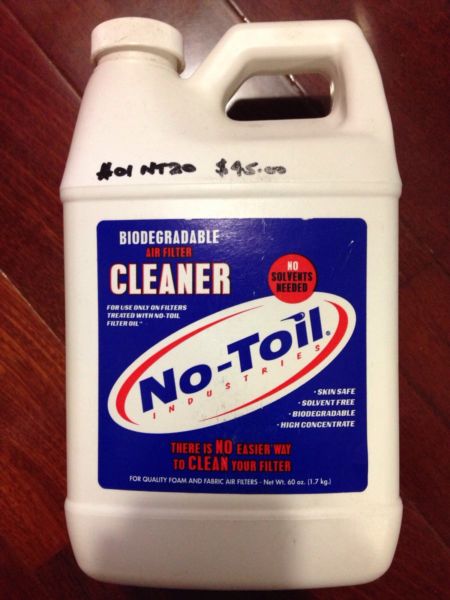
Fumoto Oil Drain Valve (F-103) 12mm. $40. Toyota Headunit CD, Radio, Tape deck (double din 6 stacker cd) $50. ITG Maxogen JC60/70 Pod Filter (2.75") - 290 BHP. Comes with No Toil filter oil (2 litre) and cleaner (1.7kg). $100.

-
Gonna put the desert eagle knob up for sale now.
-
correction: the wind blew it off while it was air drying on a portable laundry hanger. It had a crack on the corner after that. I used 2 cans of White Knight cherry red engine enamel spray paint. Get the strut tower brace powder coated duy!!, while your at it, get your engine cover done too =)
-
nope. kept the distance. You need to put it approx 30+cm away from item being heated/dried. Most importantly, don't leave it blowing on one area for more than 2 secs. You need to constantly move it up and down or side to side. See for yourself below. Why else would I say it if I wasnt successful at doing it myself.
-
Not same thing. The $15 heat gun from bunnings has 2 settings and its 20 times hotter than a hairdryer. Here's the thing, my mate did the DIY JDM blackened headlights with a hairdryer and he used a hairdryer to open the headlight casing and seal it back up. Where as I used a heat gun. He took 2+ hours to open each casing. I took less than 10mins to open each casing. His headlights fog up and has moisture inside when its damp or washes his car. Mine doesnt. I also used the heat gun whilst painting my previous ZZT231 engine cover to cherry red. I painted it in the garage at night when the weather was like 15 degrees outside and raining. I also used it as a heater to keep me warm in the garage that night too at times. I came inside the house smelling like ceramic pottery freshly baked in the oven lol
-
Agreed, but for some reason shifting with this one seems so much better. Trust me....feels so good, you'd want a knob like mine too! bahahahahahaha
-
use a heatgun from bunnings - $15.